
A blank wall can make an entire room feel unfinished, even if your furniture is great. But filling a wall “just to fill it” can be just as frustrating—suddenly you have random frames, awkward spacing, and decor that looks like it doesn’t belong. The difference between a wall that looks designer and a wall that looks accidental is not how much money you spend. It’s the plan.
In this article, you’ll learn practical, flexible wall decor ideas you can apply in any home—small apartments, rentals, open-concept spaces, and family homes. We’ll cover how to choose the right wall decor for your style, how to get scale right, how to create a gallery wall that doesn’t look chaotic, how to use shelves without clutter, and how to add texture when you want something beyond framed art.
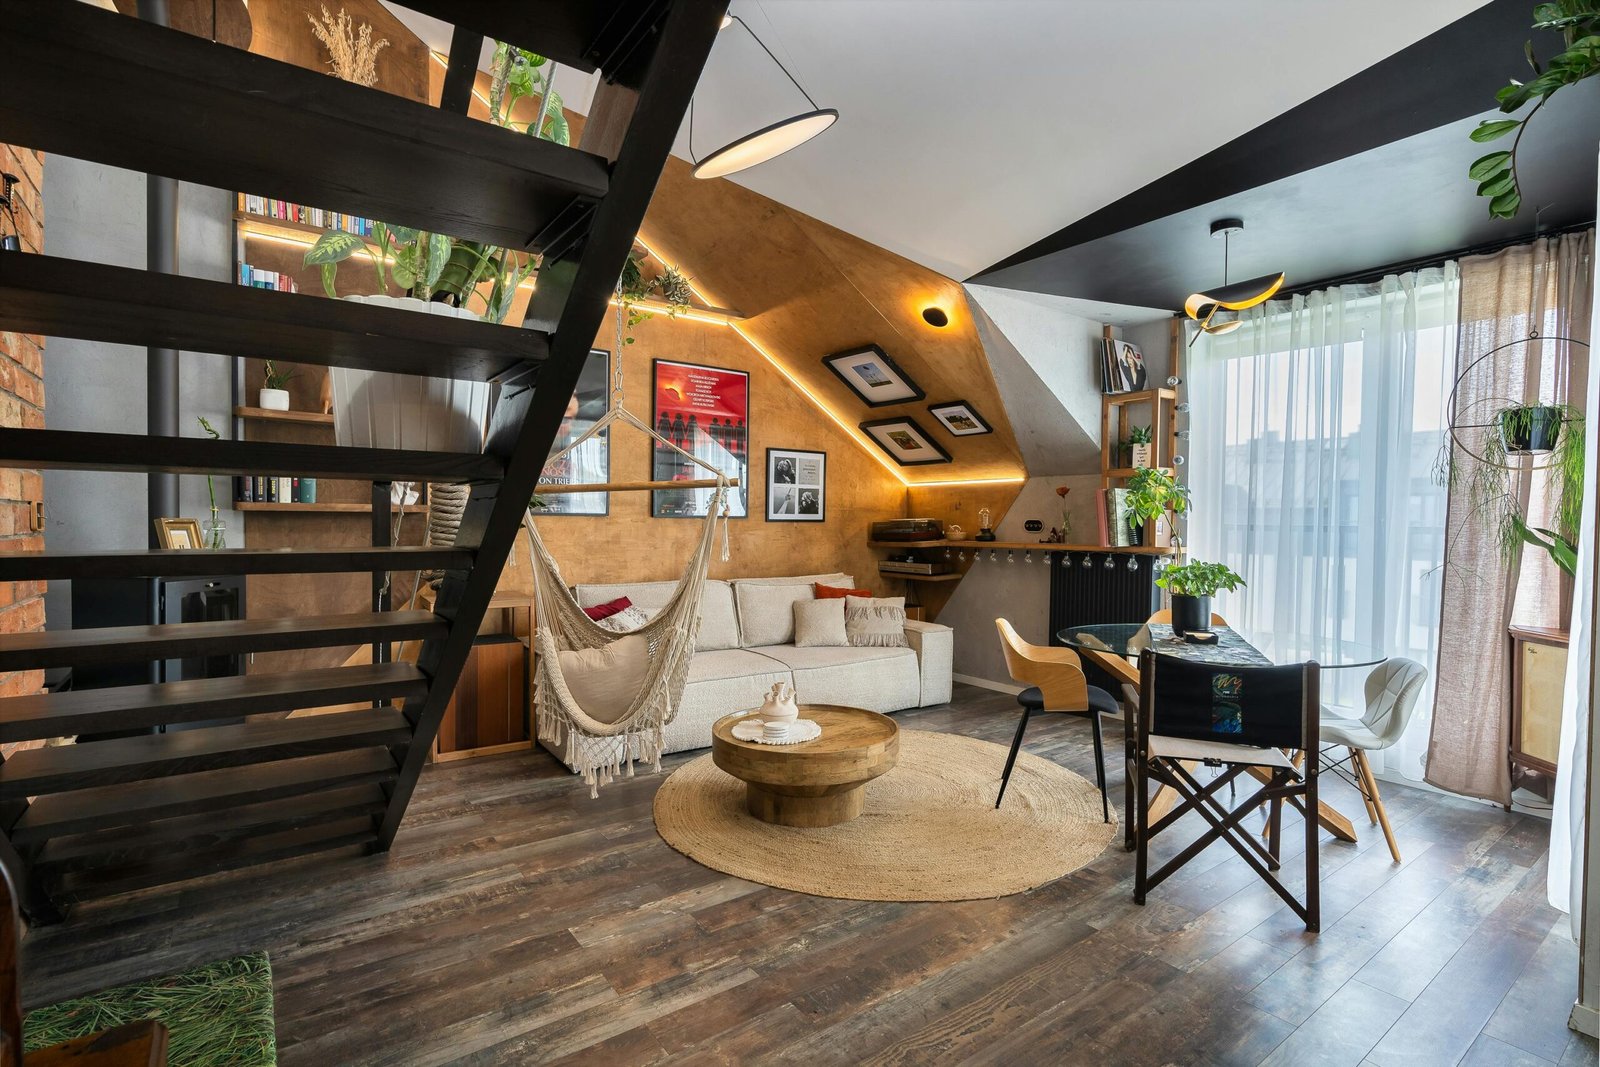
If you’ve been staring at a boring wall wondering what to do with it, this is your step-by-step guide to making it look intentional.
Start here: What is the wall’s “job”?
Before you pick decor, decide what the wall should do for the room. A wall can serve different roles:
- Anchor the room (like a wall behind a sofa or bed)
- Create a focal point (the wall you notice first)
- Add warmth and texture (soften a modern or minimal space)
- Add function (shelves, hooks, storage)
- Help scale the room (make ceilings feel taller, widen a narrow room)
When you know the wall’s job, your decor choices become clearer.
Quick question to guide you:
When you walk into the room, should this wall feel calm, bold, cozy, or practical?
Pick one word. That’s your direction.
The golden rule of wall decor: scale matters more than the object
The most common wall-decor mistake is choosing pieces that are too small. A tiny frame on a big wall doesn’t look minimal—it looks unfinished.
The simple scale rule:
Your wall decor should fill a meaningful portion of the visual space. For example:
- Above a sofa: aim for decor that spans about two-thirds the width of the sofa.
- Above a bed: similar principle—wide enough to relate to the headboard.
- On a large empty wall: one large statement piece often works better than multiple tiny pieces scattered.
If you take only one lesson from this article, take this: go bigger, or group pieces so they act bigger.
Option 1: One large statement piece (the easiest “designer” move)
If you want the simplest high-impact solution, choose one large piece of art (or one large mirror). This instantly makes a wall feel intentional and upscale.
Why it works
- It creates a clear focal point.
- It prevents clutter and overthinking.
- It brings scale and confidence to the room.
What counts as a statement piece?
- Large framed art
- Oversized photography print
- Large canvas
- Tapestry (if styled cleanly)
- Large mirror with a strong frame
Tips for making it look elevated
- Keep the frame consistent with your home’s style (black for modern, wood for warm organic, brass for glam).
- Choose art that repeats your color palette (even subtly).
- Hang it at proper height: generally, art feels best when the center sits around eye level.
If you’re nervous about choosing art, pick something based on mood rather than “meaning.” Your home doesn’t need museum-level symbolism—it needs a cohesive feeling.
Option 2: A gallery wall that looks cohesive (not chaotic)
Gallery walls can look amazing, but they can also go wrong fast if spacing, frames, and colors don’t connect.
The key to a good gallery wall: unity + rhythm
A gallery wall works when:
- the frames relate to each other,
- spacing is consistent,
- and the arrangement has a clear overall shape.
Choose one gallery style approach
Approach A: Same frames, different art
- Works great for modern and minimalist homes.
- Very cohesive and easy to execute.
Approach B: Mixed frames, consistent palette
- Great for eclectic or transitional homes.
- Use a consistent color theme so it still feels unified.
Approach C: Balanced mix with one “hero piece”
- One larger piece anchors the wall.
- Smaller pieces support it.
How to plan a gallery wall (without guesswork)
- Collect your frames and lay them on the floor.
- Choose your overall shape: rectangle, square, or gentle organic cluster.
- Keep spacing consistent (think: uniform gaps, not random distances).
- Tape paper templates to the wall first (same size as frames).
- Step back and adjust before hanging.
The “gallery wall anchor” trick
Start with the largest piece first, centered above the furniture, then build around it. If you place small pieces first, the wall often ends up drifting too high or too scattered.
What should go in the frames?
- photography
- abstract art
- line drawings
- typography (in moderation)
- personal photos (edited to match your palette)
- simple prints that repeat colors from the room
A gallery wall looks most “designer” when it feels curated—not like everything you’ve ever owned got stuck on one wall.
Option 3: Picture ledges and leaning frames (great for renters)
If you don’t want to commit to a permanent arrangement, picture ledges are a flexible solution.
Why ledges work well
- easy to swap art seasonally
- less pressure to plan a perfect layout
- can mix frames, books, and small decor
How to style a ledge without clutter
Use the “three-level” method:
- one taller piece (anchor)
- one medium piece (support)
- one small piece (detail)
Then add one simple accent:
- small plant
- candle
- ceramic vase
- book stack
Keep it edited. If the ledge becomes a storage shelf, it starts looking messy.
Option 4: Shelving that adds function and style (without looking busy)
Floating shelves can upgrade a wall and add storage, but they often fail when people overstuff them.
The best shelves for living areas
- shelves that are not too deep (they look lighter)
- shelves aligned with furniture below
- shelves in sets (two or three) for a clean rhythm
How to style shelves like a pro
Think in zones:
- Books (stacked and vertical)
- Objects (ceramic, glass, wood)
- Greenery (a plant adds softness)
- Negative space (empty areas are part of the design)
A simple shelf formula:
- 60% functional (books or practical items)
- 40% decor (objects, plant, framed photo)
If everything is decor, it can feel fake. If everything is random storage, it can feel messy.
Option 5: Add texture instead of more frames
If your wall feels flat, texture can make it feel richer and warmer—especially in modern or neutral rooms.
Easy texture options that work in many styles
- fabric wall hangings (kept simple)
- woven baskets (grouped thoughtfully)
- wood slat details (even a small section)
- textured wallpaper (subtle patterns)
- large textile art
- acoustic panels designed as decor (modern homes)
Texture adds depth without requiring loud colors, which is perfect if you want calm, elevated spaces.
Option 6: Mirrors as wall decor (and a brightness boost)
A mirror can be decor and function at the same time. It can:
- reflect light,
- make a room feel larger,
- and act like a statement art piece.
Where mirrors look best
- above a console table in an entry
- above a fireplace mantel
- on a wall opposite or near a window
- above a dresser in a bedroom
Choose a mirror frame that matches your style. The frame is what makes it feel like a design choice rather than a utility item.
Option 7: Make the wall feel bigger with vertical styling
If you want ceilings to look taller, use vertical elements.
Vertical tricks:
- tall, narrow artwork
- stacked frames in a column
- a tall mirror
- curtains hung high (they’re “wall decor” too)
- wall sconces or vertical lighting
When the eye moves upward, the room feels taller.
Option 8: Use lighting on the wall for instant atmosphere
Wall lighting is underrated. A boring wall can become beautiful with the right light.
Ideas:
- plug-in sconces on both sides of a sofa or bed
- picture lights over art
- a small lamp placed so it casts light upward on the wall
- LED accents used subtly behind shelves
Light creates depth. Depth makes walls look expensive.
Option 9: Turn the wall into a functional zone
If your wall sits in a high-traffic area, function can be beautiful.
Examples:
- entry wall: hooks + mirror + small shelf for keys
- family wall: calendar + tidy pinboard + framed art around it
- workspace wall: shelves + wall organizer + one art piece
- behind sofa: slim console + lamp + art above
Function looks good when it’s organized, consistent, and not overloaded.
How to avoid the most common wall decor mistakes
Mistake 1: Hanging art too high
Fix: lower it so it relates to the furniture and sits closer to eye level.
Mistake 2: Too many small items scattered
Fix: choose fewer items or group them so they read as one statement.
Mistake 3: Inconsistent frames and random colors
Fix: repeat one frame finish (black, wood, white) or unify with a consistent palette.
Mistake 4: Shelves styled like storage
Fix: edit down, use baskets, and leave negative space.
Mistake 5: The wall has no focal point
Fix: choose one main anchor—large art, mirror, or a centered gallery arrangement.
Room-by-room ideas to make it easy
Living room wall behind the sofa
Best options:
- one large statement art piece
- a cohesive gallery wall
- two large pieces side-by-side
- a large mirror (if it reflects light, not clutter)
Bedroom wall above the bed
Best options:
- soft, calming art in a wide format
- symmetrical pair of pieces
- a minimal gallery with consistent frames
- textured elements for warmth
Dining room wall
Best options:
- large mirror to reflect light
- statement art
- a clean set of shelves with minimal styling
Entryway wall
Best options:
- mirror + console combo
- hooks + shelf + framed art
- slim storage + one statement piece
Hallway
Best options:
- a series of frames with consistent spacing
- one large piece at the end of the hallway
- a mirror that adds depth (not too many mirrors)
A simple decision guide: pick the right solution for your wall
If you want easy and clean:
- one large statement piece
If you want personal and dynamic:
- gallery wall with a consistent plan
If you want flexible and renter-friendly:
- picture ledges with leaning frames
If you want warm and cozy:
- texture-based decor + lighting
If you want practical and stylish:
- functional wall zone (hooks/shelves/mirror)
The “designer wall” checklist
Before you finish, ask:
- Does the wall decor relate in size to the furniture?
- Does it support my home’s palette and style?
- Is the spacing consistent and intentional?
- Is there a clear focal point?
- Does the wall feel balanced—not crowded?
If you can answer yes, your wall will look finished.
The real secret: a good wall is edited, not filled
A beautiful wall isn’t one that has the most stuff. It’s one that has the right stuff—at the right scale, placed with intention. When you prioritize size, cohesion, and negative space, your wall instantly looks more “designed.”
If you’re stuck, start with the simplest win: one large statement piece. You can always add more later. But when the anchor is strong, the room already feels complete.

Isabella Garcia is the creator of a blog dedicated to crafts and home care, focused on making everyday life more creative, organized, and enjoyable. The blog shares practical tips, easy DIY projects, home organization ideas, and simple solutions to take better care of your living space. Whether you’re a beginner in crafting or someone looking for inspiration to improve your home routine, Isabella’s blog offers clear, useful, and hands-on content to help you create a cozy, beautiful, and well-cared-for home.