
Knitting is wonderfully simple once you get going: yarn, two needles, and a repeating rhythm that turns into fabric. But shopping for your first supplies can feel anything but simple. You’ll see needle sets in every size, yarn in every texture, and accessories that claim to be “essential”—even though many knitters happily work with a tiny kit for years.
This guide is here to make your first purchases easy and beginner-friendly. You’ll learn what to buy for a smooth start, how to choose yarn and needles that make stitches easy to see, which extras are actually useful, and what you can skip until later. The goal isn’t to own everything. The goal is to set yourself up for quick progress and a first finished project you’re proud of.
The Beginner Rule: Buy for Learning, Not for Collecting
When you’re new, the “best” supplies are the ones that help you:
- See your stitches clearly
- Keep stitches from slipping off
- Avoid hand strain
- Practice without frustration
- Finish simple projects
That usually means medium yarn, medium needles, and a few small tools—nothing fancy. Once you know what you enjoy knitting (scarves, hats, toys, home items), you can expand your supplies in a smart way.
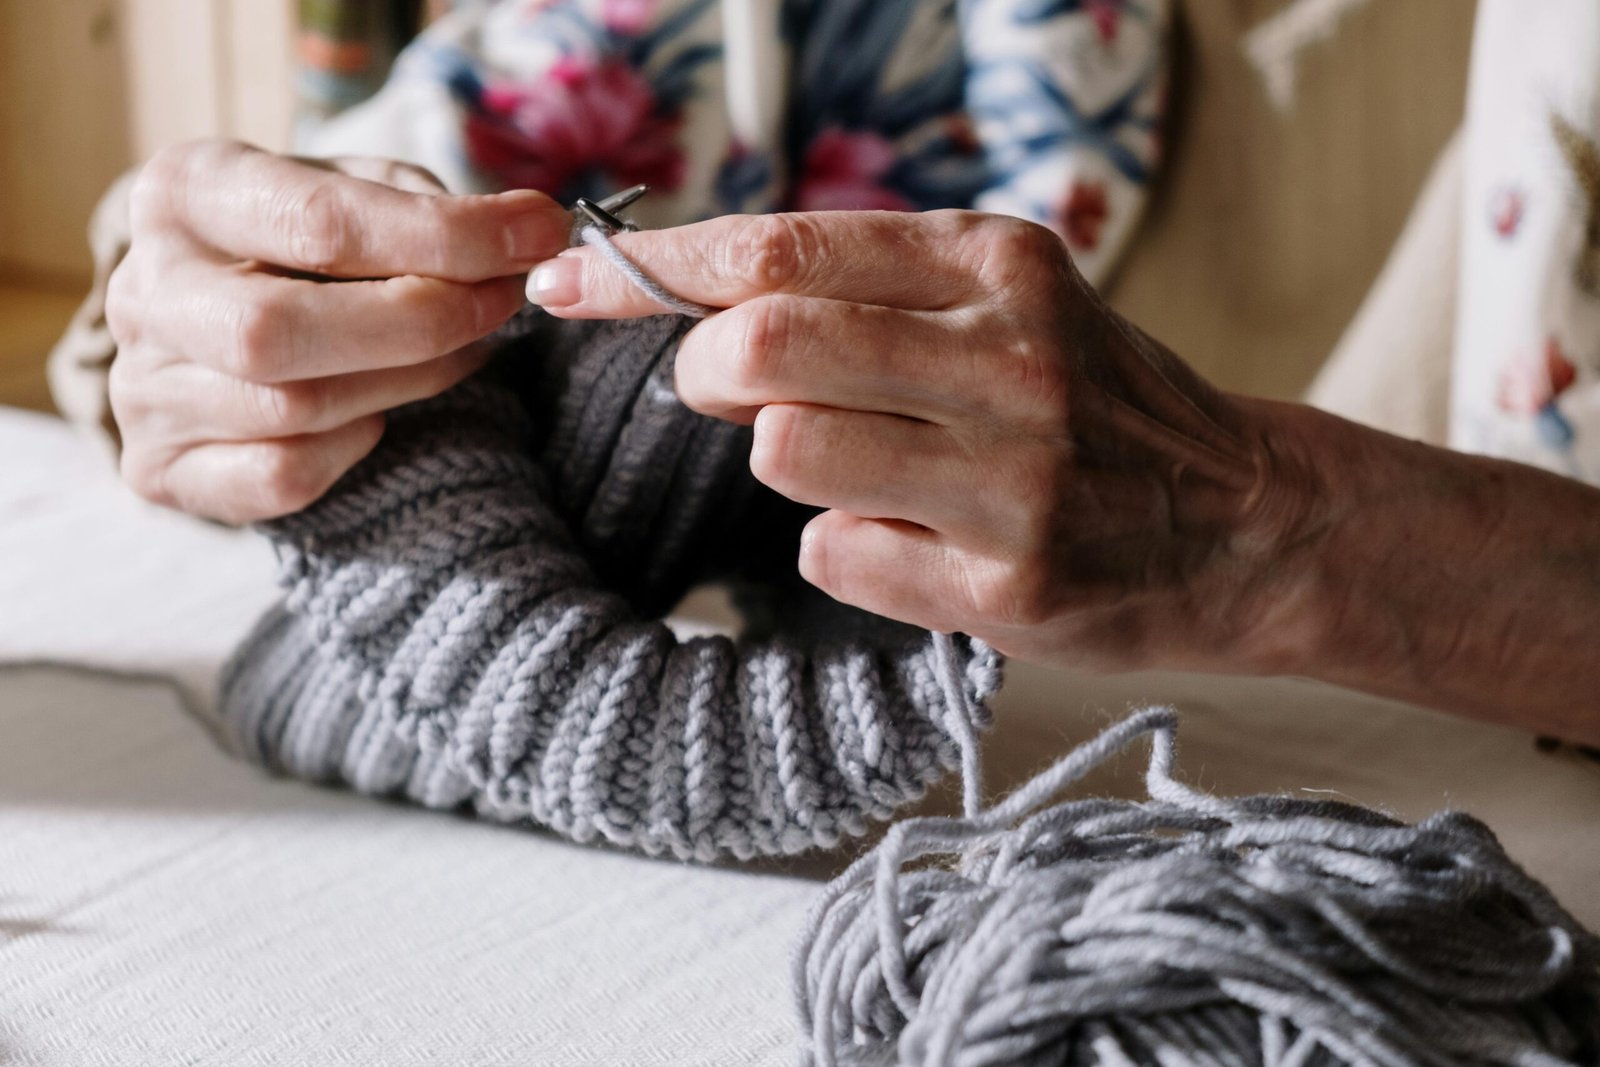
Yarn for Beginners: The Easiest Yarn to Learn With
Yarn choice matters more than most beginners realize. The wrong yarn can make your stitches hard to see, your tension inconsistent, and your overall experience frustrating.
Best yarn weight for beginner knitters
Start with worsted weight yarn (often labeled #4 / Medium).
Why worsted is ideal:
- The yarn is thick enough to see clearly
- Stitches form large, recognizable shapes
- It works well with common beginner needle sizes
- It’s widely available in affordable options
If you start with very thin yarn (like lace or fingering), it’s harder to see what’s happening. If you start with super bulky yarn, stitches can look messy and you may struggle with control. Worsted is the sweet spot.
Best yarn texture for beginners
Choose a yarn that is smooth and not fuzzy.
Avoid (at first):
- Fluffy or “halo” yarns (stitches look blurry)
- Eyelash/novelty yarns (nearly impossible to read)
- Yarn that splits easily into strands (you’ll stab through it by accident)
Smooth yarn makes it easier to:
- Insert the needle correctly
- Identify knit vs purl
- Count stitches
- Spot mistakes early
Best yarn color for beginners
Pick a light or medium color: cream, light gray, soft blue, medium green, etc.
Avoid for your first few weeks:
- Very dark yarn (black/navy hides stitch detail)
- Highly variegated yarn with wild color changes (can disguise uneven tension)
You can absolutely knit dark colors later, but you’ll learn faster when you can clearly see your stitches.
Best fiber for beginner knitting
Here are beginner-friendly fibers and what they feel like:
- Acrylic: affordable, consistent, easy care, widely available
- Wool or wool blends: grippy, elastic, forgiving for tension (great for learning)
- Cotton: excellent stitch definition, but less stretchy (can feel harder at first)
A great beginner combination is acrylic or a wool-acrylic blend in worsted weight. It’s forgiving and doesn’t require special care.
How much yarn should you buy?
For practice swatches, you only need one skein. For a first real project like a scarf, you’ll need more.
A general starting point for a simple garter stitch scarf in worsted yarn:
- 2–4 skeins, depending on length, width, and yardage per skein
Because skeins vary a lot, check the yardage on the label. If you’re unsure, buy an extra skein in the same dye lot (same batch) so the color matches.
Knitting Needles: Size, Type, and Material (Without Confusion)
Needles can feel like a maze: straight vs circular, bamboo vs metal, sizes that don’t make sense. Here’s what matters for beginners.
Best needle size for beginners
For worsted weight yarn, the easiest beginner needle sizes are:
- US 8 (5.0 mm)
- US 9 (5.5 mm)
These sizes:
- Make stitches big enough to see
- Reduce the chance of overly tight tension
- Work well for scarves, dishcloths, and practice swatches
If you want one safe “first needle,” choose US 8 (5.0 mm).
Straight needles vs circular needles: which is better?
Straight needles
- Classic, simple to understand
- Great for flat projects like scarves and dishcloths
- Can feel a bit long/heavy for some people
Circular needles
- Two needle tips connected by a cable
- Can be used for flat knitting and knitting in the round
- Hold stitches more securely (less sliding off)
- Often more comfortable because the weight rests in your lap
Beginner-friendly recommendation:
- If you want traditional simplicity, start with straight needles.
- If you want the most versatile option, start with a circular needle in US 8, 24–32 inches long. You can knit a scarf flat on it with no problem.
Needle material: bamboo/wood vs metal vs plastic
Material affects how slippery the needles feel.
Bamboo or wood
- Slightly grippy (stitches slide less)
- Great for beginners because it reduces accidental slipping
- Often feels warm and comfortable
Metal
- Very smooth (stitches glide quickly)
- Can be fast once you’re experienced
- Might feel slippery if you’re new and tension is uneven
Plastic
- Quality varies a lot
- Some plastic needles can snag or feel “sticky”
- Not necessarily bad, but not always the best value
Beginner-friendly recommendation:
- Choose bamboo or wood for your first needles if possible.
The “Must-Have” Small Tools for Knitting
You can knit with just yarn and needles, but a few small items make everything easier—especially for finishing and fixing mistakes.
Tapestry needle (yarn needle)
A tapestry needle is used to weave in yarn ends so your project doesn’t unravel. It’s also used to sew seams if you make a project in pieces.
Look for:
- A blunt tip (so it doesn’t split yarn)
- A large eye (so yarn fits easily)
Scissors
Any small scissors work. Keep them safely stored and use them carefully.
Stitch markers (or substitutes)
Stitch markers help you:
- Mark the beginning of a round (if you knit in the round later)
- Mark pattern repeats
- Track increases/decreases
- Highlight the last stitch so you don’t miss it
Budget option: paper clips, small safety pins, or bits of contrasting yarn tied loosely.
Measuring tape
Not required, but very useful when you start making wearables:
- Scarves, hats, headbands, sleeves
- Checking gauge (more on that soon)
A simple project bag
This doesn’t need to be fancy. A tote bag or zip pouch keeps:
- Your yarn clean
- Your work from tangling
- Your needles from getting lost
If you’ve ever had yarn roll under a couch, you’ll appreciate this.
Understanding Yarn Labels (So You Buy the Right Things)
Yarn labels give you key info. You don’t need to memorize everything—just learn what matters most for beginners.
Yarn weight and recommended needle size
Look for the yarn weight (#4 / Medium / Worsted). The label often suggests a needle size range, and that can guide you if you’re unsure.
Fiber content
Common beginner-friendly label examples:
- 100% acrylic
- 80% acrylic / 20% wool
- 100% wool
- 100% cotton
Fiber affects stretch, feel, warmth, and how the yarn behaves while knitting.
Yardage (meters/yards)
This tells you how much yarn you’re actually getting. Two skeins can be the same size but different yardage. When planning a scarf, yardage matters more than “number of skeins.”
Care instructions
If you want easy maintenance, choose yarn that is:
- Machine washable
- Simple to dry (often laid flat)
For a first project, easy care reduces stress.
Gauge: The Word You’ll Hear Everywhere (Explained Simply)
Gauge is how many stitches and rows fit into a certain measurement (like 4 inches / 10 cm). It matters most for clothing, because it affects sizing.
For a beginner scarf, gauge doesn’t have to be perfect. But it’s helpful to know this:
- Needle size + yarn + your tension = your fabric
If your stitches are tight, your fabric becomes smaller and denser.
If your stitches are loose, your fabric becomes bigger and drapier.
When you’re starting, focus on consistency. Gauge mastery can come later.
Beginner Buying Mistakes (and How to Avoid Them)
Most knitting frustration comes from supplies that make learning harder.
Mistake 1: Starting with very dark yarn
Dark yarn hides stitches, making it harder to:
- See where to insert your needle
- Count stitches
- Spot mistakes
Fix: start with a light or medium shade.
Mistake 2: Choosing fuzzy yarn as your first yarn
Fluffy yarn blurs stitch definition. It can look pretty in a finished sweater, but it’s not friendly for learning.
Fix: choose smooth yarn first, then try fluffy yarn once you can “read” stitches.
Mistake 3: Buying needles that are too small
Small needles with worsted yarn create tight stitches and hand strain.
Fix: start with US 8 or US 9 for worsted yarn.
Mistake 4: Buying a giant needle set immediately
Sets can be great later, but beginners often end up with many sizes they don’t use.
Fix: buy one needle size first. Add more when you start different projects.
Mistake 5: Skipping finishing tools
Many beginners forget a tapestry needle and then struggle to finish their project properly.
Fix: add a tapestry needle to your first purchase. It’s inexpensive and essential.
The Best Beginner Knitting Setup (Minimal but Effective)
If you want the simplest “buy this and start” kit, here’s a great option:
- Smooth worsted weight (#4) yarn in a light color
- US 8 (5.0 mm) bamboo/wood needles (straight or circular)
- Tapestry needle
- Scissors
- Stitch markers (or paper clips)
With this, you can learn:
- Casting on
- Knit stitch
- Purl stitch (optional early)
- Garter stitch and stockinette practice
- Binding off
- Weaving in ends
And you can make:
- Garter stitch scarf
- Dishcloth
- Headband
- Simple blanket squares
A Smart Upgrade Path (So You Spend Money Only When It Helps)
Once you know you enjoy knitting, here are upgrades that often feel worth it.
Ergonomic comfort upgrades
If your hands get tired:
- Try different needle materials (wood vs metal)
- Consider circular needles for better weight distribution
- Use a softer yarn that glides well but still shows stitches
Skill expansion tools
When you start patterns beyond scarves:
- More stitch markers
- Row counter (or a simple notebook)
- A small crochet hook (helpful for fixing dropped stitches)
- A needle gauge ruler (optional)
Needle set (later, not first)
A needle set makes sense when:
- You know what sizes you like
- You knit often enough to use multiple sizes
- You want consistency in feel and quality
If you only knit occasionally, individual needles might be better.
First Project Shopping Tips: Yarn + Needle Pairings That Work
If you’re choosing supplies for your first project, these combos are very beginner-friendly:
Garter stitch scarf (classic beginner project)
- Worsted acrylic or wool blend
- US 8 or US 9 needles (wood/bamboo)
- 2–4 skeins (depending on yardage and desired length)
Knit dishcloth (quick and useful)
- Worsted cotton yarn
- US 7–8 needles (cotton often works well with slightly smaller needles)
- 1 skein is usually plenty for multiple cloths
Simple headband
- Worsted soft yarn
- US 8 needles
- 1 skein is usually enough
The best beginner projects are the ones you can finish, not the ones that look impressive on day one.
What to Do After You Buy Your Supplies
To turn your supplies into progress quickly, follow this order:
- Practice casting on 15–25 stitches
- Knit every row for a small garter stitch swatch
- Bind off and weave in ends (practice finishing early!)
- Start a small project like a dishcloth or short scarf
Finishing something small builds confidence fast and teaches you the full knitting process.
The Big Takeaway: Simple Supplies Make Learning Faster
You don’t need expensive tools to knit well. You need beginner-friendly choices:
- smooth, medium yarn you can see
- needles that are comfortable and not too slippery
- a tapestry needle so you can actually finish your projects neatly
Start small, learn the basics, finish your first project, and then expand your toolkit based on what you enjoy making. That approach saves money and keeps knitting fun—exactly how it should be.

Isabella Garcia is the creator of a blog dedicated to crafts and home care, focused on making everyday life more creative, organized, and enjoyable. The blog shares practical tips, easy DIY projects, home organization ideas, and simple solutions to take better care of your living space. Whether you’re a beginner in crafting or someone looking for inspiration to improve your home routine, Isabella’s blog offers clear, useful, and hands-on content to help you create a cozy, beautiful, and well-cared-for home.