
If you’re just starting crochet, it’s easy to believe you need to learn a hundred stitches before you can make anything worth keeping. You don’t. Most beginner projects—and a surprising number of advanced ones—are built from a small set of foundational stitches. Once you understand those stitches and how to recognize them in your work, crochet becomes less like “following instructions” and more like building with LEGO bricks.
In this guide, you’ll learn the essential crochet stitches every beginner should know, how to make them step by step, what they’re used for, how to count them, and how to practice in a way that quickly improves your consistency. You’ll also learn the most common reasons stitches look uneven (and how to fix that without frustration).
The Core Skills Behind Every Stitch
Before diving into the stitches themselves, it helps to understand the three actions that power almost everything in crochet:
- Insert the hook into a chain, stitch, or space
- Yarn over (wrap yarn over the hook)
- Pull through one or more loops
If you can do those calmly and consistently, you can crochet. Stitches are just different combinations of those actions.
Two beginner tips that make a big difference right away:
- Keep the loop on your hook snug but movable, not tight.
- Let the hook do the work—avoid pulling the yarn hard after every step.
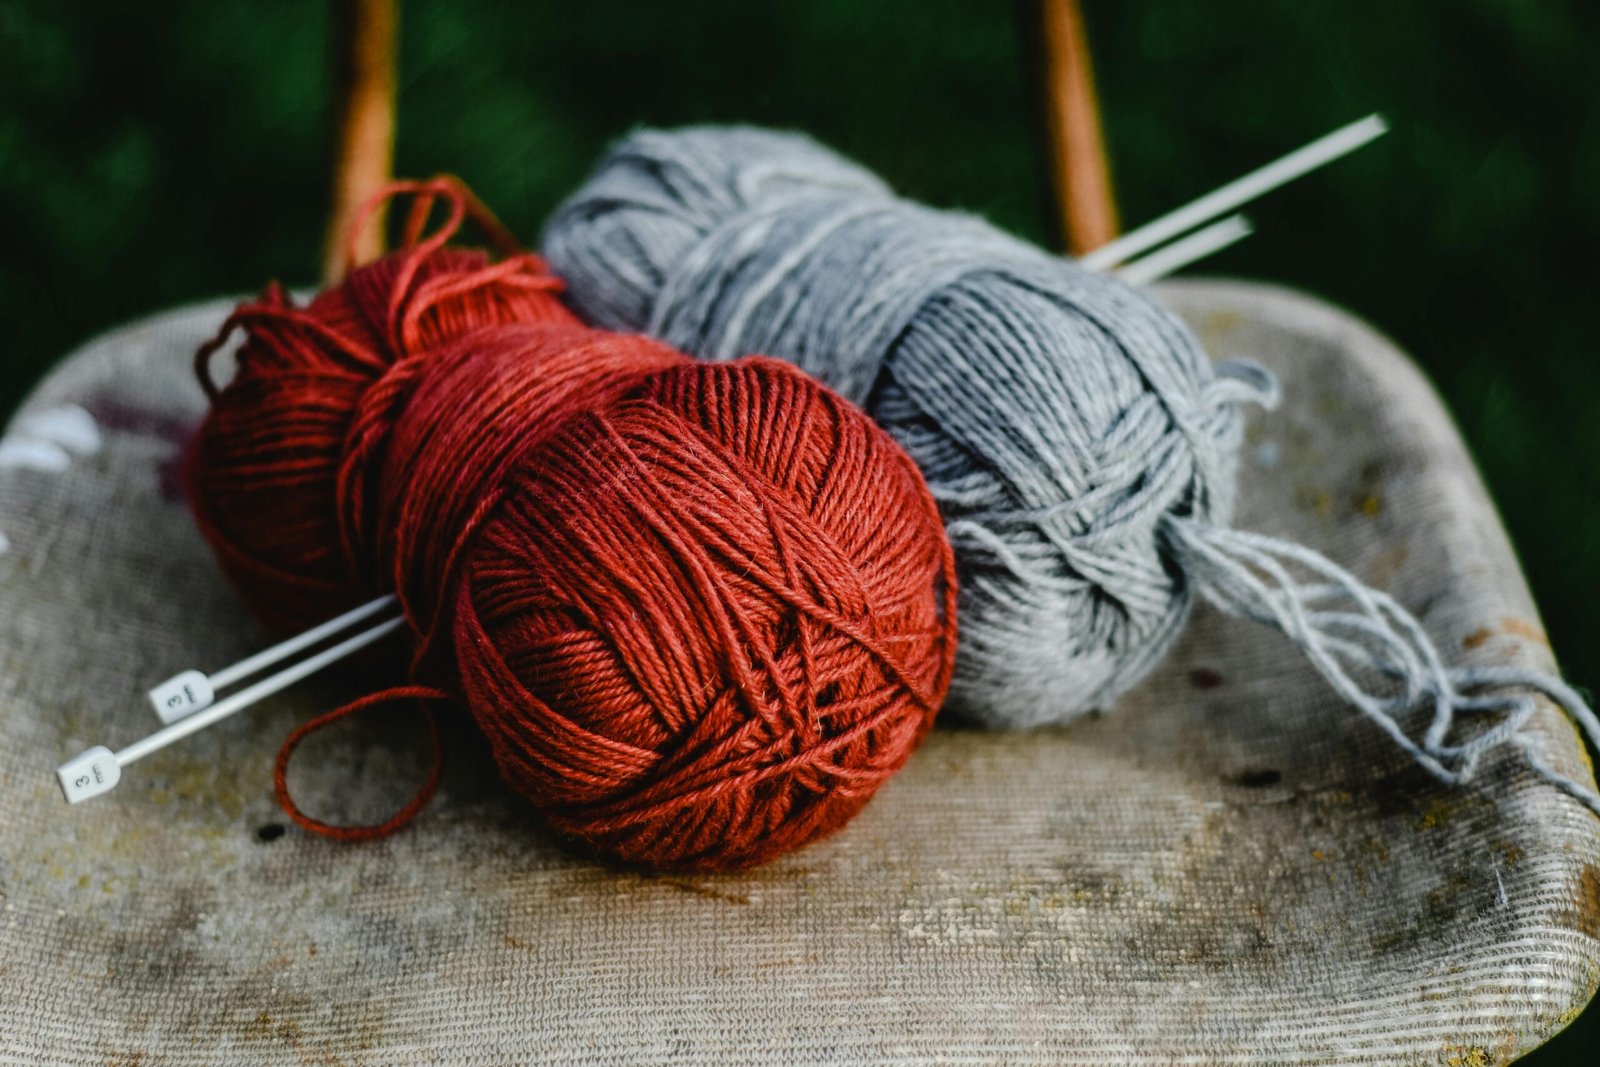
What You Need to Practice These Stitches
You can practice with almost any yarn and hook, but learning is easier when stitches are visible.
A beginner-friendly setup:
- Smooth worsted weight (#4) yarn in a light or medium color
- A 5.0 mm (H/8) or 5.5 mm (I/9) crochet hook
- A stitch marker (or paper clip/safety pin) if you have one
This combo makes loops large enough to see and reduces the “why won’t this hook go in?” problem.
The Foundation: Slip Knot and Chain Stitch
These aren’t usually listed as “stitches” in patterns the way single crochet is, but they are the foundation of most crochet.
Slip Knot
A slip knot is the adjustable loop that starts your work. It should sit on the hook snugly, but you should still be able to slide it.
A common beginner mistake is tightening the slip knot too much. If the loop doesn’t move on the hook, loosen it.
Chain Stitch (ch)
The chain stitch creates a starting chain and also forms chain spaces in patterns.
How to make a chain:
- Yarn over
- Pull through the loop on your hook
Repeat.
Beginner checks:
- Chains should look like a row of little “V” shapes.
- If your chain feels rigid and you struggle to insert your hook later, you’re chaining too tightly.
A helpful trick: try holding the working yarn a little looser during chaining, or use a hook 0.5 mm larger for the foundation chain only.
Slip Stitch: The Quiet Helper
Slip stitch is a short stitch used for joining and moving.
Slip Stitch (sl st)
How to do it:
- Insert hook into the stitch (or chain space)
- Yarn over
- Pull through the stitch and the loop on your hook in one motion
Slip stitches are used to:
- Join rounds (like closing a circle)
- Move to a new position without adding height
- Create subtle edges or seams
Beginner warning: slip stitch is easy to make too tight. Keep it relaxed so your fabric doesn’t pucker.
Single Crochet: The Most Important Beginner Stitch
Single crochet creates a dense, sturdy fabric. It’s a workhorse stitch used in coasters, dishcloths, amigurumi, bags, and many textured patterns.
Single Crochet (sc)
How to do it:
- Insert hook into the next stitch
- Yarn over and pull up a loop (you’ll have 2 loops on your hook)
- Yarn over and pull through both loops
That’s one single crochet.
How it looks:
- The top of each stitch forms a “V” on the edge of your work.
- Single crochet fabric looks tight and even when tension is consistent.
Common beginner issues:
- Missing the last stitch of the row (causes narrowing)
- Accidentally adding a stitch at the end (causes widening)
- Crocheting too tight (makes inserting the hook difficult)
If your edges are messy, use a stitch marker in the first and last stitch of every row while practicing.
Half Double Crochet: The Balanced Stitch
Half double crochet is a great “middle stitch.” It’s taller than single crochet, softer, and builds up fabric faster without being too open.
Half Double Crochet (hdc)
How to do it:
- Yarn over
- Insert hook into the next stitch
- Yarn over and pull up a loop (3 loops on hook)
- Yarn over and pull through all 3 loops
How it feels:
- Faster than single crochet
- Less holey than double crochet
- Great for headbands, scarves, and cozy rectangles
Common beginner issues:
- Forgetting the first yarn over (turning it into a single crochet by accident)
- Pulling through loops unevenly (causes inconsistent height)
A good practice tip: after pulling up the loop (3 loops on hook), pause for a second and make sure the loops are similar size before pulling through all three.
Double Crochet: The Classic “Fast and Drapey” Stitch
Double crochet is one of the most common stitches in crochet patterns. It’s taller, airier, and creates a fabric with more drape—perfect for scarves, blankets, and wearable accessories.
Double Crochet (dc)
How to do it:
- Yarn over
- Insert hook into the next stitch
- Yarn over and pull up a loop (3 loops on hook)
- Yarn over and pull through 2 loops (now 2 loops remain)
- Yarn over and pull through the last 2 loops
Double crochet has a clear rhythm: pull through 2, pull through 2.
Common beginner issues:
- Pulling through all 3 loops at once (that’s not dc)
- Making the stitch too loose so the fabric looks sloppy
- Confusing the turning chain with a stitch (this matters a lot in dc patterns)
A helpful beginner rule: keep the height of each double crochet consistent by making sure you pull up the loop to the same height each time before completing the stitch.
Treble Crochet: Taller, Airier, and Great for Lacy Looks
Treble crochet (sometimes called triple crochet) makes tall stitches quickly. You’ll see it in lace patterns, open textures, and decorative work.
Treble Crochet (tr)
How to do it:
- Yarn over twice
- Insert hook into the next stitch
- Yarn over and pull up a loop (4 loops on hook)
- Yarn over and pull through 2 loops (3 loops remain)
- Yarn over and pull through 2 loops (2 loops remain)
- Yarn over and pull through the last 2 loops
Treble crochet has a steady sequence: pull through 2, pull through 2, pull through 2.
Common beginner issues:
- Forgetting one of the yarn overs at the start
- Pulling the stitch too tall, making it uneven
- Losing track of loops
If treble crochet feels confusing, practice slowly and count loops on the hook at each step.
Turning Chains: Why Your Rows Start with Chains
When you crochet in rows, you usually need a turning chain to bring the yarn up to the height of the next row.
Typical turning chains:
- Single crochet: ch 1
- Half double crochet: ch 1 or ch 2 (pattern dependent)
- Double crochet: ch 2 or ch 3 (pattern dependent)
- Treble crochet: ch 3 or ch 4 (pattern dependent)
The pattern should tell you which to use. The confusing part is whether the turning chain counts as a stitch. Some patterns count it; some don’t.
Beginner-friendly approach while learning:
- If you’re practicing plain rows, focus on keeping the number of stitches consistent per row.
- Use stitch markers on the first and last stitch so you don’t lose edges.
- Don’t stress about turning chain rules until you start following specific patterns.
How to Count Stitches (So Your Practice Doesn’t Turn into a Triangle)
Most beginner “my rectangle is weird” problems come from stitch counting, especially at the row ends.
How to count:
- Look at the top edge of your work. Each stitch forms a “V.”
- Count each “V” across the row.
Where beginners go wrong:
- The first stitch after turning can be easy to miss.
- The last stitch can hide, especially in single crochet.
- Turning chains can look like stitches and confuse counting.
A simple fix: put a marker in the first stitch of the row as soon as you make it. When you reach the end of the row, you’ll know where the last stitch should be because your count will match.
How to Practice These Stitches the Smart Way
Random practice is better than no practice, but structured practice gets results faster. Here’s a simple plan that builds skill and confidence.
Practice Swatch 1: Single Crochet Consistency
- Chain 21
- Single crochet in the second chain from the hook, then across
- Ch 1, turn
- Single crochet across for 10–15 rows
- Count stitches each row (should stay the same)
Your goal: straight edges and even stitch height.
Practice Swatch 2: Half Double Crochet Rhythm
- Chain 21
- Hdc in the third chain from the hook (depending on your turning chain choice), then across
- Turn with your chosen turning chain
- Hdc for 10–15 rows
Your goal: consistent height and smooth yarn flow.
Practice Swatch 3: Double Crochet Drape
- Chain 22
- Dc in the fourth chain from the hook (common setup), then across
- Dc rows for 10–15 rows
Your goal: consistent “pull through 2” rhythm and neat row ends.
Practice Swatch 4: A Mini Sampler
Make a small rectangle where each section uses a different stitch:
- 4 rows sc
- 4 rows hdc
- 4 rows dc
- 4 rows tr
This teaches you stitch height differences and helps your eyes learn what each stitch looks like.
Fixing Uneven Stitches: The Real Reasons It Happens
If your stitches look uneven, it’s usually one (or more) of these:
- Your tension changes when you turn the work
- You pull the loop up higher sometimes and lower other times
- You rush the yarn over motion and snag/split the yarn
- You tighten after completing a stitch inconsistently
Try these fixes:
- Slow down on the first 3 stitches of each row (they set the row’s tension)
- Make sure the loop on your hook stays about the same size before pulling through
- Relax your grip on the yarn
- Practice for 10 minutes daily instead of 60 minutes once a week
Consistency comes from repetition, not intensity.
How to Recognize Each Stitch in Your Fabric
Being able to “read” your crochet makes you more confident and helps you fix mistakes early.
Look for:
- The top “V” loops: these are where you insert your hook for the next row
- Stitch height: sc is short, hdc medium, dc tall, tr taller
- Texture: sc is dense, dc/tr are more open
If you lose track, stop and count how many “yarn-over steps” were used:
- sc: no yarn over at the start
- hdc: one yarn over at the start
- dc: one yarn over + two pull-through steps
- tr: two yarn overs + three pull-through steps
This mental model helps you identify what you did—even if it isn’t what you meant to do.
What You Can Make with Just These Stitches
Once you know chain, slip stitch, sc, hdc, and dc, you can already make:
- Coasters (sc or hdc)
- Dishcloths (sc or hdc)
- Scarves (dc or hdc)
- Headbands (hdc)
- Simple blankets (dc or mixed stitches)
- Basic granny-style projects (once you learn working in rounds)
You don’t need advanced stitches to create useful, good-looking items. The difference between “beginner-looking” and “clean-looking” is often consistent tension and stitch counting, not fancy patterns.
The Big Takeaway: Master These, Then Expand
If you focus on:
- Chain
- Slip stitch
- Single crochet
- Half double crochet
- Double crochet
- (and treble when you’re ready)
…you’ll have the foundation for a huge portion of crochet patterns. Spend time making these stitches feel comfortable in your hands, and everything else becomes easier.

Isabella Garcia is the creator of a blog dedicated to crafts and home care, focused on making everyday life more creative, organized, and enjoyable. The blog shares practical tips, easy DIY projects, home organization ideas, and simple solutions to take better care of your living space. Whether you’re a beginner in crafting or someone looking for inspiration to improve your home routine, Isabella’s blog offers clear, useful, and hands-on content to help you create a cozy, beautiful, and well-cared-for home.