
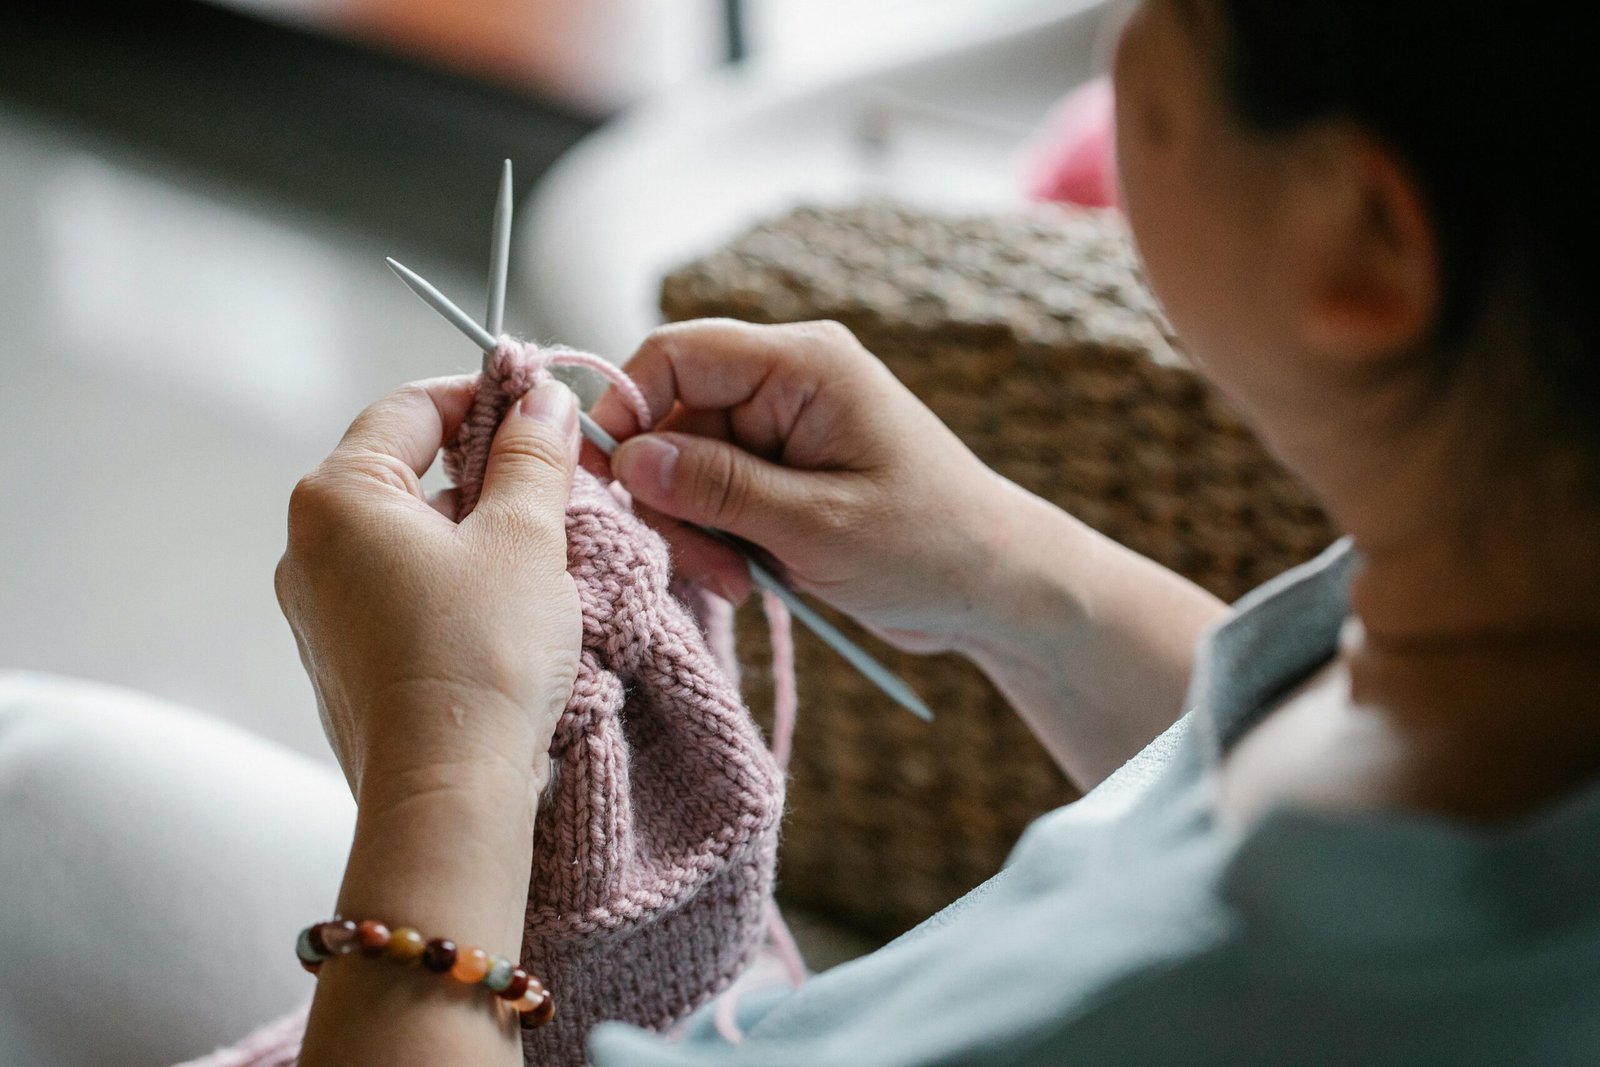
Gauge is one of those words that pops up in patterns and immediately makes beginners nervous. It sounds technical, like you need special tools or advanced math, and it can feel like the difference between “real crafters” and “people who are just messing around with yarn.”
But gauge isn’t scary. Gauge is simply how big your stitches are and how those stitches add up to a final size.
If you’ve ever made a scarf that came out much wider than you expected, a hat that could fit a toddler when it was supposed to fit an adult, or a sweater panel that’s somehow two inches shorter than the pattern says—gauge is the reason.
The best part? Once you understand gauge, you’ll stop guessing, stop wasting yarn, and feel more confident choosing hook/needle sizes and yarn. This guide will explain gauge in a practical, beginner-friendly way, show you how to measure it correctly, and give you simple ways to adjust so your projects come out the size you want.
What Is Gauge (In Plain English)?
Gauge is the number of stitches and rows that fit into a certain measurement—usually:
- 4 inches x 4 inches (common in US patterns)
- 10 cm x 10 cm (common in many international patterns)
So if a pattern says:
“Gauge: 16 sts x 20 rows = 4 in (10 cm) in stockinette”
It means: when you knit stockinette with the recommended yarn and needles, you should get 16 stitches across and 20 rows tall within a 4-inch square.
Crochet patterns do this too, often using single crochet or a specific stitch pattern.
Gauge is essentially the pattern saying:
“Here’s the stitch size I used to make this project come out correctly.”
Why Gauge Matters (and When It Doesn’t)
Gauge matters most when size matters.
Gauge matters a lot for:
- sweaters, cardigans, tops
- hats (fit is important)
- socks and mittens
- fitted headbands
- anything with measurements (especially wearables)
- items you must assemble (multiple panels need to match)
Gauge matters less for:
- simple scarves (unless you care about exact width)
- blankets (size can be flexible)
- dishcloths (usually forgiving)
- casual home décor items
Even when a project is “forgiving,” gauge still affects:
- how much yarn you use
- how the fabric feels (stiff vs drapey)
- the final look (tight texture vs airy holes)
So while you don’t always need perfect gauge, understanding it helps you make better choices.
The Three Big Things That Control Gauge
Your gauge is influenced by:
1) Yarn thickness (weight)
Thicker yarn creates larger stitches. Thinner yarn creates smaller stitches.
2) Hook/needle size
Larger hook/needle makes larger loops (bigger stitches). Smaller hook/needle makes smaller loops.
3) Your personal tension
Some people naturally crochet/knit tight. Others are naturally loose.
Tension is not “good” or “bad.” It’s personal. Gauge helps you work with your natural tension instead of fighting it.
Stitch Gauge vs Row Gauge (They’re Different)
Gauge usually includes two measurements:
- Stitch gauge = stitches across
- Row gauge = rows tall
Stitch gauge is usually the most important because it affects width (and overall size). Row gauge matters too, but many patterns allow you to adjust length by knitting/crocheting more or fewer rows.
In wearables, both can matter—especially when armholes, shaping, and pattern placement depend on row counts.
Why Beginners Often Avoid Gauge (and Why That Backfires)
Beginners skip gauge swatches because:
- they want to start the “real project” immediately
- swatching feels like wasted time
- they think it’s only for advanced projects
- they assume their tension will “just match” the pattern
But here’s what usually happens if you skip it on a fitted item:
- you spend hours making the piece
- it comes out the wrong size
- you feel frustrated and blame yourself
- you either redo it or abandon it
Swatching is not about perfection. It’s about avoiding a bigger waste of time later.
What Is a Gauge Swatch?
A gauge swatch is a small sample piece you make using:
- the same yarn as your project
- the same hook/needles as your project
- the same stitch pattern the gauge is based on
Then you measure it to see if your stitch size matches the pattern.
Think of it like a test drive before you commit to a long trip.
How Big Should a Gauge Swatch Be?
This is a huge beginner mistake: making a swatch that’s too small.
If you measure gauge on the edge of fabric, your measurements can be distorted by:
- looser edge stitches
- curling (especially in stockinette)
- turning chain differences (crochet)
- tension settling differently at edges
A good rule:
- Make a swatch at least 5–6 inches (12–15 cm) wide and tall
- Then measure in the center 4 inches (10 cm)
That way you’re measuring stable stitches, not edge weirdness.
How to Make a Crochet Gauge Swatch (Step by Step)
Let’s say a crochet pattern says:
“Gauge: 14 sc x 16 rows = 4 inches in single crochet.”
Here’s what you do:
Step 1: Use the yarn and hook you plan to use
Even small differences in yarn brand or fiber can change gauge.
Step 2: Chain more than you need
If the gauge is 14 stitches across in 4 inches, don’t chain only 14+1. Chain more so you can measure in the middle.
A simple approach:
- Chain enough for 18–22 stitches, depending on yarn thickness
- The goal is to create a swatch at least 5 inches wide
Step 3: Crochet the stitch pattern used for gauge
If the pattern says gauge is in single crochet, swatch in single crochet.
If it says “in pattern,” swatch the actual stitch pattern (this is important).
Step 4: Make it tall enough
Crochet at least 5–6 inches in height, then stop.
Step 5: Let it relax
Crochet fabric changes slightly after you stop and let it rest. If possible, set it down for 10–20 minutes before measuring.
Step 6: Measure the center area
Use a ruler or measuring tape. Place it across the center and count how many stitches fit in 4 inches.
Count stitches by looking at the top “V” loops or the stitch bodies, depending on the stitch. Take your time.
How to Make a Knitting Gauge Swatch (Step by Step)
If a knitting pattern says:
“Gauge: 18 sts x 24 rows = 4 inches in stockinette.”
Here’s how to swatch properly:
Step 1: Use the same yarn and needles you’ll use
Gauge changes drastically with needle size and yarn.
Step 2: Cast on extra stitches
If gauge is 18 stitches per 4 inches, cast on more so you can measure in the center.
A simple approach:
- Cast on 24–30 stitches for worsted weight
- You want a swatch at least 5–6 inches wide
Step 3: Knit the stitch pattern used for gauge
If gauge is stockinette:
- knit a row, purl a row (when knitting flat)
Step 4: Add a small border (helps prevent curling)
Stockinette curls. Curling makes measuring harder. A border helps.
Beginner-friendly border idea:
- Knit 3–4 rows in garter stitch
- Then do stockinette in the middle
- Knit 3–4 rows garter at the end
- Also knit the first and last 2–3 stitches of each row (side border)
This keeps the swatch flatter and easier to measure.
Step 5: Make it tall enough
Knit until the swatch is at least 5–6 inches tall.
Step 6: Let it rest
Knitted fabric can relax slightly. Give it a little time.
Should You Block Your Swatch?
If your finished project will be blocked, you should block your swatch the same way—especially for wearables.
When blocking the swatch is important:
- wool projects (wool changes noticeably after washing/blocking)
- lace patterns (blocking can open stitches significantly)
- garments (final dimensions depend on finishing)
When blocking might not matter much:
- basic acrylic scarves (though it can still help)
- items you won’t wash or block carefully
A good beginner rule:
If you’re making something that needs to fit, block the swatch.
How to Measure Gauge Correctly (The Part That Matters Most)
Measuring gauge is where people often go wrong.
How to measure stitch gauge
- Lay your swatch flat (don’t stretch it)
- Place a ruler across the center
- Count how many stitches fit in 4 inches
- If it doesn’t land exactly on stitch boundaries, count partial stitches carefully or count over 2 inches and double (less accurate, but okay if you’re careful)
How to measure row gauge
Do the same vertically:
- Place ruler vertically in the center
- Count how many rows fit in 4 inches
In knitting, rows can be easier to count by looking for “V” columns (stockinette) or ridges (garter). In crochet, rows are counted by row lines or stitch stacks.
Don’t stretch the fabric while measuring
Stretching changes gauge immediately, especially in knitting and in stretchy crochet stitches.
You want the fabric in a “resting” state.
What If Your Gauge Doesn’t Match?
This is the most important part: gauge mismatch is normal.
If your stitches don’t match the pattern’s gauge, you adjust—usually by changing hook/needle size.
If you have too many stitches per 4 inches (tight gauge)
That means your stitches are too small.
Fix:
- go up a hook or needle size (larger tool)
Example:
Pattern wants 18 stitches. You get 20 stitches in 4 inches.
Your fabric is too tight. Go up a needle size.
If you have too few stitches per 4 inches (loose gauge)
That means your stitches are too big.
Fix:
- go down a hook or needle size (smaller tool)
Example:
Pattern wants 18 stitches. You get 16 stitches.
Your fabric is too loose. Go down a needle size.
A change of just 0.5 mm can make a big difference.
The Simple Hook/Needle Adjustment Rule
- Too tight → bigger tool
- Too loose → smaller tool
Most of the time, you can match gauge within 1–2 tool size changes.
What If Your Stitch Gauge Matches but Row Gauge Doesn’t?
This happens often, especially in knitting.
If stitch gauge matches but row gauge is off:
- You may still be okay, depending on the project.
For many wearables, row gauge affects:
- armhole depth
- yoke depth
- sleeve length
- where shaping happens
If your row gauge is different, you have options:
- adjust by working more or fewer rows for length sections
- follow measurements instead of row counts (many patterns give inches/cm)
- in some cases, consider a different needle material or technique that changes row height slightly
Beginners should focus first on matching stitch gauge. Row gauge can often be adapted.
Gauge and Fabric Feel: Matching Gauge Isn’t the Only Goal
Sometimes you can match gauge but hate the fabric.
For example:
- you match gauge with a small hook, but the fabric is stiff and not drapey
- you match gauge with large needles, but the fabric is too airy or loose
In that case, you have a decision:
- match gauge for correct size or
- adjust yarn choice or pattern size for better fabric
This is common in crochet and knitting. The correct size isn’t worth it if the fabric feels wrong for the project.
Gauge Changes When You Change Yarn
Even if two yarns are both “worsted weight,” they can behave differently due to:
- fiber type (cotton vs wool vs acrylic)
- twist tightness
- softness and elasticity
- thickness variations
That’s why “substituting yarn” often requires rechecking gauge.
If you switch yarn from the pattern, swatching becomes even more important.
A Beginner-Friendly Example: Why Gauge Affects Hat Size So Much
Hats are a perfect gauge lesson because a small difference becomes huge around your head.
Let’s say:
- Pattern gauge: 5 stitches per inch
- Your gauge: 5.5 stitches per inch
That’s only half a stitch difference per inch.
But around a 20-inch head circumference:
- Pattern would have 100 stitches (5 x 20)
- You would need 110 stitches (5.5 x 20)
If you follow the pattern’s 100 stitches with your tighter gauge, your hat will be too small.
That’s why hats can come out wildly wrong if you skip gauge.
Gauge and Yarn Usage: Why You Might Run Out
Tighter gauge usually uses more yarn per inch because you have more stitches in the same space. Looser gauge can use less yarn per inch (though bigger stitches also use more yarn per stitch—so it depends).
Either way, gauge affects yarn requirements. That’s another reason swatching saves money.
Crochet Gauge vs Knitting Gauge: Key Differences for Beginners
Gauge matters in both crafts, but it behaves slightly differently:
Crochet gauge tips
- Turning chains affect height and edge tension.
- Some stitches (like double crochet) are naturally more open.
- Crochet gauge can vary more depending on how you pull up loops.
If your crochet gauge is inconsistent, focus on:
- keeping loop height consistent
- slowing down at row starts
- using a comfortable hook size
Knitting gauge tips
- Knit and purl tension can differ (many beginners purl tighter).
- Needle material affects how stitches slide and tighten.
- Stockinette curls, which can distort measurements.
If your knitting gauge is inconsistent, focus on:
- relaxing grip
- forming stitches on the needle shaft (not the tip)
- practicing purl tension gently
The Most Common Beginner Swatching Mistakes
Mistake 1: Swatch is too small
Fix: make a bigger swatch and measure in the center.
Mistake 2: Measuring right on the edge
Fix: measure inside the swatch away from borders.
Mistake 3: Not using the stitch pattern the pattern uses
Fix: if it says “in pattern,” swatch the actual pattern stitch.
Mistake 4: Not blocking when the project will be blocked
Fix: block your swatch the same way you’ll block the final item.
Mistake 5: Panic when gauge doesn’t match
Fix: change tool size and try again. This is normal.
A Quick, Beginner-Friendly Gauge Workflow
If you want the simplest process, do this:
- Make a 6-inch swatch in the pattern stitch
- Measure 4 inches across in the center
- Compare to pattern gauge
- Adjust hook/needle size up or down
- Make a second swatch if needed
- Start your project confidently
Yes, it takes a little time—but it saves far more time later.
When You Can Skip Swatching (A Practical Rule)
You can often skip swatching when:
- the project size is flexible (blankets, casual scarves)
- you’re following a pattern for “experience,” not fit
- you’re okay with a different final size
- you’re using the exact yarn and tools the pattern recommends and you’re not worried about precision
Even then, a small swatch can still help you choose the best hook/needle for fabric feel.
The Big Takeaway: Gauge Is a Tool for Confidence
Gauge isn’t there to make crafting harder. It’s there to make crafting predictable.
Once you understand gauge, you stop relying on hope. You’ll know:
- whether your project will fit
- whether your fabric will be stiff or drapey
- whether you need a different hook/needle size
- whether your yarn substitution will work
And that’s empowering—especially as a beginner.
If you want your projects to come out closer to what you picture in your head (and what you see in patterns), gauge is the skill that bridges the gap.

Isabella Garcia is the creator of a blog dedicated to crafts and home care, focused on making everyday life more creative, organized, and enjoyable. The blog shares practical tips, easy DIY projects, home organization ideas, and simple solutions to take better care of your living space. Whether you’re a beginner in crafting or someone looking for inspiration to improve your home routine, Isabella’s blog offers clear, useful, and hands-on content to help you create a cozy, beautiful, and well-cared-for home.