
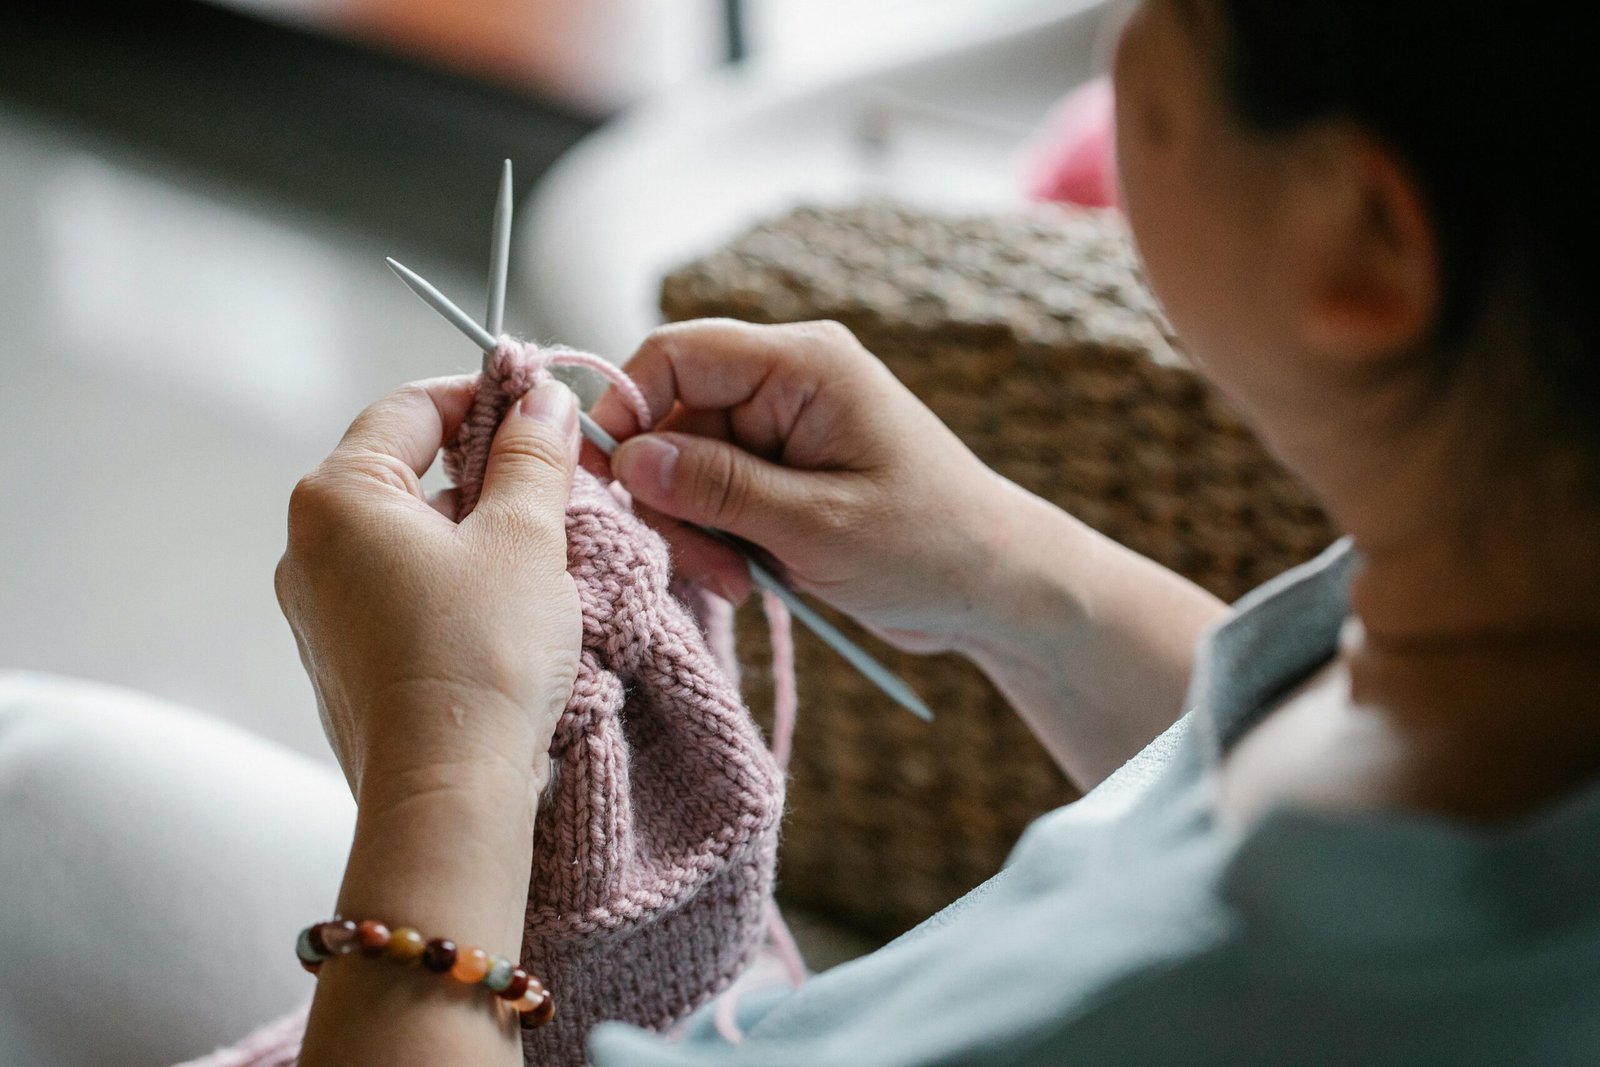
Starting crochet or knitting is exciting… until you realize how many tiny skills seem to stack up at once. You’re learning how to hold yarn, how to hold a hook or needles, how to form stitches, how to count, how to turn, how to fix mistakes, how to finish, and how to choose supplies without accidentally buying the worst yarn imaginable for a beginner.
That “too many things at once” feeling is the #1 reason people quit early—not because they can’t learn, but because they don’t have a clear path. The fastest way to become confident is to follow a beginner roadmap that builds skills in the right order and gives you quick wins. You don’t need to master everything up front. You need a simple sequence: learn one skill, use it in a tiny project, finish it, and move on.
This article is a complete beginner roadmap for both crochet and knitting. It will help you pick a starting craft, choose the right supplies, learn the core stitches, practice in a way that improves tension quickly, and finish your first project neatly. It’s designed to be practical: less theory, more “here’s what to do next.”
Decide Your First Craft: Crochet or Knitting?
You can learn both, but starting with one helps you build confidence faster.
Choose crochet first if you want:
- faster early progress and visible results
- easier mistake recovery (usually one active loop)
- textured projects like granny squares, bags, and toys
Choose knitting first if you want:
- classic wearable fabric (sweaters, hats, drapey scarves)
- a rhythmic, repetitive motion that feels calming
- ribbing, stockinette, and knitwear-style pieces
If you’re undecided, a simple tie-breaker is this: pick the craft that matches your first project goal. If you want a granny square blanket or plush toys, go crochet. If you want a classic scarf or sweater-style fabric, go knitting.
Choose Beginner-Friendly Supplies (Keep It Simple)
You don’t need a big kit. You need a setup that makes stitches easy to see and manipulate.
Beginner yarn rules:
- pick smooth yarn (not fuzzy)
- choose a light or medium solid color (avoid black at first)
- start with worsted weight (#4)
Beginner crochet supplies:
- 5.0 mm hook (5.5 mm as a backup if you crochet tight)
- worsted weight yarn (#4)
- yarn needle
- scissors
- stitch markers (or paper clips)
Beginner knitting supplies:
- US 8 (5.0 mm) needles (circular needles are versatile)
- worsted weight yarn (#4)
- yarn needle
- scissors
- stitch markers (optional but helpful)
If you’re prone to gripping tightly or your hands get tired, consider an ergonomic crochet hook or wooden/bamboo knitting needles. Comfort matters more than “the best brand.”
Learn the “Core” Skills First (Not Everything)
Beginners often try to learn too many stitches and end up overwhelmed. You only need a core set to start making real projects.
Crochet core skills:
- chain (ch)
- single crochet (sc)
- half double crochet (hdc) or double crochet (dc)
- turning chains
- counting stitches
- weaving in ends
Knitting core skills:
- cast on
- knit stitch
- purl stitch (not required for your first knit-only project, but useful soon)
- bind off
- counting stitches and rows
- weaving in ends
Everything else is a variation or combination of these.
The Most Important Beginner Skill: Consistent Tension
If your stitches are too tight, you’ll feel like you’re fighting your tools. If your stitches are too loose, your fabric may look messy and uneven. The goal isn’t “perfect tension”—it’s consistent tension.
Fast tension improvements come from:
- using the right hook/needle size (don’t be afraid to go up a size)
- slowing down for the first few stitches of each row
- keeping your shoulders relaxed and your grip gentle
- practicing in short sessions (10–20 minutes)
Tension gets better automatically as your hands build muscle memory. You don’t have to “force” it into place.
Start With Practice Swatches (But Make Them Purposeful)
Swatches don’t have to be boring. Think of them as “mini training projects.”
Crochet practice swatch:
- chain 21
- single crochet across (20 stitches)
- chain 1, turn
- repeat for 10 rows
- count stitches every row (always 20)
Knitting practice swatch:
- cast on 25 stitches
- knit every row (garter stitch) for 20–30 rows
- bind off
- focus on even tension and clean edges
These swatches teach you:
- how to keep edges straight
- how to count and maintain stitch count
- how to feel the rhythm of the craft
If your swatch turns into a trapezoid, that’s not failure—it’s information. It usually means you’re adding or missing stitches at the edges.
Learn Stitch Counting Early (It Prevents 80% of Frustration)
Beginners often avoid counting because it feels slow. But counting is the quickest way to improve.
Crochet counting habits:
- count stitches at the end of every row while learning
- place a marker in the first and last stitch of each row
- make sure your stitch count stays consistent
Knitting counting habits:
- count stitches every few rows
- use markers to divide repeats if needed
- learn to recognize what knit and purl stitches look like
If you build counting into your routine early, your projects will stop “mysteriously” changing shape.
Choose Your First Project (A Real Finish Builds Confidence)
The best first projects are small and useful. You want something you can finish in a few sessions.
Best first crochet projects:
- coaster (single crochet)
- dishcloth (cotton yarn, simple stitch)
- simple scarf (half double or double crochet)
Best first knitting projects:
- garter stitch dishcloth
- garter stitch scarf
- ribbed headband (once you learn purl)
Your first project should be mostly repetition. Repetition builds speed, confidence, and muscle memory.
Finishing Skills: The Difference Between “Made It” and “Finished It”
A lot of beginner projects look messy not because the stitching is bad, but because the finishing is skipped or rushed.
Two finishing skills matter most:
- weaving in ends securely
- shaping/flattening (light blocking when appropriate)
Weaving in ends basics:
- use a yarn needle
- weave through 6–10 stitches in one direction
- change direction and weave back through a different path
- trim after it feels secure
Blocking basics:
- for cotton/wool: dampen and shape flat to dry
- for acrylic: gentle steam from a distance (no pressing)
Even basic finishing makes your project look dramatically more polished.
Common Beginner Problems and the Fast Fixes
“My stitches are too tight.”
- go up a hook/needle size
- stop tugging yarn after each stitch
- form stitches on the shaft of the tool, not the tip
“My edges look messy.”
- use stitch markers on row ends
- count stitches every row
- slow down at the last stitch of each row
“My project gets wider or narrower.”
- stitch count is changing—count every row
- look for accidental extra stitches at the ends
- don’t skip the last stitch (it likes to hide)
“I keep losing my place.”
- track rows in a notebook or phone
- use stitch markers as checkpoints
- read patterns one line at a time, not all at once
A Simple 2-Week Beginner Plan (That Actually Works)
If you want structure, follow this plan. Keep sessions short and consistent.
Days 1–3: Setup + basics
- learn how to hold yarn and tools comfortably
- practice chain/cast-on and basic stitch motions
- stop before your hands get tired
Days 4–6: Swatch practice
- crochet: 10 rows of single crochet with stitch counting
- knit: garter stitch swatch with calm tension
- focus on straight edges and consistent stitches
Days 7–10: Start a small project
- crochet: coaster or dishcloth
- knit: dishcloth or short scarf start
- practice weaving in one end early so you learn finishing
Days 11–14: Finish and refine
- finish the project (weave ends properly)
- lightly block if needed
- start a second small project using the same skills
Finishing twice is where confidence really appears.
How to Know You’re Ready to Level Up
You’re ready for the next skill when:
- you can keep stitch count consistent without constant checking
- your tension is improving and you’re not fighting the tool
- you can fix small mistakes without panic
- you’ve finished at least one complete item
Level-up options for crochet:
- granny squares (working in the round)
- simple increases/decreases
- joining pieces (slip stitch or whip stitch seams)
Level-up options for knitting:
- stockinette stitch (knit one row, purl one row)
- ribbing (k1p1 or k2p2)
- simple hats with decreases
The best time to learn new techniques is after you have a “foundation win” behind you.
The Takeaway: Start Small, Repeat, Finish, Then Expand
Crochet and knitting are both built on a small set of fundamentals. The fastest path isn’t learning ten stitch patterns—it’s mastering the basics through repetition and finishing. If you keep your supplies beginner-friendly, count stitches early, practice in short sessions, and choose small projects that actually get completed, you’ll build skills quickly without burning out.
Your next step should be clear: pick one craft, grab smooth worsted yarn, practice a small swatch with stitch counting, and finish a simple project. Once you do that, you’re no longer “starting.” You’re crafting.

Isabella Garcia is the creator of a blog dedicated to crafts and home care, focused on making everyday life more creative, organized, and enjoyable. The blog shares practical tips, easy DIY projects, home organization ideas, and simple solutions to take better care of your living space. Whether you’re a beginner in crafting or someone looking for inspiration to improve your home routine, Isabella’s blog offers clear, useful, and hands-on content to help you create a cozy, beautiful, and well-cared-for home.