
Color changes are one of the fastest ways to make beginner projects look intentional and impressive. A simple scarf becomes a striped scarf. A basic dishcloth becomes a modern color-blocked piece. Granny squares become a palette you actually want to display. The best part is that you don’t need advanced stitches to get great results—you just need a few reliable techniques for switching yarn cleanly and securing your ends so nothing unravels later.
Beginners usually struggle with the same issues when changing colors: messy “steps” where colors meet, gaps at the edge of rows, yarn tails popping out, or lumps from awkward knots. This guide will teach you the beginner-friendly methods that work for both crochet and knitting, explain when to carry yarn versus cut it, and help you choose the best technique for the kind of colorwork you’re doing.
What Makes a Color Change Look “Clean”?
A clean color change usually has three qualities:
- The new color starts exactly where it should, without a fuzzy blend or half-stitch of the old color showing.
- The edges stay neat, especially when you change colors at the end of rows.
- The ends are secured well enough that washing and wearing won’t pull them loose.
Perfectly invisible transitions are not always possible (especially in some crochet stitches and in knitting stripes in the round), but you can get “clean and consistent,” which is what makes projects look professional.
The Two Big Color-Change Decisions
Before you switch colors, decide these two things:
- Are you changing color at the end of a row/round, or in the middle?
- Are you going to cut the yarn, or carry it along the edge/back?
Cutting creates more ends to weave in, but it’s often cleaner and more flexible. Carrying reduces ends, but it can create floats or a visible carried strand if you aren’t careful.
A beginner rule that keeps life simple:
- For wide stripes or big blocks of color: cut the yarn and rejoin.
- For narrow stripes (like 2-row stripes): carry the yarn only if it won’t show, or if your project has a border/seam that hides it.
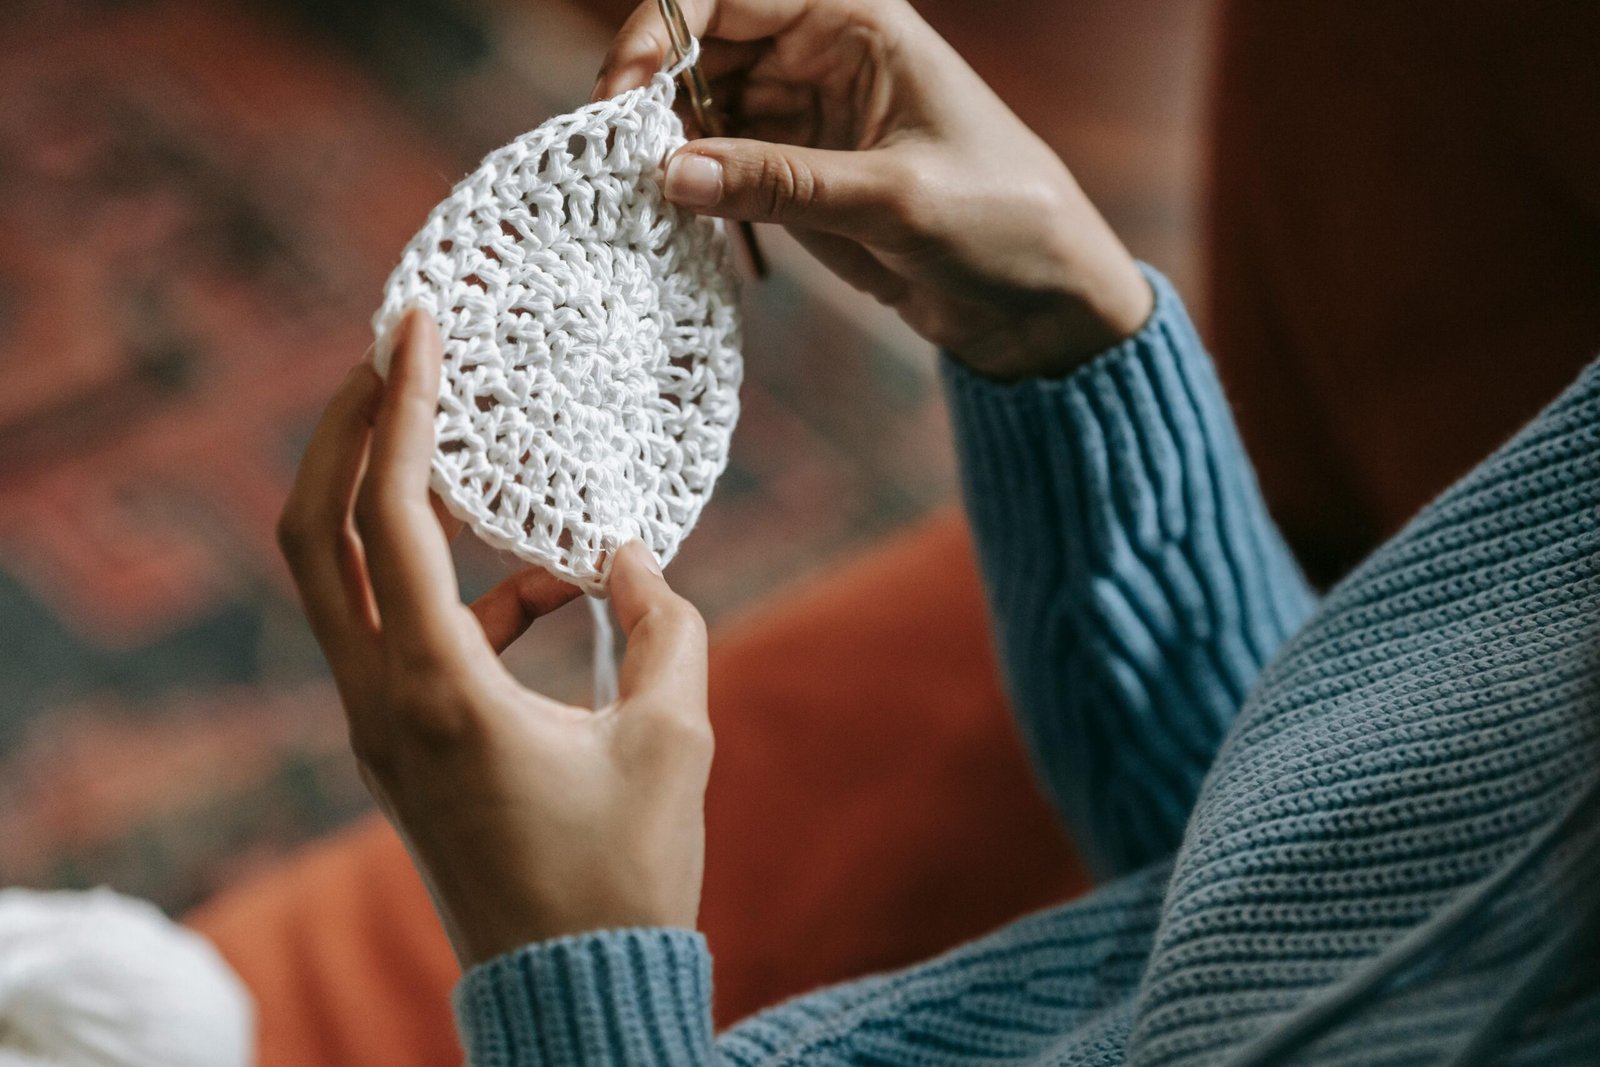
How to Change Colors in Crochet (The Cleanest Basic Method)
In crochet, the cleanest color changes happen when you switch yarn on the last step of the stitch right before the new color begins. This prevents the old color from “crowning” the next stitch.
Single crochet color change (most common)
Single crochet ends with a pull-through that completes the stitch. To change colors:
- Insert your hook into the next stitch.
- Yarn over with the old color and pull up a loop (two loops on hook).
- Yarn over with the new color and pull through both loops to finish the stitch.
Now the stitch is completed in the new color, and the next stitch will be fully new color.
This is the most important crochet color-change concept. Once you learn it, you can apply it to many stitches.
Half double crochet color change
Half double crochet has an extra step. The last yarn-over that pulls through all loops is where you switch.
- Yarn over, insert hook, yarn over, pull up a loop (three loops on hook).
- Yarn over with the new color.
- Pull through all three loops.
Double crochet color change
Double crochet ends with two pull-throughs. Switch on the final pull-through:
- Yarn over, insert hook, yarn over, pull up a loop (three loops).
- Yarn over, pull through two loops (two loops remain).
- Yarn over with the new color, pull through the last two loops.
If you switch too early, you’ll see the new color in the lower part of the stitch. If you switch too late, you’ll see the old color at the top edge. Switching on the final pull-through usually looks best for stripes.
Crochet Stripes in Rows: Keeping the Edges Neat
When you crochet stripes back and forth in rows, the edge can look messy because the yarn change often happens at the turning point.
A beginner-friendly approach:
- Change color on the last stitch of the row using the method above.
- After finishing that stitch in the new color, do your turning chain in the new color.
- Turn and start the next row with the new color.
This keeps the turning chain consistent with the row color.
Common beginner problem: a little dot of old color at the edge
This happens when the old yarn is still hanging in a way that peeks through.
Fixes:
- Make sure you complete the last stitch with the new color (not the turning chain only).
- Hold the old tail and new working yarn gently at the edge for the first stitch or two so the edge tightens neatly.
- Don’t yank tight—just keep it controlled.
Should you carry the yarn up the edge in crochet?
Carrying yarn up the edge can be great if:
- you’re doing very frequent stripe changes (every 1–2 rows)
- you plan to add a border later that will hide the carried strands
How to carry yarn up the edge cleanly:
- Drop the old color at the edge.
- Pick up the new color at the edge for the next row.
- Keep the carried yarn snug against the edge but not tight enough to pucker.
- When you switch back, pick up the carried yarn and continue.
If you won’t add a border and you want a clean edge, cutting and rejoining often looks better for beginners.
Crochet Color Changes in the Middle of a Row
Changing colors mid-row is useful for simple shapes and beginner color-block patterns, but it creates more tails.
Technique:
- Work up to the stitch before the color change.
- Switch to the new color on the last pull-through of that stitch (same rule).
- Crochet forward in the new color.
Tips to keep mid-row changes neat:
- Keep the unused color yarn tail lying along the wrong side and crochet over it for a few stitches if the fabric is dense enough (single crochet works well).
- If your stitch pattern is open (like double crochet), crocheting over tails may show through. In that case, weave ends later instead of crocheting over them.
How to Secure Crochet Yarn Ends Without Bulky Knots
Knots are tempting because they feel “secure,” but they can create lumps and sometimes loosen over time, especially in smooth yarn. A better beginner habit is to secure ends by weaving.
Best practice:
- Leave a tail about 6 inches (15 cm).
- After switching colors, crochet 2–3 stitches while holding both tails gently along the edge (this anchors them).
- Weave in ends later in two directions through the stitch bodies.
If you need extra security (like a bag handle area), you can use a small, tight joining method, but for most beginner projects, neat weaving is enough.
How to Change Colors in Knitting (Clean Stripes in Flat Knitting)
Knitting color changes for stripes are straightforward, but beginners often struggle with loose edges or little gaps at the color join.
Basic method for knitting stripes (flat)
- Knit the last stitch of the row in the old color.
- Turn your work.
- Drop the old yarn and pick up the new yarn at the start of the next row.
- Start knitting with the new color, leaving a tail.
That’s it. The first stitch of the row locks the new yarn into place.
The key detail: always pick up the new yarn from underneath
If you simply lay the new yarn over the old yarn randomly, you can create holes or loose loops at the edge.
A simple, consistent habit:
- When switching colors, place the new yarn under the old yarn at the edge so the two yarns twist around each other. This “twist” helps close gaps and secures the join.
You don’t need to tie a knot. Just twist once at the edge when you begin the new row.
Knitting Stripes in the Round: Why There’s a “Jog”
If you knit in the round (like hats), you may notice that the stripe transition has a little step called a “jog.” This happens because rounds spiral upward.
Beginners should know:
- A small jog is normal in basic circular stripes.
- There are advanced jogless stripe methods, but you don’t need them immediately.
If you want a beginner-friendly improvement without complexity:
- Place the color change at a less noticeable spot, like the back of a hat.
- Keep tension even at the join so the jog doesn’t look loose.
Once you’re comfortable, you can explore jogless methods later, but don’t let the jog stop you from trying stripes.
Carrying Yarn in Knitting (When It’s Helpful and When It’s Not)
Carrying yarn means you don’t cut the old color—you bring it along until you need it again.
Carrying works best when:
- the stripes are narrow (like 2-row stripes)
- you’re knitting flat and can carry yarn up the side edge
- you’ll add a border or seam that hides carried strands
Carrying yarn up the edge in flat knitting
If you’re doing 2-row stripes:
- Knit two rows with Color A.
- Switch to Color B for two rows.
- Carry Color A up the side by bringing it loosely up the edge.
- When you switch back, pick it up again.
Important tension tip:
- If you carry too tight, the edge will pucker.
- If you carry too loose, the edge will have loops.
A good beginner test:
- Stretch the fabric gently. If the edge feels tight compared to the rest, loosen how you carry the yarn.
Carrying yarn across the back (floats)
This happens in colorwork patterns like simple motifs. For beginners, floats can snag and may look messy if too long. If you’re just learning stripes, stick to carrying up the side edge or cutting yarn.
Clean Color Changes Without Excess Ends: The “Weave As You Go” Option
Some crocheters and knitters like weaving ends as they go so finishing doesn’t feel overwhelming.
Beginner-friendly approach:
- When you start a new color, leave a 6-inch tail.
- After you’ve worked a few stitches and the color feels stable, pause and weave that tail into the nearby stitches on the wrong side.
- Continue.
This keeps your project tidy and prevents a pile of ends at the end. It also helps beginners feel more “finished” as they go.
How to Avoid the Most Common Stripe Problems
Here are the biggest beginner stripe problems and practical fixes.
Problem 1: Loose stitches at the color join
Why it happens:
- You didn’t twist yarns at the edge in knitting.
- You pulled too much slack when switching colors.
Fix:
- In knitting, twist the yarns once at the edge when starting the new row.
- In crochet, hold the tails gently for the first stitch or two after the switch so the edge tightens evenly.
- Keep the first stitch after a color change slightly deliberate, not rushed.
Problem 2: Gaps or holes at the edge
Why it happens:
- The new yarn wasn’t anchored.
- The turning motion pulls the edge open.
Fix:
- In knitting, make sure you pick up the new yarn from underneath and knit the first stitch snugly.
- In crochet, change color on the last stitch of the previous row, not after turning.
Problem 3: Too many ends to weave in
Why it happens:
- You’re cutting yarn for every small stripe.
Fix:
- For very frequent stripes, carry yarn up the edge if it will be hidden or bordered.
- Choose wider stripes (4–8 rows) while learning. Wider stripes look great and reduce ends.
Problem 4: Old color shows through
Why it happens:
- You switched colors at the wrong step of the stitch.
- You crocheted over tails in an open stitch pattern.
- You used high-contrast colors in a loose fabric.
Fix:
- Switch color on the final pull-through (crochet).
- Weave tails later instead of crocheting over them when using open stitches.
- Use a slightly smaller hook/needle if fabric is too open and showing through (only if it doesn’t cause hand strain).
Problem 5: Uneven stripe width
Why it happens:
- You lose track of row count.
- Your tension changes between colors (some yarns feel different).
Fix:
- Use a simple row counter or make tally marks.
- Check tension after switching colors; you may need to consciously relax or snug slightly depending on the yarn.
Choosing Color Combinations That Look Good Even With Beginner Tension
Color choice can hide a lot of beginner unevenness or highlight it.
Beginner-friendly color pairings:
- two medium tones (like dusty blue + cream)
- a neutral plus one color (gray + any accent)
- low-contrast stripes (two colors close in brightness)
Harder pairings for beginners:
- black + white (high contrast shows every uneven stitch)
- very busy variegated yarn mixed with stripes (visual noise)
If your tension is still developing, choose colors that look harmonious rather than extremely contrasting. Your stripes will look smoother.
Beginner Stripe Project Ideas That Teach Color Changes Fast
If you want to practice color changes without committing to a huge project, try one of these:
Crochet:
- striped coaster set (change colors every 2–4 rounds or rows)
- simple striped dishcloth in single crochet
- striped scarf in half double crochet
- two-color granny squares (each round a new color)
Knitting:
- garter stitch striped dishcloth (two-row stripes)
- striped garter scarf (4-row stripes)
- ribbed headband with one color block section
- simple cowl with wide stripes
The key is repetition: a project with repeated color changes teaches your hands how to switch smoothly.
A Simple “Clean Color Change” Checklist
Before you move on after a color change, check:
- Did I switch colors on the correct step (crochet final pull-through, knitting new row start)?
- Are my edges staying the same width?
- Are tails long enough (about 6 inches) to weave in securely?
- Does the join feel snug, not tight?
- Does the fabric lie flat without puckering?
If yes, you’re doing it right.
Finishing Your Colorwork: Weaving Ends the Durable Way
Color changes create ends. Ends are not the enemy—messy ends are.
A reliable weaving method:
- Thread the tail on a yarn needle.
- Weave through 6–10 stitches along the wrong side.
- Change direction and weave back through a different path.
- Trim close to the fabric without cutting into it.
This two-direction method locks the tail in place better than a straight line weave.
If you’re working a wearable, try to weave ends where they won’t feel scratchy—avoid weaving a thick tail right where it will rub against the neck if possible.
The Confident Finish: Stripes Don’t Need Perfection, They Need Consistency
Color changes feel intimidating at first because you can see the transition clearly. But once you learn the basic timing—switching on the last step in crochet and twisting yarns at the edge in knitting—your stripes will look clean and intentional.
Start with wide stripes, keep your tension calm at the joins, and accept that your first striped project is also your practice piece. The more you repeat the process, the neater it becomes. Stripes are one of the fastest ways to level up your projects, and once you’re comfortable with them, you’ll feel ready for more creative colorwork later.

Isabella Garcia is the creator of a blog dedicated to crafts and home care, focused on making everyday life more creative, organized, and enjoyable. The blog shares practical tips, easy DIY projects, home organization ideas, and simple solutions to take better care of your living space. Whether you’re a beginner in crafting or someone looking for inspiration to improve your home routine, Isabella’s blog offers clear, useful, and hands-on content to help you create a cozy, beautiful, and well-cared-for home.