
If there’s one skill that makes beginner crochet and knitting instantly look more “professional,” it’s tension. Tension is how tightly or loosely you hold yarn and form stitches. When tension is consistent, your fabric looks even, edges look cleaner, stitch patterns pop, and projects match the size you expect. When tension is inconsistent, you might see: wavy edges, random tight spots, loose loops, uneven rows, or a project that grows or shrinks as you go.
Here’s the important truth: tension is not talent. It’s a learned motor skill. Most beginners have inconsistent tension for the first few projects. That’s normal. Your hands are building new muscle memory and your brain is concentrating so hard that your grip changes without you noticing. The goal isn’t perfect tension. The goal is improving consistency so your projects become smoother and more predictable.
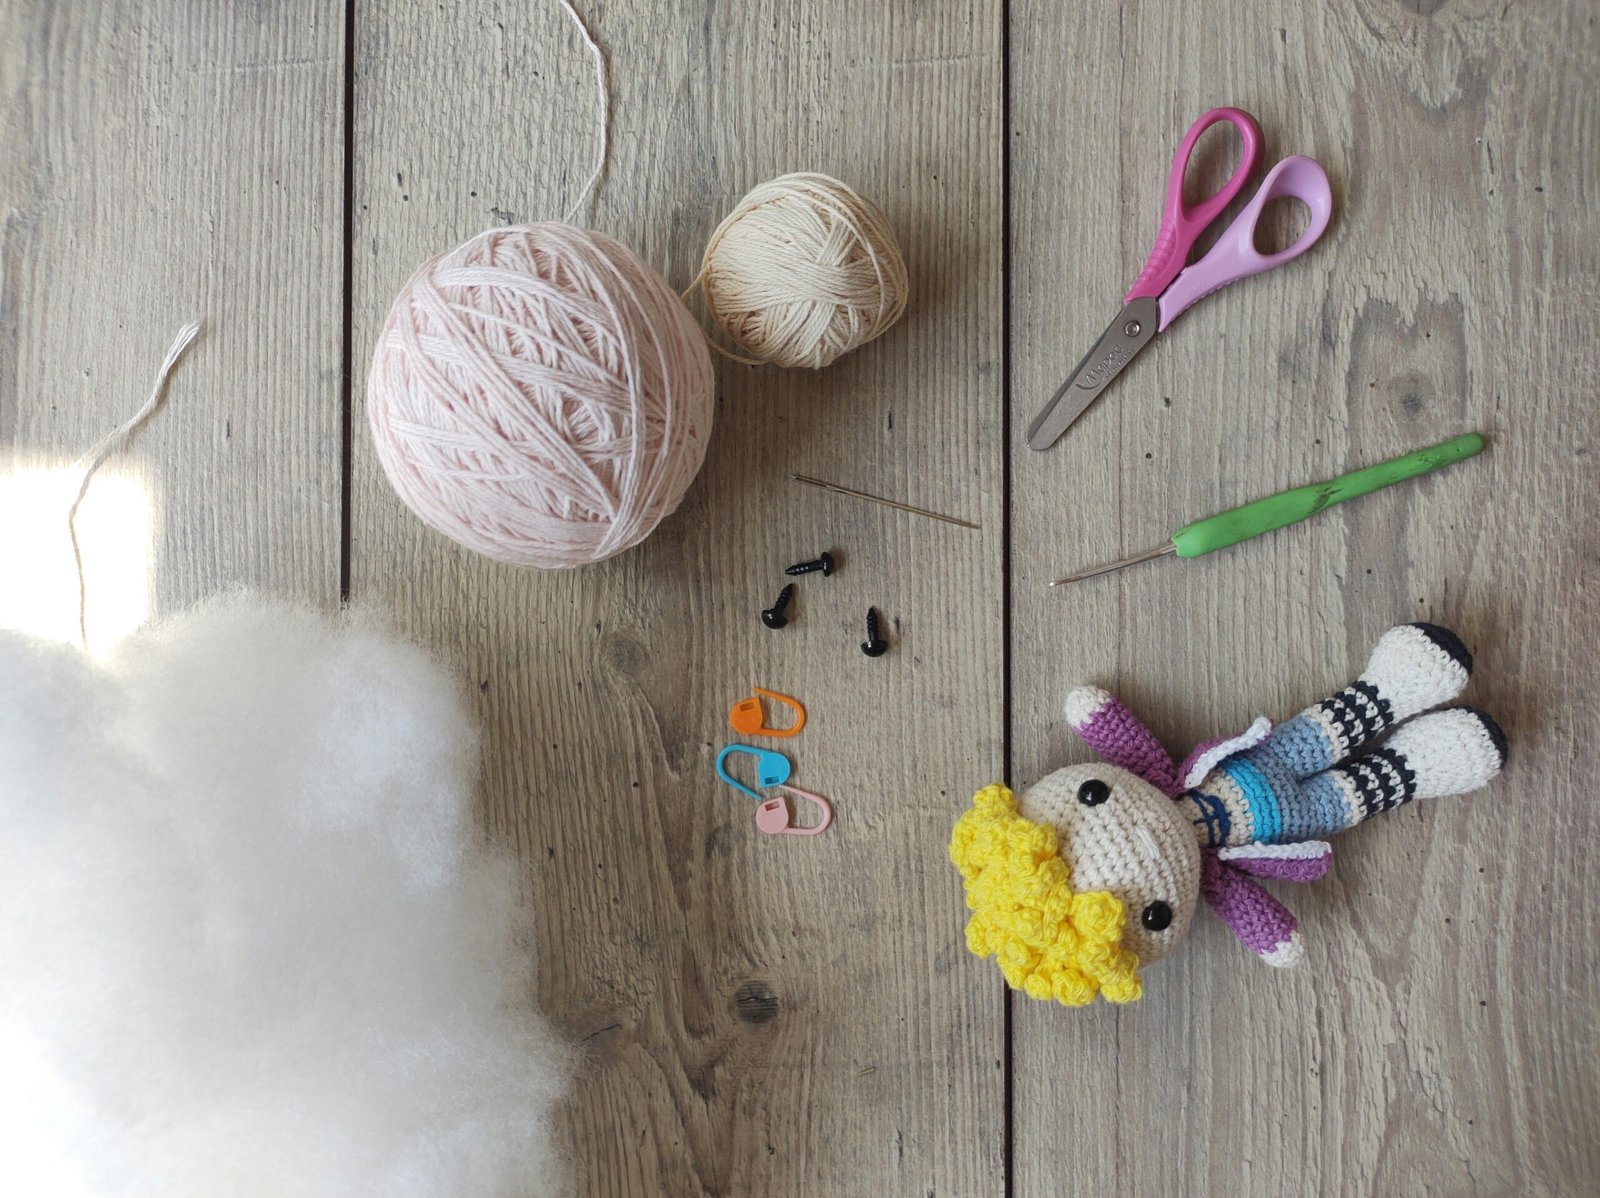
This guide will teach you beginner-friendly ways to improve tension in both crochet and knitting. You’ll learn why tension changes, how to fix common tight/loose patterns, how to choose tools and yarn that make tension easier, and the best short exercises that build steady hands without burning you out.
What “Tension” Really Means (In Plain English)
Tension is the combination of:
- how you hold yarn (yarn feeding)
- how you hold the hook or needles (grip and pressure)
- how you size each loop (loop height in crochet, stitch size on needles in knitting)
- how you pull yarn through (force and speed)
- how consistent your movement is
Tension isn’t just “tight vs loose.” It’s also about repeatability. Two people can crochet the same stitch with different tension and both be consistent. Consistency is what matters.
Why Beginner Tension Changes Happen
Tension changes for predictable reasons:
- You grip tighter when you’re unsure (especially at row ends, joins, or new stitches)
- Your hands loosen after “warming up”
- You pull harder when stitches feel difficult to insert into
- You switch posture or move to a different seat
- You change yarn type (some yarns glide, some grip)
- You change tool material (metal needles slide faster than wood)
- You craft longer than your hands can comfortably manage
The goal is to identify your personal tension trigger and adjust. Most beginners have one or two main triggers.
The Two Types of Tension Problems (Know Which One You Have)
Problem A: Your tension is generally too tight
Signs:
- stitches are hard to insert into
- your hands feel tired quickly
- fabric feels stiff
- crochet hooks squeak through yarn
- in knitting, you struggle to slide stitches along the needle
Typical cause:
- gripping tools and yarn too firmly
- pulling yarn too hard during stitch completion
Problem B: Your tension is inconsistent (tight spots and loose spots)
Signs:
- some rows look tighter or looser than others
- edges wave or change width
- holes appear randomly
- first few stitches of each row/round look different
- knitting has “loose ladders” at needle transitions or at row starts
Typical cause:
- changing grip or posture
- rushing or pausing
- nervous tightening in tricky sections
You can have both at the same time, but identifying the main one helps you choose the right exercises.
Beginner Yarn and Tool Choices That Make Tension Easier
The easiest tension improvements sometimes come from the simplest changes.
Choose yarn that shows stitches clearly
Best beginner yarn traits:
- smooth
- light to medium color
- worsted weight (#4)
- not fuzzy, not novelty, not overly splitty
When stitches are easy to see, you stop “over-gripping” out of fear.
Crochet hooks: consider a slightly larger hook if you crochet tight
If you naturally crochet tight, sizing up your hook by 0.5 mm can:
- make loops easier to pull through
- reduce force and strain
- help you relax your grip
You’ll still improve tension control; it just won’t feel like you’re fighting the yarn.
Knitting needles: wood/bamboo can help anxious beginners
Wood/bamboo needles add gentle grip. Many beginners relax because stitches don’t slide off as easily. If you’re on metal needles and feel tense, wood can be a confidence boost.
Avoid switching tools mid-project (until you’re experienced)
If you change hook size or needle size mid-project, the tension difference may show as a visible “line.” It’s not wrong, but beginners often think they messed up. Try to keep one tool size per project when possible.
A Quick Self-Check: Your “Tension Posture”
Before you start, do this 10-second check:
- shoulders down
- elbows supported (pillow or armrests)
- wrists neutral (not sharply bent)
- jaw unclenched (seriously)
- yarn feeding smoothly without being wrapped tightly
If your shoulders lift or your wrists bend sharply, tension problems usually follow.
Crochet Tension: What Matters Most
In crochet, tension is heavily influenced by loop height. If you make loops taller or shorter without realizing it, stitches change size even if you’re using the same hook.
The biggest crochet beginner habit to fix: pulling loops too tight on the hook
Many beginners pull every loop tight against the hook throat. That makes stitches smaller and harder to work into.
Instead, try this:
- after pulling up a loop, let it “rest” at the hook’s widest part (the shaft)
- then yarn over and pull through smoothly
This encourages consistent loop size.
Use the hook shaft as your measuring tool
A simple crochet tension trick:
- always form loops using the same part of the hook shaft, not the throat
- if your hook has a thick shaft, let loops slide to that thickness before completing the stitch
This is one of the fastest ways to make stitches look even.
Knitting Tension: What Matters Most
In knitting, tension is heavily influenced by how you form the new stitch and where you tighten it.
The biggest knitting beginner habit to fix: tightening stitches on the needle tip
Beginners often pull yarn tight right after knitting a stitch, while the stitch is still on the needle tip. That creates tiny, tight stitches.
Instead:
- form the stitch
- let it slide onto the full width of the needle
- then gently snug yarn (not yank)
Knitting needles are designed so the stitch size matches the needle diameter. If you tighten on the tip, you shrink the stitch.
The “gentle snug” rule
After each stitch, aim for “snug enough that loops aren’t sloppy” but not tight enough that you have to fight the needle later. It’s a balance, and it improves with practice.
The Best Beginner Tension Exercises (Short, Simple, Effective)
These exercises work because they train consistency without overthinking.
Exercise 1: The 20-Stitch Calm Warm-Up (Crochet or Knitting)
Do this at the start of every session for one week.
Crochet:
- chain 20 slowly
- then single crochet 20 stitches slowly
- focus on making each loop the same height
Knitting:
- knit 20 stitches slowly in garter stitch
- focus on letting each stitch form on the needle shaft, not the tip
Why it works:
- it reduces “first-minute tightness”
- it sets a calm rhythm
- it reminds your hands what even motion feels like
Exercise 2: The “Pause Every 5” Consistency Drill
This trains your body not to drift.
Crochet:
- after every 5 stitches, stop and look at loop height and stitch size
- adjust your grip if you notice tightening
Knitting:
- after every 5 stitches, stop and gently slide stitches along the needle
- if they’re hard to move, you’re tightening too much
Do this for just 2–3 rows. It prevents the “I got faster and got tighter” problem.
Exercise 3: The Edge Control Tension Exercise (Huge for Beginners)
Many tension issues show up at row starts and ends.
Crochet:
- mark the first and last stitch of the row
- crochet the first 3 stitches slowly
- crochet the middle normally
- crochet the last 3 stitches slowly
Knitting:
- knit the first 3 stitches slowly
- knit the middle normally
- knit the last 3 stitches slowly
Why it works:
- edges are where beginners tense up
- slowing down at edges makes width more consistent
If your projects keep changing width, do this exercise for a week.
Exercise 4: The “Same Yarn Path” Experiment (Find Your Best Yarn Hold)
Tension is often unstable because yarn feeding changes.
Try three yarn holds for 5 minutes each:
- yarn over index finger and under other fingers
- yarn around pinky then over index finger
- yarn simply draped over index finger (light control)
Pick the one that:
- feels secure without squeezing
- lets yarn slide smoothly
- doesn’t make your fingers numb or sore
There is no “correct” hold. The correct hold is the one that creates smooth yarn feeding with minimal tension in your hand.
Exercise 5: The “Speed Reset” Technique (Stop Tightening When You Get Confident)
A common beginner pattern is:
- slow and careful → relaxed
- faster and excited → tight and uneven
Fix:
- set a timer for 2 minutes
- crochet/knit at your normal speed
- then slow down intentionally for 30 seconds
- repeat once
This teaches you to change speed without changing tension.
How to Fix Common Tension Problems While You’re Mid-Project
Sometimes you notice tension issues after a few rows. Here’s what to do without panicking.
If the first rows are tighter than later rows
This is extremely common. Options:
- leave it (many projects even out after blocking)
- add a simple border (crochet) to hide edge differences
- in knitting, block gently to relax early rows
If it’s dramatic and changes width a lot, consider restarting—especially if you’re early in the project. But minor differences are normal in learning.
If your crochet stitches are too tight to work into
Fixes:
- go up 0.5 mm hook size
- loosen your yarn hold
- let loops sit higher on the hook shaft before pulling through
- slow down and focus on smooth pull-through
If your knitting is so tight you can’t insert the needle easily
Fixes:
- focus on forming stitches on the needle shaft
- loosen after each stitch, do not yank
- consider a needle size up if you’re consistently too tight
If your tension changes when you change colors or join yarn
This is a common “stress point.” Fix:
- slow down during joins
- keep your grip relaxed
- don’t pull tails tight; just snug gently
- weave ends later—don’t use knots as “tension control”
How to Measure Tension Improvement Without Obsessing
Beginners sometimes judge tension by perfection. Better approach: look for trends.
Signs you’re improving:
- your fabric width stays consistent across rows
- edges look straighter
- stitches look more uniform from a distance
- your hands feel less tired
- you can stop and restart without a big change in stitch size
A great beginner test:
- compare the first 2 inches of your fabric to the last 2 inches after a week of practice. You’ll often see clear improvement.
What About Gauge? Do You Need It as a Beginner?
Gauge is about matching the pattern’s stitch size so the project ends up the right size. Tension affects gauge directly.
For beginners:
- For scarves, blankets, dishcloths, and practice projects: gauge is not critical.
- For hats, garments, and fitted items: gauge matters more.
If you’re practicing tension, making small swatches is valuable because it teaches you how your natural tension compares to a pattern’s suggested gauge.
But don’t let gauge stress stop you from learning. Focus on consistency first, then gauge becomes easier.
The Biggest Tension Secret: Relaxation Improves Your Stitching Faster Than Forcing It
If you’re gripping tightly and forcing control, your tension gets worse. The craft becomes harder, and your stitches become inconsistent.
Small relaxation habits that help:
- exhale while completing stitches
- keep shoulders down
- craft in short sessions (10–20 minutes at first)
- use comfortable tools (ergonomic hooks, needles you enjoy)
- stop before your hands feel strained
Relaxation is a technique. It’s not just a vibe.
The Takeaway: Tension Comes From Calm Repetition, Not Perfection
Consistent tension is one of the most valuable beginner skills because it improves every project you make. And it doesn’t require natural talent. It requires:
- beginner-friendly yarn and tools
- good posture and a relaxed grip
- short repeatable exercises
- awareness at edges and joins
- patience while your hands build muscle memory
If you want a simple plan, start with this for one week:
- 2-minute warm-up
- edge control exercise (first and last 3 stitches slow)
- pause every 5 stitches for a quick check
- stop after 15–20 minutes
Do that consistently and your projects will look noticeably smoother.

Isabella Garcia is the creator of a blog dedicated to crafts and home care, focused on making everyday life more creative, organized, and enjoyable. The blog shares practical tips, easy DIY projects, home organization ideas, and simple solutions to take better care of your living space. Whether you’re a beginner in crafting or someone looking for inspiration to improve your home routine, Isabella’s blog offers clear, useful, and hands-on content to help you create a cozy, beautiful, and well-cared-for home.