
Knitting in the round is one of the biggest “level-up” moments for beginners. It opens the door to hats, cowls, sleeves, mittens, and seamless tubes that look clean and professional. And once you get comfortable, it can feel easier than knitting flat—because you often don’t have to turn your work every row.
At the same time, knitting in the round has a few beginner traps: joining without twisting, choosing the right circular needle length, keeping tension even at the join, tracking rounds, and understanding why your stripes might “jog.” The good news is that all of these problems have practical fixes, and you only need a couple of core habits to make knitting in the round feel calm.
This guide will walk you through everything you need as a beginner: the tools, how to cast on and join without twisting, how to use markers, how to choose between circular needle lengths and techniques (including magic loop), how to avoid ladders, how to follow patterns in the round, and how to finish with a clean bind-off and tidy weaving.
What “Knitting in the Round” Means (And Why It’s Different)
Knitting in the round means you knit stitches in a continuous spiral or circle instead of turning your work at the end of each row. Instead of working Row 1 (right side), then Row 2 (wrong side), you work:
- Round 1
- Round 2
- Round 3
…and so on, always facing the same side of your fabric (typically the right side).
This changes a few things:
- Stockinette in the round is simple: knit every stitch (no purl rows needed).
- Pattern instructions often say “every round” rather than “every row.”
- Your “beginning of round” becomes an important reference point for shaping and repeats.
The Best Beginner Projects for Learning the Round
Start with something that is forgiving and doesn’t require complicated shaping:
- Simple cowl (best first in-the-round project)
- Basic hat (great next step, but includes decreases)
- Ribbed headband in the round (short and confidence-building)
- Simple tube for practice (just a sample tube you don’t even need to finish)
A cowl is ideal because it:
- doesn’t need a perfect fit the way a hat does
- is large enough to see stitches clearly
- is repetitive and calming
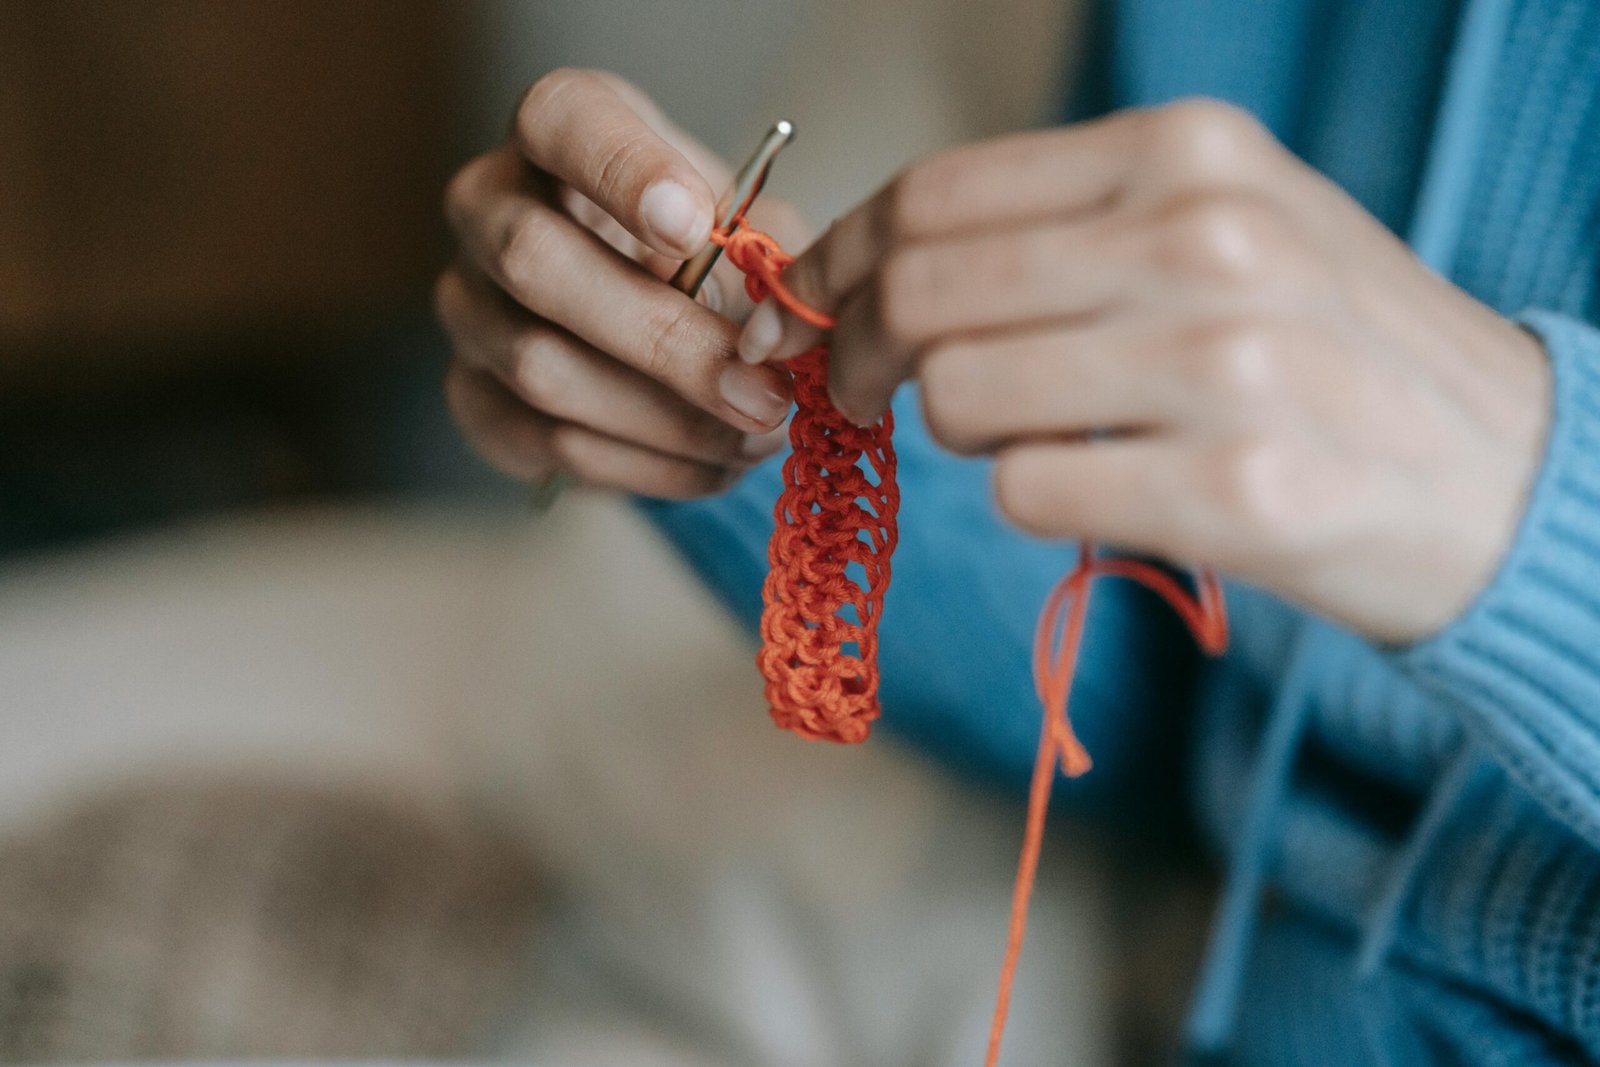
What You Need: Tools for Knitting in the Round
Circular needles
Circular needles are two needle tips connected by a flexible cable. They can knit flat or in the round.
Beginner-friendly sizes:
- For worsted weight (#4) yarn, try 5.0 mm / US 8 as a common starting point.
Stitch markers
For knitting in the round, markers are extremely helpful:
- one marker for Beginning of Round (BOR)
- optional extra markers to divide repeats or sections
A simple rule: make your BOR marker look different so you always recognize it instantly.
Yarn needle and scissors
You’ll need these to weave in ends at the end.
Choosing Circular Needle Lengths (This Is Where Beginners Get Confused)
Needle “length” for circular needles usually refers to the total length including the cable and needle tips.
The length you need depends on the circumference of what you’re knitting.
Great beginner options
- 16-inch circular: common for hats (adult hat circumference), not great for flat knitting
- 24-inch or 32-inch circular: very versatile for knitting flat and many in-the-round projects
The key matching rule
- If the needle length is close to or slightly smaller than your project circumference, knitting in the round feels stable.
- If the needle length is much longer than the project circumference, you’ll need a technique like magic loop.
Example:
- A typical adult hat is around 20–22 inches circumference. A 16-inch circular works well for the hat body, but when you decrease at the crown, you may need magic loop or double-pointed needles because the circumference shrinks.
Beginner-friendly recommendation:
- Start with a cowl on a longer circular (24–32 inches) or a hat body on a 16-inch circular if you want the classic hat route.
The #1 Beginner Problem: Joining Without Twisting
Twisting your cast-on is the most common beginner round mistake—and it’s frustrating because the clean fix is usually restarting. So it’s worth learning the prevention system.
What “twisting” means
When you cast on, your stitches sit along the needle, and the cast-on edge forms a line. To knit in the round, that edge must face the same direction all the way around.
If part of the cast-on edge flips, you create a Möbius-like twist. Your fabric becomes twisted permanently.
How to join without twisting (beginner method)
- Cast on the required number of stitches.
- Lay the circular needle on a table or your lap.
- Carefully arrange stitches so they all face the same direction:
- the cast-on “bumps” should be consistently on the inside (or outside) all the way around
- Check the cast-on edge: it should form a smooth circle, not a loop that crosses itself.
- Place your BOR marker on the right needle (between the last and first stitch).
- Knit the first stitch to join.
Beginner tip: If you’re unsure, do this extra step:
- Knit the first few stitches very slowly and confirm your cast-on edge still lies flat and untwisted.
The “knit flat first” alternative (very beginner-friendly)
If twisting keeps happening to you, use this trick:
- Cast on stitches.
- Knit one row flat (do not join yet).
- Then join in the round on the next row.
That tiny flat section can make it much easier to see and prevent twisting. Many beginners love this method because it reduces stress.
Tracking Rounds: How to Never Lose Your Place Again
In the round, you can’t rely on “row ends” to remind you where you are. Instead:
- Use a BOR marker.
- Keep a row counter or simple tally marks.
- If your pattern has repeats, add extra markers.
Beginner round tracking system
- Each time you reach your BOR marker, you finished one round.
- Move a tally mark in your notes or click your row counter.
If you stop mid-round:
- Put your knitting down with the working yarn attached.
- Write: “Stopped halfway through Round 12” (or whatever you’re on).
This saves so much confusion later.
Avoiding “Ladders” (Loose Gaps) at Needle Transitions
Loose ladders happen when tension is looser at a transition point:
- between two needles (if using double-pointed needles)
- at the “bend” of magic loop
- sometimes at the BOR area
Why ladders happen
At transitions, stitches can get pulled too loosely because the yarn has extra slack as it moves across a gap.
Fixes that work for beginners
- Give the first stitch after the transition a gentle snug (not a yank).
- Shift the transition point every few rounds (especially with DPNs).
- This prevents the ladder from stacking in one vertical line.
- In magic loop, pull the cable firmly so the needle tips are close together before knitting the next stitch.
- Keep your hands relaxed—over-tightening can create uneven tension elsewhere.
Stockinette in the Round: The Easiest “Looks Good” Fabric
One reason beginners love knitting in the round is how easy stockinette becomes.
- Flat stockinette: knit one row, purl one row
- Round stockinette: knit every round
This makes cowls and hats feel very approachable.
Beginner note: Because you’re always on the right side, you might forget what a purl looks like. That’s okay. In-the-round projects are still valuable practice.
Ribbing in the Round (Great for Hats and Cuffs)
Ribbing is the classic stretchy edge for hats and cuffs. It alternates knit and purl stitches within the same round, like:
- k1, p1
- k2, p2
Beginner tips for ribbing in the round:
- Use stitch markers to divide sections if you keep losing count.
- If your purls are much tighter, slow down during purl stitches and avoid yanking yarn.
Ribbing gets better with practice, and it’s one of the most useful skills for wearables.
Stripes in the Round: Why You See a “Jog”
If you knit stripes in the round, you may notice a slight step where the round begins. This is normal because knitting in the round is a spiral.
Beginner-friendly options:
- Accept the jog (most beginners do, and many patterns do too).
- Place the BOR at a less visible area (like the back of a hat).
- If you want super clean stripes later, there are “jogless stripe” techniques, but you don’t need them for beginner success.
Common Beginner Questions (And Clear Answers)
“Why does my join area look looser?”
Usually because you’re not snugging the first stitch of the round or your cast-on edge is uneven.
Fix:
- Gently snug the first stitch after BOR each round for the first few rounds.
- Make sure your cast-on isn’t overly loose.
- Don’t yank; just remove slack.
“My circular needle feels too long for my project.”
If the project circumference is smaller than your needle length, you need:
- magic loop, or
- a shorter circular, or
- double-pointed needles
Beginners often find magic loop easier than DPNs once they understand the motion.
“Can I knit flat on circular needles?”
Yes. Circular needles can knit flat just like straight needles. The cable simply holds weight.
Finishing in the Round: Clean Bind-Off and Neat Ends
When you finish an in-the-round project, the finishing steps make it look professional.
Bind off (basic beginner version)
A standard bind off works well for many projects:
- keep tension relaxed so the edge doesn’t become too tight
- if it’s a hat, avoid binding off too tightly at the crown if the pattern isn’t using a drawstring finish
For hats, many patterns use a crown decrease section and then:
- cut yarn with a long tail
- thread the tail through remaining stitches
- pull tight to close the top
- weave in securely
Weave ends carefully
Weave in:
- the cast-on tail (if you have one)
- the finishing tail
Weave on the inside of the tube, using a two-direction weave so ends stay secure over time.
A Simple Beginner Practice Plan
If you want a no-stress way to learn knitting in the round:
Day 1:
- Cast on for a simple cowl.
- Practice joining without twisting.
- Knit 5–10 rounds slowly.
Day 2:
- Add ribbing (k2, p2) for a few rounds if you want.
- Practice consistent tension at BOR.
Day 3:
- Knit stockinette (knit every round).
- Track rounds with tally marks.
Day 4:
- Practice a clean bind off or learn how to close a hat crown (if you’re doing a hat).
A few short sessions build skill faster than one long, stressful session.
The Takeaway: Knitting in the Round Is Easier Than It Looks
Knitting in the round feels intimidating until you do it once. The real beginner keys are simple:
- choose a suitable circular needle length (or learn magic loop)
- join without twisting (use the “lay it flat” check or knit one row flat first)
- mark the beginning of round
- track rounds with a basic system
- keep tension even at transitions
Once these habits click, knitting in the round becomes one of the most relaxing and versatile skills you can learn—because it opens the door to seamless projects that look clean and professional.

Isabella Garcia is the creator of a blog dedicated to crafts and home care, focused on making everyday life more creative, organized, and enjoyable. The blog shares practical tips, easy DIY projects, home organization ideas, and simple solutions to take better care of your living space. Whether you’re a beginner in crafting or someone looking for inspiration to improve your home routine, Isabella’s blog offers clear, useful, and hands-on content to help you create a cozy, beautiful, and well-cared-for home.