
Scrapbooking is a creative and fun way to preserve your memories, but it’s also an opportunity to express yourself artistically. Whether you’re a beginner or an experienced scrapbooker, learning new techniques can help you create unique and visually stunning pages. From adding texture and dimension to experimenting with colors and patterns, there are many ways to elevate your scrapbook layouts and make them stand out.
In this article, we’ll explore a variety of creative scrapbooking techniques that can help you transform your pages into works of art. Whether you’re looking to try something new or enhance your existing skills, these techniques will inspire you to take your scrapbooking to the next level.
1. Use of Layers for Depth and Dimension
One of the easiest ways to add depth and dimension to your scrapbook pages is by using layers. Layering different elements, such as paper, photos, and embellishments, helps create a 3D effect that draws the eye and adds visual interest. Here are some ways to experiment with layers:
1.1. Layering Paper
Start by stacking different types of paper, such as patterned paper, solid-colored paper, and textured paper. You can use these papers as backgrounds, borders, or accent pieces. To create depth, cut the papers into various sizes and shapes, and then layer them on your page. Don’t be afraid to overlap the edges to give the layout a more organic and dynamic feel.
1.2. Using Foam Adhesive
Foam adhesive is a great tool for adding dimension to your pages. Apply foam adhesive behind photos, embellishments, or cut-out shapes to make them pop off the page. The raised effect draws attention to the focal point of your layout and adds a tactile element to your design.
1.3. Embellishments as Layers
Embellishments like buttons, ribbons, flowers, and tags can also be used as layers to create depth. You can stack them in a cluster or use them to frame your photos. The combination of various textures and materials adds richness to the overall design.
2. Stamping for Custom Patterns and Designs
Stamping is a versatile technique that can add unique patterns, images, and sentiments to your scrapbook pages. There are many different types of stamps available, from background stamps to image stamps, that can be used to enhance your designs. Here’s how to get started with stamping:
2.1. Background Stamps
Background stamps are designed to cover a large area of your page with a repeated pattern or texture. You can use them to create a solid base for your layout or add subtle texture behind your photos. For example, a subtle polka dot background can add depth to your layout without overpowering the main elements.
2.2. Image Stamps
Image stamps can be used to add illustrations, such as flowers, leaves, animals, or phrases. These stamps are ideal for adding visual interest to your page without needing to rely on bulky embellishments. Use different colors of ink to create layered stamped images that complement the color scheme of your layout.
2.3. Stamped Borders and Frames
You can use stamps to create custom borders or frames around your photos. Try stamping a series of small images along the edges of your page, or stamp a frame shape around your photos to highlight them. This simple technique adds a creative touch without requiring a lot of extra effort.
3. Embossing for Texture and Shine
Embossing is a technique that adds texture and shine to your scrapbook pages. There are two main types of embossing: heat embossing and dry embossing. Both techniques can create stunning effects that enhance the visual appeal of your pages.
3.1. Heat Embossing
Heat embossing involves applying embossing powder to a stamped image and then using a heat tool to melt the powder. This process creates a raised, glossy effect that makes the stamped image stand out. Heat embossing is perfect for adding dimension and shine to stamped elements, such as titles, borders, or focal images.
3.2. Dry Embossing
Dry embossing involves creating raised designs on paper by using a stylus or embossing tool. You can use a stencil or embossing folder to create patterns, textures, or images on your page. This technique adds subtle dimension and texture without using any ink or powder. It’s ideal for adding a tactile element to your layouts without overwhelming the design.
4. Creating Custom Backgrounds with Ink
Inking is a versatile technique that allows you to create custom backgrounds and add color to your scrapbook pages. By using different types of ink, you can achieve various effects, from soft gradients to bold, vibrant colors. Here’s how you can use ink to elevate your pages:
4.1. Ink Blending
Ink blending is a technique that involves applying ink to your scrapbook page using a blending tool or sponge. This technique creates a smooth, blended effect that gradually transitions from one color to another. You can use ink blending to create colorful backgrounds, borders, or even to highlight specific areas of your page. The soft gradients created by this technique add depth and dimension to your layout.
4.2. Ink Spritzing
Ink spritzing involves spraying ink over your page to create a splattered effect. You can use a spray bottle or an ink spray to lightly mist your page with color. This technique adds texture and interest to your layout, especially when combined with other elements like photos and embellishments. It’s a great way to add an artistic touch to your scrapbook pages without overwhelming them.
4.3. Stamped Ink Overlays
For a unique background effect, try stamping an image over your inked background. The contrast between the smooth inked surface and the bold stamped image creates a dynamic look. This technique works well with both solid-colored ink and colored stamping inks.
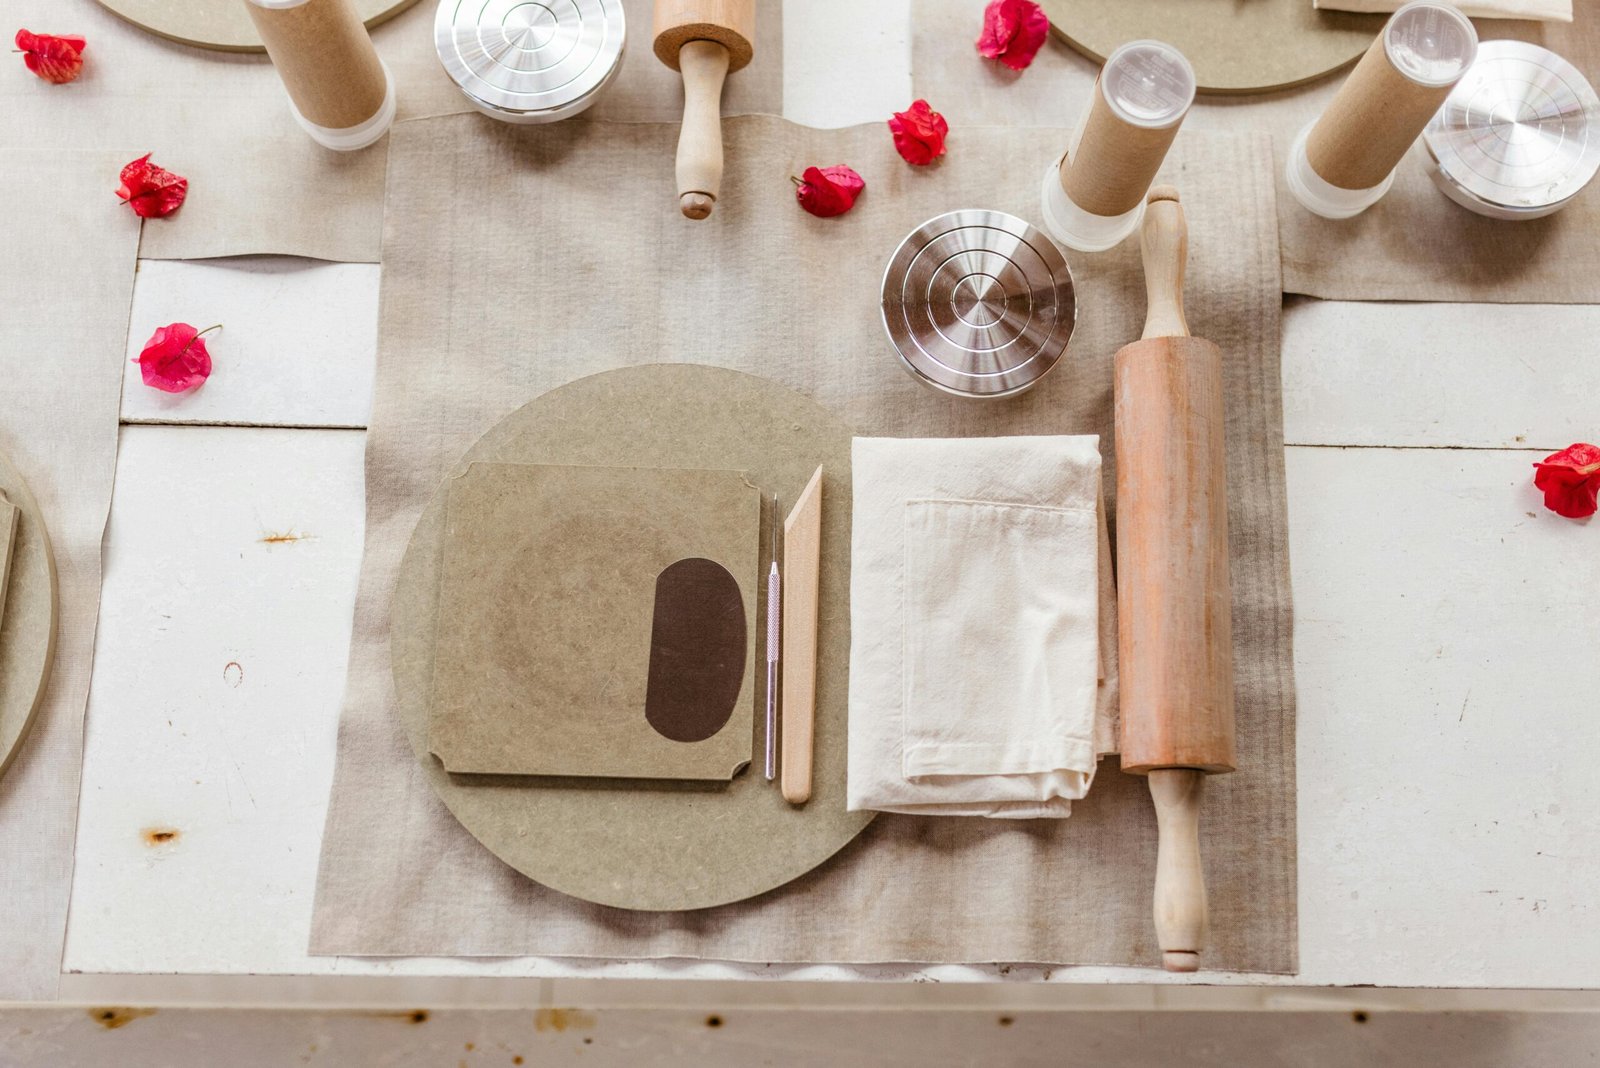
5. Using Die Cuts for Intricate Designs
Die cuts are an excellent way to create intricate shapes and designs for your scrapbook pages. Whether you’re using a die-cutting machine like a Cricut or Silhouette, or you’re using manual dies and a die-cutting machine, die cuts add precise, professional-looking elements to your pages.
5.1. Die-Cut Shapes
Die-cut shapes come in a variety of designs, including flowers, stars, hearts, and borders. These shapes can be used to embellish your pages, create backgrounds, or frame your photos. Experiment with layering different die cuts to create a multi-dimensional effect.
5.2. Die-Cut Letters and Words
Die-cut letters and words are perfect for creating titles and captions on your scrapbook pages. Using a die-cutting machine, you can create custom text in any font or size. This allows you to personalize your pages and create custom titles that perfectly match the theme of your layout.
5.3. Border Die Cuts
Border die cuts are ideal for creating decorative edges along the sides of your scrapbook pages. You can use these borders to frame your photos or create a cohesive look across multiple pages in a scrapbook. Combine different border dies to create layered effects and add visual interest to your pages.
6. Adding Interactive Elements
Interactive elements can take your scrapbook pages to the next level by adding a fun, engaging aspect to your layouts. These elements can include flaps, pockets, pull-outs, and hidden journaling that encourage the viewer to interact with the page.
6.1. Flip Pages
Flip pages are a fun way to hide additional photos or journaling in a scrapbook. You can create flip pages by attaching one side of the photo or journaling card to the scrapbook page with a brad, ribbon, or small hinge. This allows you to add more content without cluttering the main page.
6.2. Pockets and Pull-Outs
Pockets are a great way to add extra photos, journaling, or keepsakes to your scrapbook pages. You can create pockets using paper or plastic sleeves, and then slide items in and out of them. Pull-out elements can add a surprise factor to your layouts, encouraging the viewer to explore and discover more about the story behind the photos.
6.3. Hidden Journaling
Hidden journaling is an excellent way to include personal reflections or stories without overcrowding the layout. You can create hidden journaling by placing it behind a photo, flap, or pocket. This adds an element of surprise and keeps the focus on the visuals while still telling a meaningful story.
7. Conclusion: Embrace Your Creativity
Scrapbooking is an incredibly versatile art form, and there are no limits to the creative techniques you can use to enhance your pages. By experimenting with techniques like layering, stamping, embossing, and inking, you can create scrapbook pages that are visually stunning and uniquely yours. Remember, scrapbooking is about having fun, expressing yourself, and preserving your memories in a beautiful way. So don’t be afraid to try new techniques, mix and match elements, and let your creativity shine!

Isabella Garcia is the creator of a blog dedicated to crafts and home care, focused on making everyday life more creative, organized, and enjoyable. The blog shares practical tips, easy DIY projects, home organization ideas, and simple solutions to take better care of your living space. Whether you’re a beginner in crafting or someone looking for inspiration to improve your home routine, Isabella’s blog offers clear, useful, and hands-on content to help you create a cozy, beautiful, and well-cared-for home.