
Working from home (or studying from home) sounds ideal—until your “office” becomes a laptop on the couch, messy cables everywhere, bad lighting, and a chair that makes your body hate you by noon. A good home office isn’t just about aesthetics, and it’s not only about productivity either. The best workspace is both: it supports focus, comfort, and daily habits and it looks clean and intentional inside your home.
The challenge is that home offices often sit in multi-purpose spaces—corners of living rooms, bedroom nooks, dining tables, or small apartments where every square meter matters. That’s why you need a setup plan that balances function and style.
This guide will walk you through creating a home office that feels organized, comfortable, and attractive—whether you have a dedicated room or just a small corner. You’ll learn layout principles, desk and chair tips, lighting and cable solutions, storage that prevents clutter, and styling techniques that make the workspace feel “designed” without turning it into a distraction.
Start with the truth: productivity comes from comfort + clarity
A workspace is productive when:
- you can sit comfortably for the time you need,
- the screen height and lighting don’t strain you,
- you can find what you need quickly,
- and the area stays visually calm.
A workspace looks beautiful when:
- the palette is cohesive,
- clutter is contained,
- materials repeat (wood tone + metal finish),
- and there are a few intentional style touches.
The goal is not a Pinterest-perfect desk. The goal is a workspace you can actually use every day—and enjoy looking at.
Step 1: Decide what your home office needs to support
Before buying anything, define the “job” of your workspace.
Ask yourself:
- Is it for deep focus work or quick daily tasks?
- Do you take video calls?
- Do you need space for writing, drawing, or multiple screens?
- Do you need storage for papers and supplies?
- Do you share the space with someone else?
Your answers define the size of desk you need, the lighting setup, and the storage plan.
The biggest mistake
Buying a desk that looks good but doesn’t fit your workflow. If you need space to write or spread documents, a tiny desk becomes frustrating fast.
Step 2: Choose the best location (even in a small home)
Where you place your workspace affects focus, mood, and how tidy it stays.
Best places for a home office setup
- Near a window (natural light improves focus and makes the space feel fresh)
- A quiet corner with less foot traffic
- A spot with access to outlets (to avoid cable chaos)
If you don’t have a spare room
You can still create a “real” office zone by defining it visually:
- a rug under the desk area
- a wall shelf or art above the desk
- a lamp and storage that belong only to the workspace
When the zone is defined, it feels like a dedicated space—even if it’s inside another room.
Step 3: Desk first — choose the right size and shape
The desk is your anchor. In most setups, it determines how functional the workspace will be.
Desk size basics (practical, not complicated)
- If you only use a laptop: a smaller desk can work.
- If you use a monitor, write notes, or use supplies: you need more surface space.
- If you do creative work: prioritize width and clear workspace.
Best desk shapes by space
- Rectangular desk: easiest and most versatile.
- Corner desk: great for maximizing small or awkward corners.
- Wall-mounted desk: good for tiny spaces, but storage becomes more important.
- Console-style desk: great for shared spaces because it can look like decor furniture.
A style tip that makes desks look better
Desks with lighter visual weight (slimmer profile, visible legs) often look better in small homes than bulky desks.
Step 4: The chair matters more than most people admit
A beautiful workspace is useless if you can’t sit comfortably.
What makes a chair “work”
- stable support
- comfortable seat depth
- the right height for your desk
- a feel that matches how long you sit
If you work or study for hours, chair comfort is not optional. It’s the foundation of productivity.
If budget is limited
Prioritize a better chair before buying extra decor. You can make an affordable desk look good with styling, but you can’t style your way out of discomfort.
Make the chair look cohesive (style tip)
Choose a chair that relates to the room:
- black accents for modern spaces
- warm wood tones for organic styles
- simple neutral upholstery for calm setups
When the chair matches the palette, the office looks intentional.
Step 5: Set up correct screen height (for comfort and focus)
Even without getting technical, this matters:
- Your screen should be high enough that you’re not constantly looking down.
- Your setup should allow relaxed shoulders and arms.
Simple solutions:
- a monitor stand
- a laptop riser (and then use a separate keyboard if possible)
- a stack of sturdy books as a temporary riser
When your screen is at a comfortable height, you’ll feel less tension and focus longer.
Step 6: Lighting is the “secret weapon” of a beautiful workspace
Bad lighting makes work feel harder. Good lighting makes the office feel calm and elevates the look instantly.
The ideal home office lighting layers
- Natural light (if available)
- Task lighting (a desk lamp)
- Ambient lighting (a floor lamp or nearby lamp)
Desk lamp tips
- Choose a lamp that directs light onto the work area.
- Avoid harsh glare on screens.
- A warm or neutral light tone often feels more comfortable for long sessions.
Video call tip (simple and effective)
If you take video calls, face the light source rather than having it behind you. A window behind you often creates shadows and makes the image less flattering.
Step 7: Cable management (because cables destroy the “beautiful office” look)
Cables are one of the fastest ways to make a workspace look messy, even if everything else is clean.
Easy cable control habits
- Keep cords routed along the back of the desk
- Use a cable clip or organizer to prevent “cord waterfalls”
- Keep a power strip hidden under the desk or behind furniture
- Limit visible devices on the desk
The “one charging zone” rule
If you have multiple chargers, designate one charging zone (drawer, box, or tray) so it doesn’t spread across the desk surface.
A clean cable setup makes the whole workspace look more expensive immediately.
Step 8: Storage that prevents clutter (the productivity upgrade)
A desk that becomes a dumping ground is not a productive office. You need storage that matches what you use.
Best storage options (depending on space)
- a small drawer unit under the desk
- a rolling cart (easy to move)
- wall shelves (vertical storage)
- a cabinet with doors (best for hiding mess)
- file storage if you deal with paper
The “category storage” method
Organize by categories:
- stationery
- tech accessories
- paperwork
- supplies
- backups (extra notebooks, ink, etc.)
When each category has a home, your desk stays clearer.
Step 9: Keep the desktop intentionally minimal
A desk looks best and works best when it isn’t overloaded.
A simple “desk surface” formula:
- monitor/laptop zone
- one lamp
- one container for pens
- one tray for daily essentials (optional)
- leave a clear working area
Everything else belongs in drawers, shelves, or bins.
The clutter trap
Too many small items on the desk create visual noise, which makes focus harder. A clean desk helps your brain feel calmer.
Step 10: Decorate the office without distracting yourself
A beautiful workspace does not need a lot of decor. It needs a few supportive elements that make it feel pleasant to use.
Best “low-distraction” decor ideas
- one plant (adds life and calm)
- one framed print or simple art above the desk
- one textured object (matte ceramic, wood tray)
- a neutral desk mat (adds texture and keeps the surface calm)
What to avoid (common distraction decor)
- too many quotes and busy prints
- shelves packed with random objects
- lots of bright colors everywhere
- decor scattered across every inch of surface
You want the space to feel styled, not visually noisy.
Step 11: Background styling for video calls (simple, professional look)
If you do calls, your background matters. You don’t need to stage it like a set, but a few choices help.
A clean background formula:
- one calm wall
- one piece of art or a shelf with minimal styling
- consistent lighting
- avoid clutter piles visible behind you
A mirror can also help brighten the background if it reflects light and not mess.
Step 12: Home office setups by space type
A) Dedicated office room
Best approach:
- full desk + chair
- storage cabinet with doors
- layered lighting (desk lamp + floor lamp)
- one rug for comfort and zone definition
- minimal wall decor that supports focus
B) Office corner in the living room
Best approach:
- desk that looks like furniture (console-style)
- matching finishes with the living room (wood/metal)
- cable management hidden
- one wall art piece to define the zone
- desk lamp to create a “work mood” without harsh overhead light
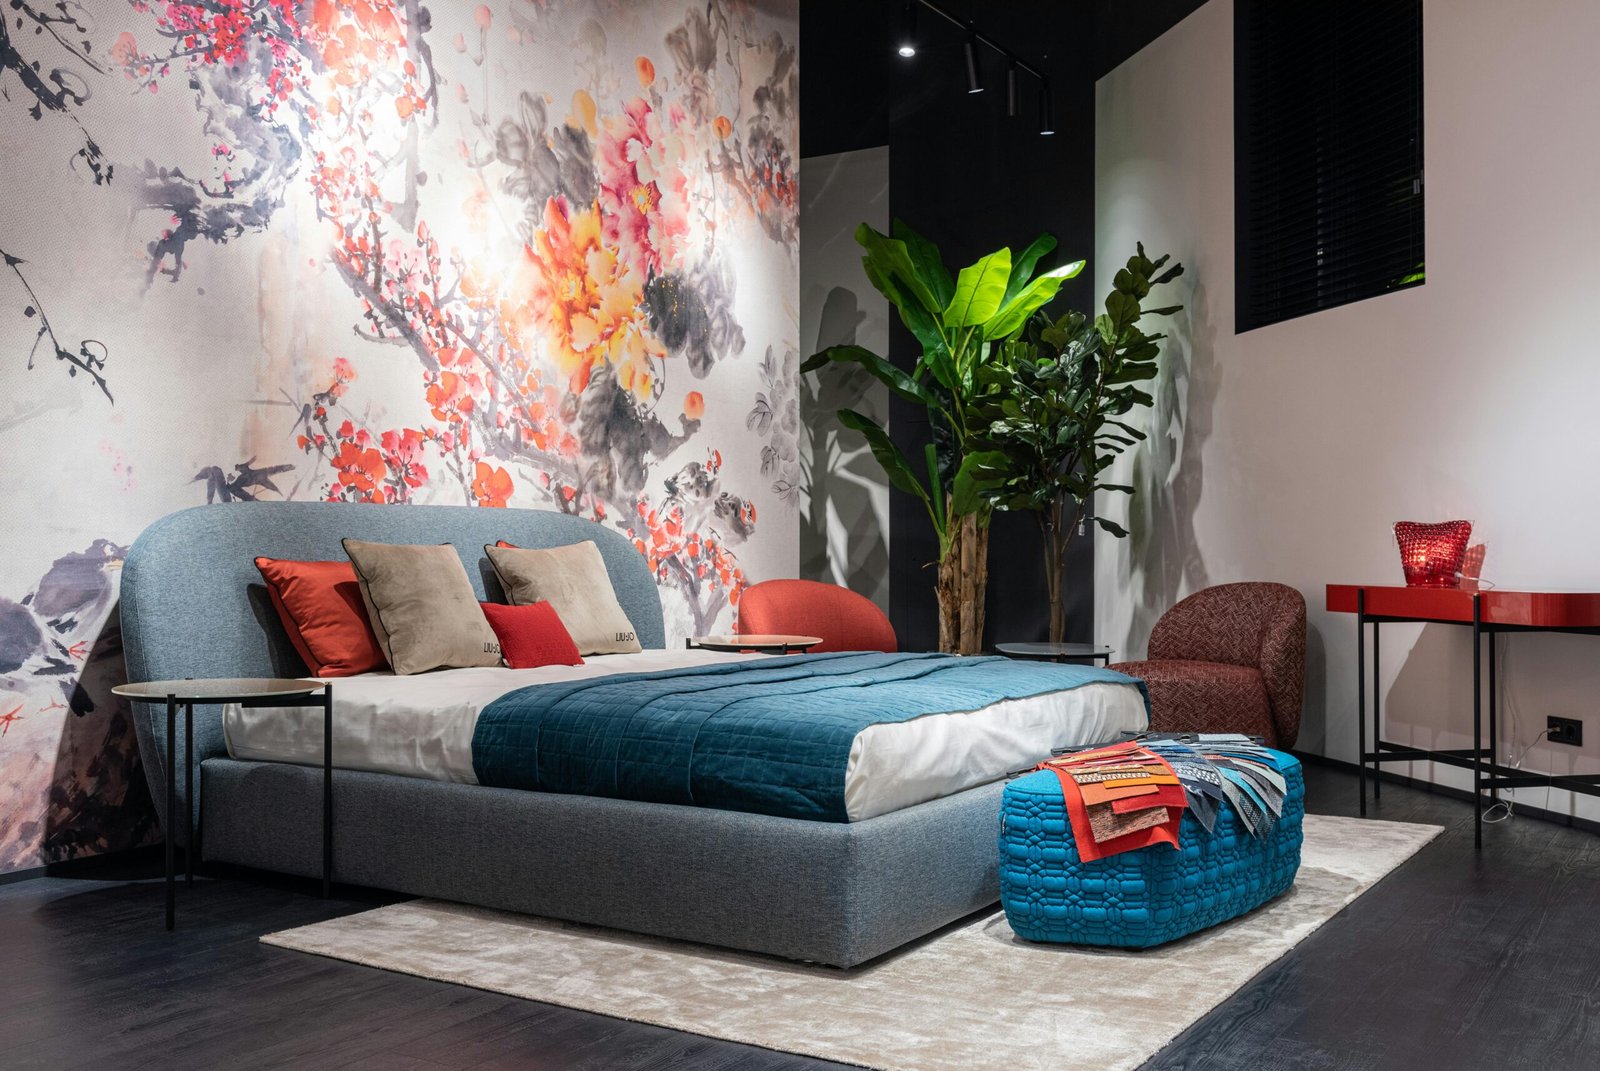
C) Bedroom office (keep the sleep vibe)
Best approach:
- keep the office area visually calm
- use closed storage for supplies
- limit bright colors and clutter
- make it easy to “close down” work at night (drawer or box for laptop and accessories)
A bedroom office works best when the work zone feels contained and not spread across the whole room.
D) Tiny apartment office
Best approach:
- wall-mounted desk or compact desk
- vertical storage (shelves)
- multi-use furniture (desk as console)
- folding chair only if it’s comfortable enough for your needs
- strong cable management and surface control
In tiny spaces, the biggest win is keeping the desk minimal and storage efficient.
Step 13: A simple “workday reset” routine (so it stays clean)
Even a perfect setup becomes messy without a quick reset.
2-minute end-of-day reset
- put pens and small items back into their container
- clear cups and trash
- coil or clip cables if they drift
- stack papers into one tray or drawer
- wipe the surface quickly
This tiny routine keeps the workspace looking beautiful with almost no effort.
Step 14: A step-by-step home office upgrade plan
If you want a clear plan to build or improve your workspace:
- Choose the location and define the office zone
- Select the desk size based on your workflow
- Prioritize a comfortable chair
- Adjust screen height for comfort
- Add a desk lamp (task lighting)
- Fix cables (hidden power strip + cord control)
- Add storage for categories (drawers or shelves)
- Keep the desktop minimal
- Add one plant or one art piece to finish the look
- Create a simple daily reset routine
You can do this slowly. Even the first 3 steps make a huge difference.
The real secret: a beautiful home office is a system
A home office looks good when it functions well. When lighting is soft, cables are controlled, storage is organized by category, and the desk surface stays clear, the whole setup feels calm and “professional.” Then the styling is easy: a plant, one art piece, one warm texture, and you’re done.
You don’t need to copy a perfect online setup. You need a workspace that supports your life—comfortable, practical, and visually calm. When that happens, productivity becomes easier and your home feels more intentional.

Isabella Garcia is the creator of a blog dedicated to crafts and home care, focused on making everyday life more creative, organized, and enjoyable. The blog shares practical tips, easy DIY projects, home organization ideas, and simple solutions to take better care of your living space. Whether you’re a beginner in crafting or someone looking for inspiration to improve your home routine, Isabella’s blog offers clear, useful, and hands-on content to help you create a cozy, beautiful, and well-cared-for home.