
Working “in the round” is one of the most exciting milestones in crochet and knitting because it unlocks so many projects: hats, cowls, amigurumi toys, sleeves, baskets, granny squares, mittens, and more. Instead of turning at the end of a row, you keep building in a circle (or spiral) so your fabric becomes a tube or a flat circle.
Beginners usually feel nervous about the round for the same reasons: “Where does the round start?” “How do I avoid a crooked seam?” “Why do I get gaps?” “How do I count rounds?” “What is a magic ring?” “Do I need special needles?” All of that is normal. The round has a few rules that are different from flat work, and once you learn those rules, it becomes surprisingly simple and very satisfying.
This guide will teach you how to crochet and knit in the round with beginner-friendly methods. You’ll learn the main ways to start, the difference between joined rounds and continuous rounds, how to use stitch markers, how to avoid holes and ladders, how increases work in circles, and how to keep everything looking neat.
What “In the Round” Means (And Why It’s Different From Rows)
When you work flat (back and forth), you build fabric in rows and turn at the end. Your edges are visible and you usually have a clear beginning and end to each row.
When you work in the round, you build fabric in a loop. There are two common structures:
- A flat circle that grows outward (coasters, doilies, round motifs, the top of hats)
- A tube that grows upward (hats, cowls, sleeves, baskets, amigurumi bodies)
In the round, you usually don’t have “side edges,” which is great for a clean look—but it also means you must track where each round begins so you don’t drift.
Joined Rounds vs Continuous Rounds: Choose One Style
Both crochet and knitting can be worked in a joined circle, but crochet commonly uses both joined rounds and continuous rounds. Knitting in the round is usually continuous, but you still track round starts.
Joined rounds
You complete a round, then join to the first stitch with a slip stitch (crochet) or you may have a clear “round boundary” in some constructions.
What it’s good for:
- clear round counting
- neat stacked rounds for some stitch patterns
- motifs like granny squares (crochet)
Potential downside:
- a visible seam where the join happens
- sometimes a tiny “step” at the join if tension varies
Continuous rounds (spiral)
You do not join at the end of each round. You keep crocheting around in a spiral (very common in amigurumi). In knitting, most in-the-round fabric is continuous in this sense.
What it’s good for:
- no visible join seam (crochet)
- smooth look for toys and hats
Potential downside:
- you must mark the start of the round carefully
- the fabric can “spiral” visually (especially with stripes)
Beginner rule: for crochet toys, continuous rounds are usually easiest and cleanest. For crochet motifs like granny squares, joined rounds are standard. For knitting hats and cowls, you’ll knit continuously in the round.
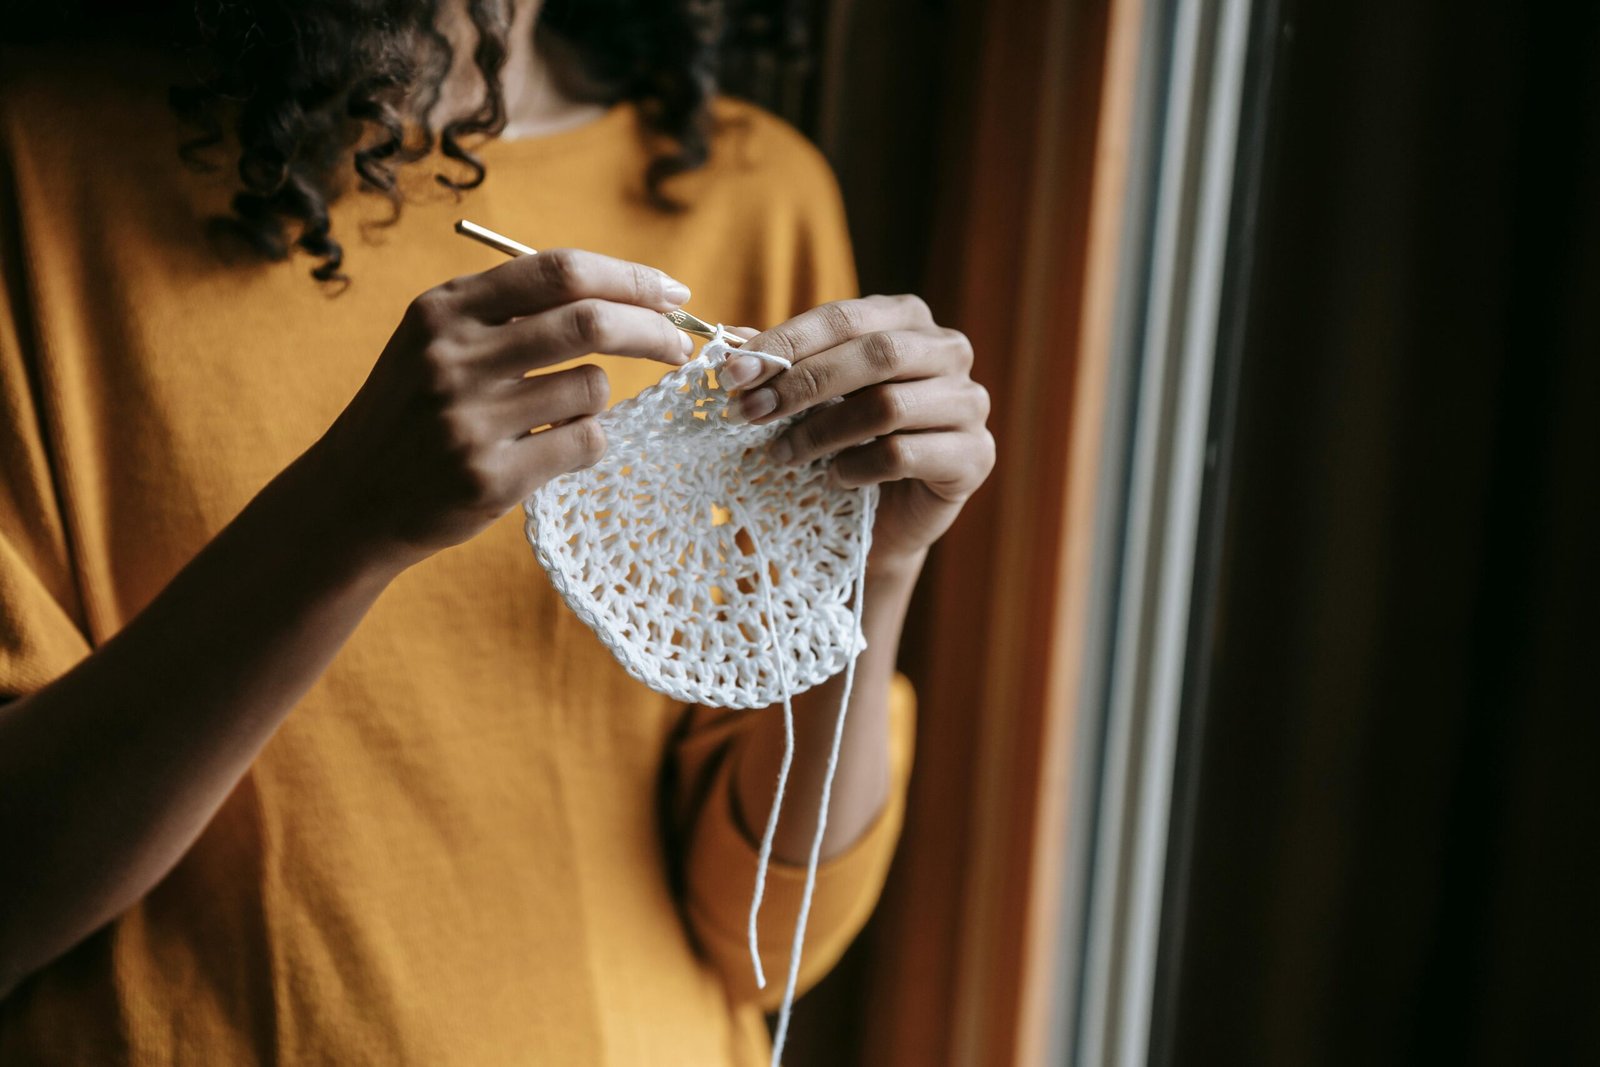
Crochet in the Round: The Three Most Common Ways to Start
Starting is where most crochet round anxiety comes from. Here are beginner-friendly options.
Option 1: Magic ring (adjustable loop)
A magic ring (also called magic circle) creates a tight center with no hole when done correctly. It’s popular for amigurumi and neat circles.
Why it’s great:
- center closes tightly
- looks clean and professional
Why beginners struggle:
- it feels “slippery” at first
- pulling it closed can be intimidating
Beginner tip: use smooth yarn and don’t pull aggressively. Tighten gradually.
Option 2: Chain ring (chain 2–4, join)
This is the traditional beginner alternative. You create a small ring and crochet your first round into it.
Common forms:
- chain 4, slip stitch to first chain to form a ring, then crochet into the ring
- chain 2 method (often used for small circles): work stitches into the first chain
Why it’s great:
- easy and stable
- less fiddly than magic ring
Downside:
- can leave a small center hole, depending on stitch count and yarn thickness
Option 3: Chain and work into a single chain (for tiny circles)
Some patterns say “chain 2, work X stitches into second chain from hook.” This can be simpler than a full ring, but it varies by pattern and stitch.
Beginner recommendation: learn chain ring first if magic ring feels frustrating, then learn magic ring when you’re ready. Both are valid.
Crochet Round Counting: Stitch Markers Are Non-Negotiable
In crochet rounds, especially continuous spirals, you must know where the round starts.
Use a stitch marker in:
- the first stitch of the round (most common)
- or the last stitch, if that helps you visually
In amigurumi and spirals, you typically move the marker up each round:
- finish the last stitch of the round
- remove marker from old stitch
- place it in the first stitch of the next round
If you don’t have stitch markers, use:
- a safety pin
- a paper clip
- a scrap yarn loop
This one habit prevents the “my shape is drifting” problem.
Crochet Flat Circles: How Increases Work (So Your Circle Stays Flat)
Flat circles grow because you increase stitches each round. If you don’t increase enough, the circle will cup like a bowl. If you increase too much, it will ripple like a ruffle.
A classic beginner circle in single crochet often follows this logic:
- Round 1: 6 sc
- Round 2: 12 sc (increase in every stitch)
- Round 3: 18 sc (increase every 2nd stitch)
- Round 4: 24 sc (increase every 3rd stitch)
- and so on
The idea: each round adds the same number of increases as the first round stitch count (often 6 for single crochet circles).
For double crochet circles, you often start with 10–12 stitches in the first round and increase accordingly because the stitches are taller.
Beginner checkpoints:
- count stitches every round until you feel confident
- use a stitch marker at round start
- if the circle starts to wave, you’re increasing too much
- if it starts to bowl, you’re increasing too little or crocheting too tightly
Crochet Tubes (Hats, Amigurumi Bodies): The Transition From Circle to Straight
Many round projects start as a flat circle and then become a tube. For example, a hat top grows as a circle, then stops increasing and continues straight down.
What changes:
- you stop increasing (or reduce increases)
- each round has the same stitch count as the last increased round
Beginner tip: the moment you stop increasing, your project stops expanding outward and starts building height. This is how hats and toy bodies take shape.
Crochet Joins That Look Neater (When You Use Joined Rounds)
If you work joined rounds, your join can look like a little seam. That’s normal. You can make it less obvious by being consistent and keeping tension steady.
Common beginner improvements:
- make the slip stitch join snug but not tight
- don’t yank the turning chain
- start each round the same way every time
Some patterns also use a “standing” stitch to begin a new round instead of a chain, which can look cleaner, but it’s optional for beginners.
Knitting in the Round: What You Need and What You Don’t
To knit in the round, you need a way to hold stitches in a circle. There are three common options:
- Circular needles
- Double-pointed needles (DPNs)
- Magic loop method (long circular needle)
Beginners usually do best starting with a circular needle because it’s stable and comfortable.
Circular needles
A circular needle has two needle tips connected by a cable. You can knit large circles (cowls) and many hats with the right cable length.
Beginner-friendly uses:
- cowls and neck warmers on a 16–24 inch circular
- sweaters (later) on longer cables
Double-pointed needles
DPNs are short needles used in sets (often 4 or 5). They’re common for small tubes like hat crowns or sleeves.
Downside for beginners:
- more tools to manage
- stitches can feel like they’re “everywhere” at first
Magic loop
Magic loop uses a long circular needle (often 32–40 inches) to knit small circumferences by pulling the cable into loops.
It’s a great method, but it’s easier once you’re comfortable with basic knitting in the round.
Beginner recommendation: start with a circular needle that matches your project size, like a 16-inch circular for a hat brim or a longer one for a cowl. If the needle length doesn’t match, stitches feel crowded or stretched.
The Biggest Knitting-in-the-Round Mistake: Twisting the Cast-On
Every beginner does this once. You cast on, join in the round, knit a few rows, and then realize the work is twisted like a Möbius strip. The fix is to restart, which is annoying—but preventable.
How to prevent twisting:
- After casting on, lay the stitches along the circular needle cable.
- Make sure all cast-on edges face the same direction (a consistent “ridge” along the inside).
- Only then join to knit in the round.
If you’re knitting a hat, this step matters a lot because a twist ruins the tube shape.
Knitting Joins in the Round: Keeping the First Stitch Neat
The join point can feel loose because it’s where the round connects.
Beginner tips:
- place a stitch marker at the start of the round immediately after joining
- keep the first two stitches slightly snug (not tight) so there’s no gap
- after knitting a few stitches, gently tug the working yarn to even out slack
Avoid pulling extremely tight on the first stitch because it can distort tension and create a visible tight spot.
Tracking Rounds in Knitting: Use a Marker and a Simple Counting System
Knitting in the round has no turning, so it’s easy to lose track of how many rounds you’ve done.
Essentials:
- a stitch marker at the start of the round
- a row/round counter or simple notes
- optional: place additional markers for pattern repeats
Beginner-friendly counting habits:
- count rounds every 5 or 10 and mark it in your notes
- use a phone note like “Hat: Round 23 completed”
- if your pattern has repeats, place markers between repeats so you can see if you drift
How Increases Work in Knitting Circles and Hats
Knitted circles and hat tops are shaped through increases spaced evenly around the round.
For example, you might see instructions like:
- “Increase 8 stitches evenly around”
- “Knit 6, M1, repeat around”
The principle is the same as crochet circles: increases must be distributed evenly to keep the shape balanced.
Beginner tip: use stitch markers to divide the round into sections. If you need 8 increases, place 8 markers to split the round and increase once per section. This reduces mental math and prevents uneven shaping.
The “Ladder” Problem in Knitting: Gaps Between Needles or Loops
Ladders are vertical gaps that can appear where needles meet, especially with DPNs or magic loop.
Why it happens:
- tension is looser at the transition point
- you pause or pull yarn awkwardly when switching needle sections
Beginner fixes:
- knit the first 2 stitches after a transition slightly snug
- shift the transition point occasionally (don’t always switch needles at the same spot)
- avoid pulling too tight on one stitch (it can create distortion)
If you use circular needles for a cowl, ladders are less common. They appear most with DPNs and magic loop.
Crochet vs Knitting in the Round: Which Feels Easier for Beginners?
Crochet in the round often feels easier early on because:
- only one active stitch is live at a time
- it’s easier to stop and restart
- round starts are clear with a marker
Knitting in the round feels smoother once you get used to joining because:
- you don’t purl every other row (for stockinette in the round, you knit every round)
- the motion becomes very rhythmic
Both are totally learnable. The main difference is tracking your round start and preventing twisting in knitting.
Beginner Projects That Teach the Round Fast
If you want to practice in a way that builds confidence quickly, these projects are perfect.
Crochet round practice:
- a simple coaster circle in single crochet
- a granny square (joined rounds)
- a small basket (thicker yarn, continuous rounds)
- an amigurumi ball (continuous rounds, increases and decreases)
Knitting round practice:
- a simple cowl (knit every round for stockinette)
- a ribbed headband knit in the round (later)
- a beginner hat (once you’re ready for decreases)
Start with a cowl for knitting because the circumference is larger and easier to manage. Hats are great, but the crown decreases and smaller circumference can add complexity.
Troubleshooting Round Problems (So You Don’t Get Stuck)
“My crochet circle is ruffling.”
- You are increasing too much or crocheting too loosely.
- Check your increase pattern and count stitches.
- Consider using a slightly smaller hook only if your hands remain comfortable.
“My crochet circle is cupping like a bowl.”
- You are increasing too little or crocheting too tightly.
- Count stitches and make sure you didn’t miss increases.
- Relax tension or try a slightly larger hook.
“My crochet spiral drifts and my stitch marker feels confusing.”
- You may be placing the marker inconsistently.
- Place it in the first stitch of the round and move it up every round.
- Count carefully for a few rounds to reset.
“My knitting is twisted after joining.”
- Unfortunately, you must restart.
- Next time, lay your cast-on flat and check the edge orientation before joining.
“I have a gap at the knitting join.”
- Keep the first two stitches after the join slightly snug.
- Try a different join approach if needed, but most gaps improve with practice and careful tension.
“I see ladders with DPNs or magic loop.”
- Snug the first two stitches after switching needle sections.
- Shift transition points occasionally.
- Practice on a cowl first before tackling tiny tubes.
The Takeaway: The Round Is a Skill, Not a Mystery
Once you understand the basic rules—start cleanly, mark your round start, count increases, and keep join tension calm—the round becomes one of the most enjoyable parts of crochet and knitting. It opens up projects that look advanced even when the stitches are simple.
If you want the simplest next step:
- Crochet: make a single crochet coaster circle and practice consistent increases.
- Knitting: make a basic cowl in the round and practice joining without twisting.

Isabella Garcia is the creator of a blog dedicated to crafts and home care, focused on making everyday life more creative, organized, and enjoyable. The blog shares practical tips, easy DIY projects, home organization ideas, and simple solutions to take better care of your living space. Whether you’re a beginner in crafting or someone looking for inspiration to improve your home routine, Isabella’s blog offers clear, useful, and hands-on content to help you create a cozy, beautiful, and well-cared-for home.