
Every crocheter and knitter makes mistakes. Not just beginners—everyone. The difference is that experienced crafters know two important truths: most mistakes are fixable, and you don’t have to restart a whole project to recover. Once you learn a few repair moves, you stop panicking when something looks off. You start thinking, “Okay—what kind of mistake is this, and what’s the simplest fix?”
This article is your beginner repair guide for both crochet and knitting. You’ll learn how to identify the most common mistakes, how to fix them with the least amount of undoing, and when it’s smarter to leave a small flaw alone and keep going. You’ll also learn the best “prevention habits” that stop errors from happening in the first place—because the easiest fix is catching mistakes early.
The Beginner Mindset Shift: Mistakes Are Data, Not Failure
When you’re learning, your hands are building new habits. Mistakes are feedback about tension, counting, turning, and stitch placement.
A helpful rule:
- If the mistake affects size/shape or causes unraveling risk, fix it.
- If it’s a tiny visual imperfection that no one will notice, consider leaving it.
Perfection is not the goal. Progress and finishing projects is the goal.
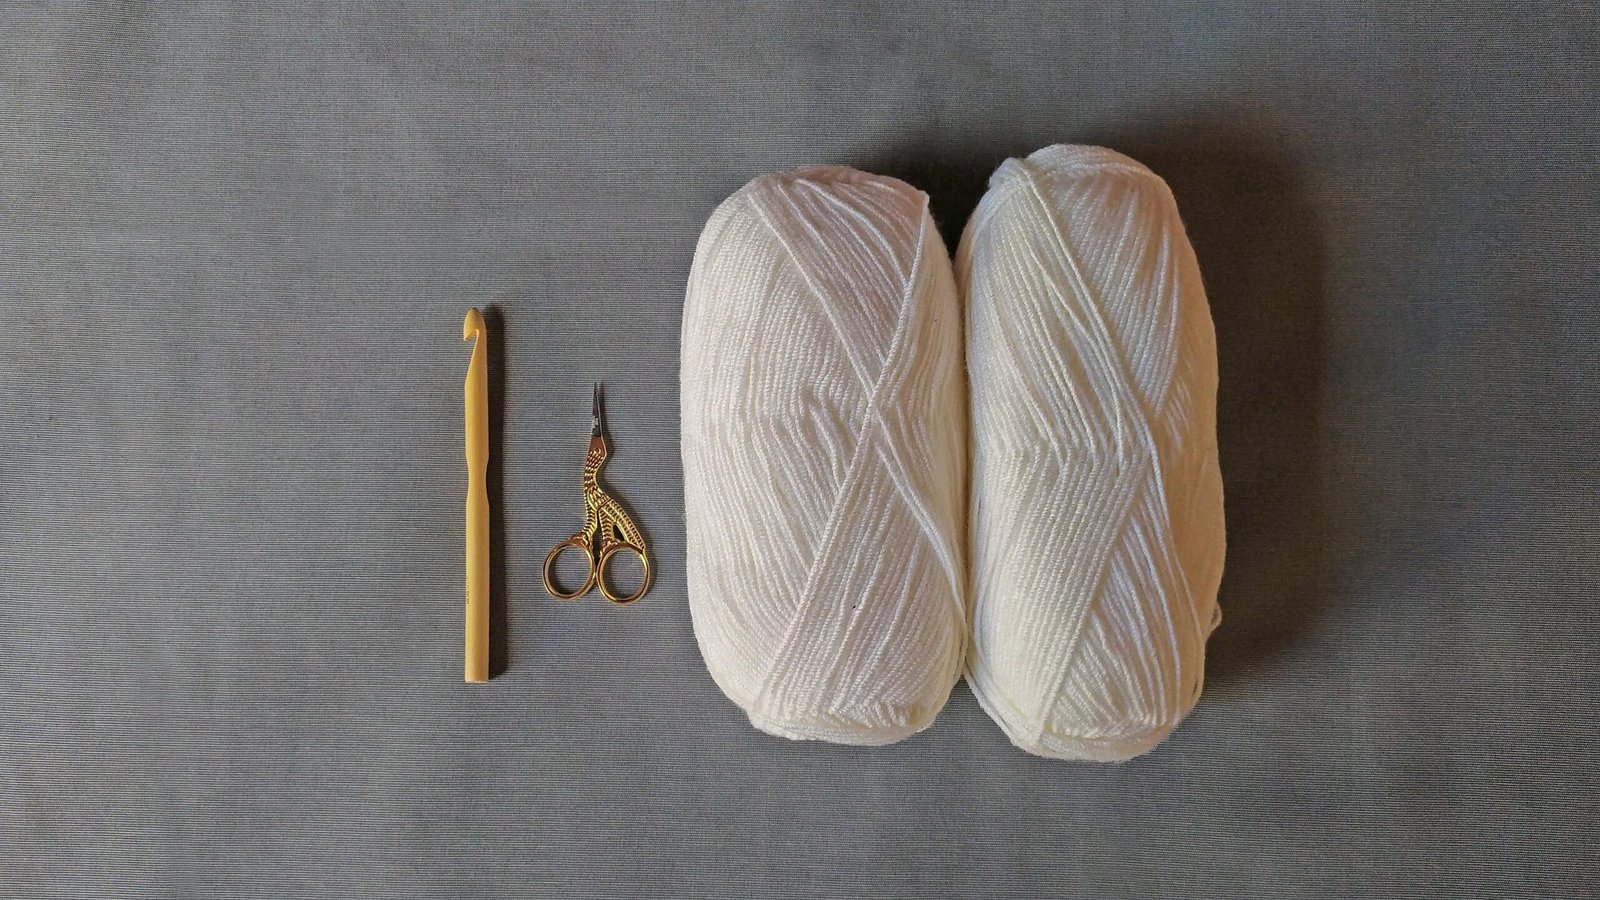
Your Mini Repair Kit (Cheap and Worth It)
You don’t need a lot, but these basics make repairs easier:
- stitch markers (or safety pins/paper clips)
- a yarn needle
- a small crochet hook (even if you mostly knit, a crochet hook helps pick up dropped knit stitches)
- scissors
- good lighting
One extra tip: keep a “lifeline” yarn scrap nearby if you knit. We’ll cover lifelines later.
First: Learn to Diagnose the Mistake
Before you fix anything, pause and identify what’s happening. Most mistakes fall into one of these categories:
- counting mistake (too many or too few stitches)
- edge mistake (messy edges, missed last stitch)
- tension mistake (one section tight/loose)
- structure mistake (wrong stitch type, wrong placement)
- dropped stitch (knitting) or skipped stitch (crochet)
- join/color change mistake (gaps, bumps, loose joins)
Once you know the category, the fix becomes much simpler.
Crochet Fixes: The Most Common Beginner Mistakes
Crochet is often easier to repair because you usually have one active loop. The main beginner problems are missing stitches, adding stitches, and messy edges.
Crochet Mistake 1: Your Project Gets Wider or Narrower
This is the classic “trapezoid dishcloth” problem.
Why it happens:
- you accidentally skip a stitch at the edge (project gets narrower)
- you accidentally add a stitch at the edge (project gets wider)
- you’re crocheting into the wrong place at row ends
How to diagnose fast:
- Count stitches in a few recent rows.
- If the stitch count changed, it’s not just tension—it’s counting.
Fix options:
- If you’re only 1–2 rows past the mistake: frog back (rip back) to the problem row and redo.
- If you’re many rows past and the change is small: you can sometimes “correct” gradually by adding or skipping a stitch at the edges over the next few rows, but beginners usually get cleaner results by frogging to the mistake.
Beginner prevention:
- Put a stitch marker in the first and last stitch of every row until edges are reliable.
- Count each row end until you build confidence.
Crochet Mistake 2: You Keep Missing the Last Stitch of the Row
The last stitch can hide, especially in single crochet and half double crochet.
Why it happens:
- the turning chain and the last stitch blend together
- you turn too quickly and don’t recognize the final stitch top
How to fix:
- The true fix is technique, not repair. But if you notice quickly:
- Frog back to the last correct row and redo slowly.
- If you notice late and the project is shrinking:
- You’ll usually need to frog back to where the edge started drifting.
Beginner prevention:
- Mark the last stitch immediately after completing a row.
- Slow down for the last 2 stitches of each row and look for the “V” top.
Crochet Mistake 3: Holes or Gaps at the Turning Edge
Why it happens:
- turning chain too loose
- wrong number of turning chains
- inserting the first stitch into the wrong place
Fix options:
- If the gap is small: add a border later. A single crochet border often hides edge gaps beautifully.
- If the gap is big and structural: frog back a row or two and redo with tighter, consistent turning.
Beginner prevention:
- Decide whether your turning chain counts as a stitch (patterns usually say).
- Keep turning chains consistent in tension.
Crochet Mistake 4: You Worked the Wrong Stitch for a Few Stitches
Example: you accidentally made double crochet where the row is supposed to be single crochet.
Fix options:
- If you catch it immediately: undo the few stitches and redo.
- If it’s just one stitch and it doesn’t distort shape: consider leaving it, especially in textured projects or variegated yarn.
Beginner prevention:
- Pause every 10 stitches and check: “Am I doing the correct stitch?”
- Use a simple row checklist if following a pattern.
Crochet Mistake 5: You Split the Yarn and It Looks Fuzzy
Why it happens:
- hook tip is catching only part of the yarn strand
- yarn is loosely plied
- you crochet quickly without looking at the hook placement
Fix options:
- If it’s a small split: you can usually leave it.
- If it weakens the stitch or looks messy: frog back a few stitches and redo more slowly.
Beginner prevention:
- Use a smoother yarn with stronger twist while learning.
- Insert the hook cleanly and yarn over deliberately.
Crochet Mistake 6: Your Round Projects Don’t Stay Flat
A circle ripples or bowls because increases are off.
- Rippling means too many increases or too loose tension.
- Bowls mean too few increases or too tight tension.
Fix options:
- Count stitches each round and compare to the pattern/increase plan.
- If you’re off: frog back to the round where the increase count went wrong.
Beginner prevention:
- Use a stitch marker at the beginning of rounds.
- Track rounds with notes: “Round 5 completed.”
Knitting Fixes: The Most Common Beginner Mistakes
Knitting can feel scarier because many stitches are live on the needles, but most beginner mistakes are fixable with calm steps. The most common are dropped stitches, accidental yarn overs, tension issues, and twisted stitches.
Knitting Mistake 1: Dropped Stitch (The “Ladder” Problem)
This is the classic knitting panic moment: one stitch slips off the needle and runs down.
How to diagnose:
- You’ll see a vertical ladder or a loose loop below your needles.
How to fix (beginner-friendly method):
- Stop immediately and prevent further unraveling:
- Put a stitch marker or safety pin through the dropped loop if you can.
- Use a crochet hook to pick it back up:
- Find the horizontal bars (the “ladder rungs”) above the dropped stitch.
- Pull the lowest bar through the dropped loop to form a new stitch.
- Repeat upward until you reach the needle level.
- Place the recovered stitch back on the needle.
This sounds complicated, but once you do it once, it becomes a superpower.
Beginner prevention:
- Knit with good lighting.
- If you feel a stitch slip, stop and check immediately.
Knitting Mistake 2: Accidental Yarn Over (An Unplanned Hole)
Sometimes you accidentally wrap yarn over the needle, creating an extra stitch and a small hole.
How to diagnose:
- You suddenly have one extra stitch.
- You may see a small hole where you didn’t expect one.
- You may notice a loop sitting on the needle that doesn’t look like a normal stitch.
Fix options:
- If you catch it within the same row:
- Drop the accidental yarn over off the needle (carefully) and keep going.
- If you catch it later:
- You can knit it together with the next stitch to remove the extra stitch, but this may leave a tiny gap.
- For cleanest results, many beginners prefer to “tink” back (unknit) to the mistake and remove it properly.
Beginner prevention:
- Keep track of yarn position: in front for purl, in back for knit.
- Move yarn deliberately between knit and purl.
Knitting Mistake 3: You Have the Wrong Stitch Count
If the pattern says 40 stitches and you have 41 or 39, don’t ignore it. Stitch count drift causes shaping problems later.
How to fix:
- First, check whether you accidentally added a yarn over or missed a decrease.
- If the mistake is recent:
- tink back a few stitches (knit backward one stitch at a time) until you find the problem.
- If you can’t find it and the difference is small:
- For a non-fitted project (like a scarf), you might choose to continue and keep the edges neat.
- For anything fitted (like a hat), it’s usually worth fixing early.
Beginner prevention:
- Count stitches every few rows.
- Use stitch markers to divide the row into sections (for example, every 10 stitches).
Knitting Mistake 4: Twisted Stitches
Twisted stitches happen when you knit into the wrong leg of the stitch. It changes the look and can tighten fabric.
How to diagnose:
- Stitches look crossed or tighter than neighbors.
- The “V” looks twisted rather than open.
Fix options:
- If it’s one stitch in a scarf: you can leave it.
- If you’re making ribbing or a section where stretch matters: consider tinking back to correct it.
- If you’ve twisted an entire row repeatedly, it’s worth pausing and checking how you insert the needle and how you wrap yarn.
Beginner prevention:
- Learn what the “front leg” of a stitch looks like on your needles.
- Use consistent needle insertion (most beginner knitting uses knit through the front loop unless instructed otherwise).
Knitting Mistake 5: Uneven Tension (Loose Rows or Tight Sections)
Beginners often have tighter purl rows, looser knit rows, or loose stitches at the beginning of rows.
Fix options:
- If it’s minor: blocking and wear often even it out.
- If it’s severe and changes the width: consider restarting that section.
- If your first few rows are tighter: keep going—tension usually improves.
Beginner prevention:
- Keep your grip relaxed.
- Use a needle material that helps you (wood can reduce slippery stress; metal can smooth motion).
- Practice short sessions to build consistent muscle memory.
Knitting Mistake 6: Joining in the Round and Twisting the Cast-On
This one is painful because the fix is usually restarting. If the cast-on edge twists before you join, you create a twisted tube.
How to diagnose:
- After joining and knitting a few rounds, the edge looks like it flips around itself.
Fix:
- Restart. There isn’t a clean repair that restores a correct tube.
Prevention:
- Before joining, lay stitches flat on the cable and ensure the cast-on edge faces the same direction all the way around.
- Use a stitch marker at the beginning of round so you stay oriented.
The Two Big “Undo” Skills: Frogging and Tinking
You’ll see these words often in crafting communities.
- Frog means ripping back stitches (crochet or knitting) to undo work.
- Tink means “knit” backward (undo knitting stitch-by-stitch) to correct a mistake without ripping multiple rows.
Beginner advice:
- Crochet: frogging is usually quick and clean.
- Knitting: tinking a few stitches is often easier than ripping a whole row, especially if you’re close to fixing the issue.
Neither is a failure. Undoing is part of making.
Lifelines in Knitting: The Beginner Safety Net
A lifeline is a piece of scrap yarn threaded through a row of live stitches. If you make a big mistake later, you can rip back safely to the lifeline row without losing stitches.
When lifelines help:
- lace patterns
- complex repeats
- anything that would be stressful to recover
Beginner approach:
- After completing a “good” row, thread a smooth scrap yarn through all stitches on the needle.
- Continue knitting normally.
- If needed later, rip back to that lifeline and place stitches back on the needle.
You don’t need lifelines for every beginner scarf, but it’s a great tool once you try more complex patterns.
When to Leave a Mistake Alone
Not every mistake is worth fixing. Knowing when to stop chasing perfection is a major confidence skill.
Consider leaving it if:
- it doesn’t change the size or shape
- it’s a single odd stitch in a textured area
- it would require ripping back many rows for a tiny visual flaw
- it won’t affect durability
Fix it if:
- stitches are unraveling or loose
- stitch count is wrong in shaping sections
- the mistake creates a hole in a place that matters
- it affects fit, especially in hats and wearables
A small “personality stitch” is not a problem. An unstable edge is.
The Best Prevention Habits (These Save You the Most Time)
If you want fewer repairs, build these habits:
- Count early and often (especially for crochet rows and increases)
- Use stitch markers at row ends and round starts
- Stop every 10–20 stitches and quickly check your work
- Write down your row/round number when you pause
- Fix mistakes immediately when you notice them (it’s easier than later)
- Work with beginner-friendly yarn so stitches are easy to see
Prevention doesn’t mean “never make mistakes.” It means you catch them before they become big.
A Quick Beginner Recovery Plan (Use This When You Panic)
When you see something wrong:
- Stop stitching
- Identify the mistake type (count, edge, dropped stitch, wrong stitch, tension)
- Decide the smallest fix (undo 2 stitches, tink 5 stitches, frog 1 row)
- Mark your place (stitch marker or safety pin)
- Fix slowly with good lighting
- Continue calmly and check again after a few stitches
This turns “panic” into a repeatable process.
The Takeaway: Repairs Are a Skill, and You Can Learn It Fast
Crochet and knitting aren’t about never making mistakes—they’re about learning how to recover smoothly. Once you know how to count accurately, use markers, frog and tink without fear, pick up a dropped knit stitch, and recognize common problems early, your confidence skyrockets. You stop feeling like mistakes ruin your work, and you start seeing them as normal steps in the process.
If you want a simple next move: practice one repair on purpose. Drop a stitch on a small knit swatch and pick it up with a crochet hook. Or crochet a small square and intentionally skip a stitch, then frog back to fix it. Doing repairs on purpose removes fear faster than any explanation.

Isabella Garcia is the creator of a blog dedicated to crafts and home care, focused on making everyday life more creative, organized, and enjoyable. The blog shares practical tips, easy DIY projects, home organization ideas, and simple solutions to take better care of your living space. Whether you’re a beginner in crafting or someone looking for inspiration to improve your home routine, Isabella’s blog offers clear, useful, and hands-on content to help you create a cozy, beautiful, and well-cared-for home.