
At some point, every crocheter and knitter runs into the same moment: you’re happily stitching along and suddenly you’re near the end of your yarn. Or you want to switch colors. Or you need to start a new skein because the yarn has a break. And then the big question hits: “How do I join yarn so it looks neat and doesn’t come apart?”
Beginners often default to tying a big knot and hoping for the best. Knots can feel reassuring, but they can also create hard bumps, show through the fabric, loosen over time, or even pop out after washing—especially in smooth yarns. The good news is that there are several beginner-friendly ways to join yarn that are stronger and cleaner than a simple knot, and you can choose the method based on what you’re making.
This guide will teach you reliable yarn-joining methods for both crochet and knitting, including when to join, where to place joins, how to avoid bulky lumps, and how to secure ends so your project lasts. You’ll also learn which joining methods work best for different fibers like wool, cotton, and acrylic, and what to do when a join ends up in an inconvenient spot.
Why Yarn Joins Matter More Than You Think
A yarn join isn’t just about continuing the project. It affects:
- How comfortable the item feels (especially wearables)
- How strong the fabric is (bags, blankets, edges)
- How the finished project looks (visible bumps can distract)
- How well it survives washing and daily use
A join placed poorly or secured poorly can become the weak point of an otherwise great project. Learning good joins early gives you a “professional finish” skill that upgrades everything you make.
The Two Big Joining Rules (For Crochet and Knitting)
Before choosing a method, keep these two rules in mind:
- Avoid joining yarn at high-stress points.
High-stress points include:
- the underarm area of garments
- the heel or toe of socks
- bag handles
- corners and edges that get tugged often
- places that rub against skin (neckline, hat brim)
If you can, join in a low-stress area like the side of a body panel or a less noticeable spot.
- Leave tails long enough to secure.
A beginner-safe tail length is about:
- 6 inches (15 cm) minimum
- 8–10 inches (20–25 cm) if the yarn is slippery or the item will be washed often
Short tails are hard to weave securely. Long tails are easy to trim later.
When to Join New Yarn (Timing Matters)
Many beginners wait until the yarn is almost gone and then try to join with a 1-inch tail. That’s stressful and usually messy.
A better habit:
- When you have about 6–8 inches (15–20 cm) of working yarn left, stop and plan the join.
This gives you enough yarn to finish the current stitch cleanly and leaves a usable tail.
If you’re working a pattern with a repeating section, a great place to join is:
- at the end of a row (for flat work)
- at the end of a round (for joined rounds)
- at a natural transition point in the pattern repeat
That way the join is easier to hide and easier to remember later.
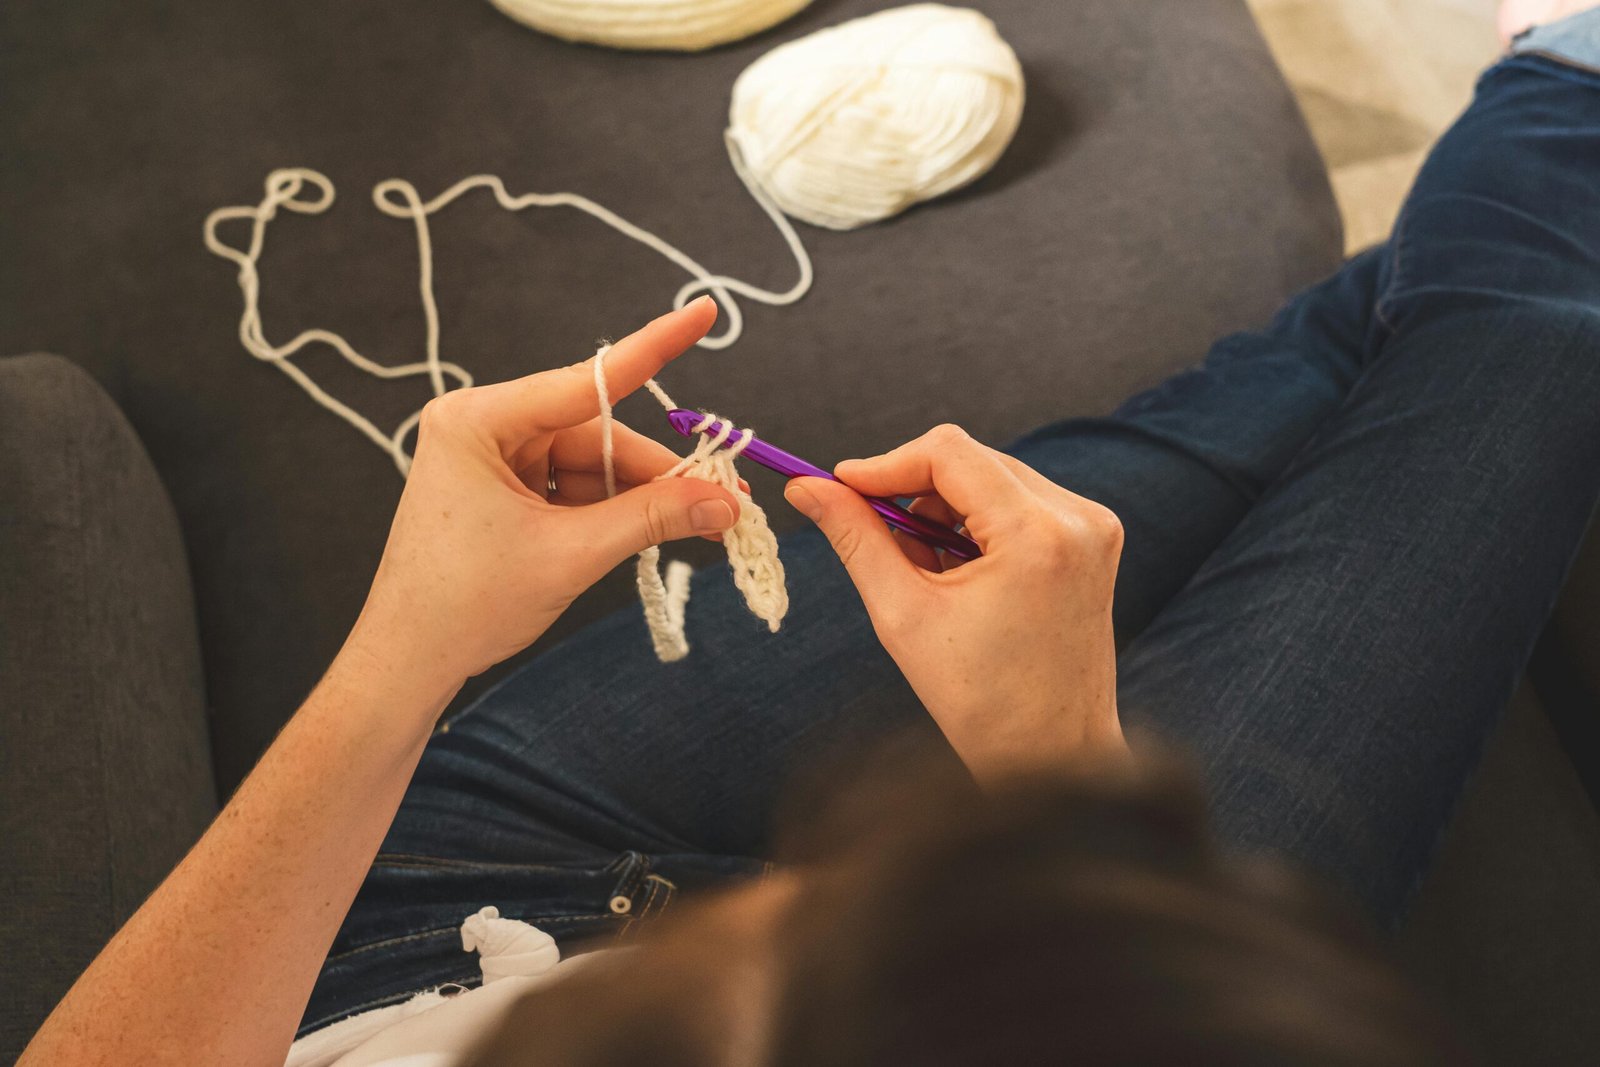
Crochet: The Easiest Beginner Join (Simple Overlap Join)
This is the most common, most beginner-friendly crochet yarn join. It’s not fancy, but it’s strong when you weave ends properly.
How it works:
- You drop the old yarn, introduce the new yarn, and keep crocheting.
- Then you weave in both tails securely afterward.
Step-by-step:
- Crochet until you have about 6–8 inches of old yarn left.
- Finish the current stitch normally.
- Lay the new yarn over your hook and pull it through to begin the next stitch.
- Continue crocheting with the new yarn.
- Leave a 6-inch tail of the new yarn, and keep a 6-inch tail of the old yarn.
- Later, weave both ends into the fabric in two directions.
Why beginners like this method:
- It’s simple
- It works with any yarn
- You don’t need special techniques
- It’s easy to undo if something feels wrong
How to make it look cleaner:
- Try to place the join at the end of a row or in a less visible area.
- If you’re doing single crochet or another dense stitch, you can crochet over the tails for a few stitches to reduce weaving later (only if it doesn’t show through).
Crochet: How to “Crochet Over” the Tails to Secure As You Go
Crocheting over tails means you lay the yarn tails along the top of your stitches and crochet over them so they’re trapped inside the fabric.
Best for:
- single crochet and tight, dense fabrics
- sturdy projects like dishcloths, bags, and amigurumi parts
- when you want to reduce weaving time
How to do it:
- After joining, place the old and new tails along the top edge of the row you’re working.
- Crochet the next 6–10 stitches while keeping tails laid flat along the stitch path.
- Pull tails gently to make sure they’re trapped, not loose.
- Trim or weave the remaining tail ends later if needed.
Important beginner caution:
- In open stitches like double crochet, tails may show through or create bumps.
- If you can see the tail through the fabric, skip crocheting over and weave ends later instead.
Even if you crochet over tails, it’s still smart to weave them a bit if the project will be washed often.
Crochet: The “Magic Knot” (Why Beginners Should Be Careful)
You may hear about a technique called the “magic knot,” where the new yarn is tied onto the old yarn with two knots that slide together.
It can work in some situations, but here’s why beginners should be careful:
- If the knot slips or the tails are cut too short, it can come undone.
- Knots can create a hard bump, especially in wearables.
- Some yarns are slippery and don’t hold knots well.
If you do use a knot method, keep it for:
- non-wearable projects (blankets, some scarves)
- bulky yarn where a tiny bump won’t matter
- places you can hide the knot in a seam or textured area
And don’t cut tails super short. Give yourself more security than the “internet shortcut” versions.
Crochet: The “Russian Join” (Clean, Strong, But Slightly Advanced)
The Russian join is a strong way to join yarn by threading each yarn tail back through itself. It creates a smooth join with no hard knot and very few visible ends.
Best for:
- garments and scarves where you want a smooth feel
- yarns with some thickness and multiple plies
- when you want a very secure join
Why it’s slightly advanced:
- You need a yarn needle and patience
- It’s easier on thicker yarn than very thin yarn
- It can be tricky with very slippery or single-ply yarn
Beginner-friendly explanation of the concept:
- You thread the end of Yarn A back through Yarn A for a short distance.
- You thread the end of Yarn B back through Yarn B for a short distance.
- The two yarns overlap smoothly, creating a strong connection.
You don’t need the Russian join to be successful as a beginner, but it’s a great upgrade once you’re comfortable weaving ends.
Knitting: The Most Common Beginner Join (Join at the Start of a Row)
For knitting flat, the simplest and cleanest join is to start the new yarn at the beginning of a row.
Step-by-step:
- Knit until you have about 6–8 inches of yarn left.
- Finish the row if possible, then turn.
- Drop the old yarn.
- Begin the next row with the new yarn, leaving a 6-inch tail.
- Knit the first few stitches gently so the new yarn anchors.
- Later, weave in both tails on the wrong side.
Why this works well:
- Row starts are easier to control
- The join can be hidden near the edge or seam
- It reduces the chance of a random bump in the middle of the fabric
If you’re knitting something where seams will be sewn (like sweater panels), joining at the edge is especially smart because the seam hides it.
Knitting: Joining in the Middle of a Row Without Creating a Hole
Sometimes you can’t wait for a row end. You might run out in the middle, or the pattern requires a specific placement.
Here’s the beginner-safe approach:
- Knit until you have about 6 inches left.
- Stop between stitches.
- Drop the old yarn and start knitting with the new yarn.
- Leave tails on both yarns.
- Knit the next 3–5 stitches with normal tension.
- Later, weave in ends carefully, using two directions.
How to prevent a hole at the join:
- Don’t pull the new yarn too tight on the first stitch (that can distort fabric).
- Don’t leave it too loose either.
- A good trick is to snug the join gently after you knit a few stitches by pulling both tails lightly, then stop.
The fabric often evens out after a few rows, especially if the yarn has elasticity.
Knitting: The Spit Splice (Felted Join) for Wool
If you work with non-superwash wool, you have access to one of the best joins ever: the spit splice (also called felted join). It creates a nearly invisible join with no ends to weave in.
Best for:
- 100% wool that felts
- some wool blends that felt (depends on fiber content)
- projects where you want minimal ends
Not good for:
- acrylic (won’t felt)
- cotton (won’t felt)
- superwash wool (often won’t felt reliably)
How it works conceptually:
- You overlap the old and new yarn ends.
- You add moisture and friction.
- The wool fibers felt together, creating one continuous strand.
Beginner note: Some people use water instead of saliva. Either way, the point is moisture + friction. If you’re unsure how your wool behaves, test on a short scrap first.
For beginners who use mostly acrylic or cotton, you can skip this method for now, but it’s worth knowing about if you start knitting with wool later.
Knitting and Crochet: How to Weave in Ends for Maximum Security
No matter which join method you use, weaving ends properly is what makes the join durable. The strongest beginner method is weaving in two directions.
Reliable weaving method:
- Thread the tail on a yarn needle.
- Weave through 6–10 stitches along the wrong side, following the stitch path.
- Change direction and weave through a different path.
- If the yarn is slippery, change direction a third time for a short path.
- Trim close to the fabric.
Key beginner tips:
- Don’t weave in a perfectly straight line only once.
- Don’t pull tails so tight that the fabric puckers.
- Try to weave tails into areas of matching color so they don’t show through.
Where to Hide Joins in Real Projects
If you want your joins to disappear, placement matters as much as technique.
Great hiding spots:
- side seams of garments
- underarm areas (but not where it rubs heavily)
- inside edges that will receive a border
- textured stitch patterns (bumps hide joins)
- areas with color changes (joins blend better near transitions)
Hard hiding spots:
- the center front of a scarf in smooth stockinette knitting
- the middle of a lace pattern
- open, airy crochet stitches where tails can show
If you can’t avoid a visible spot, choose your neatest method and focus on clean weaving.
What to Do If Your Join Feels Bulky
Sometimes you finish a join and realize it created a lump. Don’t panic—there are options.
If you used a knot:
- Consider undoing and using a knotless join with weaving.
- If the knot is already in the fabric, you may be able to shift it to the wrong side or hide it in a seam during finishing.
If you crocheted over tails and it looks thick:
- Weave the tail instead of crocheting over in that area next time.
- Use fewer stitches crocheting over the tail, then weave the rest.
If you used a thick join method like Russian join on very bulky yarn:
- Use a shorter overlap distance.
- Place the join in a less visible area.
In general, smoother joins are easier with yarns that have multiple plies and moderate thickness.
The Beginner Decision Guide: Which Join Should You Use?
If you want one simple answer for beginners:
For crochet:
- Use the simple overlap join and weave ends in two directions.
- If your fabric is dense, you can crochet over tails for a few stitches to reduce weaving.
For knitting:
- Join at the start of a row when possible and weave ends on the wrong side.
- If you must join mid-row, overlap and weave ends well.
If you’re working with non-superwash wool and want the cleanest join:
- Try a felted join (spit splice) on a scrap first.
If you want a strong, polished join and don’t mind a little extra work:
- Learn the Russian join for suitable yarns.
A Small Practice Exercise That Builds Confidence Fast
If joins make you nervous, practice them on purpose.
Crochet practice:
- Crochet a small 20-stitch swatch in single crochet for a few rows.
- Join a new yarn color in the middle of a row using the final pull-through method.
- Crochet 10 stitches, then join back to the original color.
- Weave in ends in two directions.
- Tug gently on the fabric to test security.
Knitting practice:
- Knit a small garter stitch swatch.
- Join a new yarn at the start of a row.
- After a few rows, join another color mid-row.
- Weave ends in the purl bumps (wrong side).
- Stretch the fabric gently and see how it behaves.
Practicing joins on swatches removes the fear because you learn that nothing “ruins” the project—you can always redo.
The Takeaway: Secure Joins Are Mostly About Good Habits
Joining yarn neatly is less about finding the perfect “secret technique” and more about building solid habits:
- join with enough tail length
- place joins strategically
- avoid bulky knots in wearables
- weave ends in two directions
- keep tension calm at the join
Once you get comfortable with simple overlap joins and clean weaving, your projects immediately look more professional and last longer. And when you’re ready, you can add advanced joins like felted joins or Russian joins for even cleaner finishes.

Isabella Garcia is the creator of a blog dedicated to crafts and home care, focused on making everyday life more creative, organized, and enjoyable. The blog shares practical tips, easy DIY projects, home organization ideas, and simple solutions to take better care of your living space. Whether you’re a beginner in crafting or someone looking for inspiration to improve your home routine, Isabella’s blog offers clear, useful, and hands-on content to help you create a cozy, beautiful, and well-cared-for home.