
Blocking is one of those craft words that can sound intimidating—like something only advanced knitters do with fancy mats, special pins, and complicated techniques. But blocking doesn’t have to be complicated. At its core, blocking is simply the process of shaping your finished crochet or knitting so it looks cleaner, lies flatter, and matches the size and shape you intended.
For beginners, blocking is a shortcut to confidence. It can make your stitches look more even, help your edges stop curling, make granny squares actually look like squares, and smooth out wavy borders. Blocking won’t magically fix every mistake, but it can upgrade your work in a way that feels almost unfair—especially once you see the before-and-after.
This guide will explain blocking in a beginner-friendly way: what it is, when it matters, which fibers respond best, the safest methods for common yarn types, how to block without expensive tools, and what to avoid so you don’t accidentally stretch or damage your project.
What Blocking Is (And What It Isn’t)
Blocking is the process of adding moisture and/or heat and then shaping the fabric as it dries. You’re “training” the finished piece to sit the way you want it to sit.
Blocking can:
- flatten curling edges (especially in knitting)
- smooth uneven tension and help stitches relax
- open up lace and make patterns clearer
- straighten borders and edges
- help pieces match size before seaming
- improve drape and the overall “finished” look
Blocking cannot:
- fix wrong stitch counts or major shaping errors
- permanently change a yarn’s natural behavior (some fibers bounce back)
- make an extremely tight fabric suddenly drape like a loose one
- hide large holes from missing stitches
Think of blocking as polishing, not rebuilding.
Why Blocking Makes Beginner Projects Look Better
Beginners often have slight tension changes. Maybe your first few rows are tighter, or you loosen up as you gain confidence. That’s normal, but it can create subtle waves or unevenness in the fabric.
Blocking helps because:
- the yarn fibers relax and settle
- stitches distribute tension more evenly
- the fabric becomes more “stable”
- edges become easier to straighten
Even simple projects—dishcloths, scarves, granny squares—can look noticeably more professional after blocking.
When You Should Block (And When You Can Skip It)
You don’t need to block everything. Blocking is most valuable when it solves a specific problem or when the project benefits visually from shaping.
Block it if:
- your knitting is curling (stockinette curl)
- your crochet border waves or puckers
- your granny squares aren’t square
- you’re making lace or openwork
- your project needs to match a measurement (wearables)
- you’re joining multiple pieces and want them the same size
- the fabric looks “crumpled” or uneven after finishing
You can often skip blocking if:
- the item is meant to be dense and structured (some baskets, thick rugs)
- it’s a small practice swatch
- it will be washed regularly anyway (some dishcloths)
- the yarn is very springy and the shape already looks right
Beginner rule: if you feel unsure, try blocking once. It’s a skill worth learning early because it improves so many projects.
Crochet vs Knitting: How Blocking Affects Each
Blocking helps both crafts, but the “why” often differs.
Blocking in crochet is great for:
- shaping granny squares and motifs
- flattening circles and borders
- smoothing joined pieces
- improving drape in shawls and scarves
Blocking in knitting is great for:
- reducing curl and rolling edges
- evening out stockinette stitches
- opening lace
- stabilizing garment panels for seaming
- improving fit and drape
Knitting usually changes more dramatically from blocking than crochet, especially with wool.
Fiber Matters: The Most Important Blocking Rule
Blocking results depend heavily on the yarn fiber. The same blocking method can work perfectly for wool and do almost nothing for acrylic—or damage it if too hot.
Here’s a beginner-friendly fiber guide.
Wool (and many wool blends)
Wool is the “best” blocking fiber because it responds beautifully to moisture. Wool fibers relax, then hold shape well as they dry.
- Blocking works very well
- Lace opens up beautifully
- Fabric often looks smoother and more even
If you want to see dramatic blocking results, wool is the easiest fiber to observe it with.
Cotton
Cotton blocks well in a different way. It becomes smoother and more even, but it can also stretch when wet.
- Great for flattening and shaping
- Good for granny squares and dishcloths
- Can become heavier and grow if over-stretched
Cotton blocking works best when you shape gently and avoid pulling too hard.
Acrylic
Acrylic doesn’t “block” the same way as natural fibers. It often returns to its original shape after drying unless you use heat. But heat must be handled carefully.
- Wet blocking has limited long-term effect
- Steam blocking can shape acrylic more effectively
- Too much heat can damage acrylic fibers (they can soften or lose bounce)
For beginners, acrylic can still benefit from gentle shaping, but don’t expect the dramatic transformation you see with wool.
Linen, bamboo, and silky plant fibers
These can drape beautifully but may be more prone to stretching when wet.
- Shape gently
- Avoid aggressive pinning
- Dry flat with support
Blends
Treat blends like the most sensitive fiber in the mix. If it’s wool/acrylic, you can often wet block gently. If it’s mostly acrylic, steam may be the main shaping tool. If it’s cotton blend, avoid overstretching.
The Three Main Blocking Methods (Beginner-Friendly)
There are three common blocking methods. You don’t need all three. Choose based on fiber and project needs.
- Wet blocking
- Steam blocking
- Spray blocking (a light version of wet blocking)
Let’s break them down.
Wet Blocking: The Safest “Default” for Beginners
Wet blocking means fully wetting the item (usually soaking), removing excess water gently, shaping it, and letting it dry flat.
Best for:
- wool
- cotton
- many natural blends
- lace and shawls
- granny squares and motifs
Step-by-step wet blocking:
- Fill a basin with cool or lukewarm water
Hot water can shrink wool or distort fibers. - Add a small amount of gentle soap (optional)
If the item is clean, you can skip soap and just soak. - Submerge the item and let it soak 10–20 minutes
Don’t agitate or scrub. - Drain and rinse if needed
Press gently to remove soap. - Remove water without wringing
Never twist or wring—this can stretch the fabric and distort stitches. - Towel roll
Lay item flat on a towel, roll it up, and press to remove extra water. - Shape and lay flat to dry
Smooth edges, straighten corners, adjust measurements gently, and let it dry fully.
Beginner shaping tip: you’re not trying to “stretch it bigger.” You’re trying to guide it into a clean, even shape.
Spray Blocking: The Easy “Light Block”
Spray blocking uses a spray bottle to dampen the item instead of soaking it.
Best for:
- small pieces
- projects that only need slight flattening
- fibers you don’t want to soak heavily
- quick touch-ups before photographing
How to spray block:
- Lay item flat
- Mist evenly until damp (not dripping)
- Shape gently
- Let dry fully
Spray blocking is beginner-friendly because it’s hard to overdo it. It won’t open lace as dramatically as wet blocking, but it’s great for simple smoothing.
Steam Blocking: Great for Acrylic (With Care)
Steam blocking uses steam to relax fibers. It’s often the best choice for acrylic because acrylic responds more to heat than water. But steam can also permanently “kill” acrylic if too hot or too close.
Best for:
- acrylic and acrylic blends
- projects that need edge flattening and improved drape
- items you don’t want to soak
How to steam block safely:
- Lay item flat on a towel or blocking surface
- Shape it gently into position
- Hold a steamer or iron (steam setting) above the fabric
Keep it slightly above—do not press the iron onto the yarn. - Steam evenly across the surface
Move slowly and evenly. - Let the item cool and dry in place
Don’t move it while warm.
Important acrylic warning: if you press heat directly onto acrylic, it can flatten fibers permanently and make the fabric look shiny or limp. Some crafters do this intentionally for specific effects, but beginners should avoid it.
Do You Need Blocking Mats and Pins?
Not necessarily. Blocking tools are helpful, but you can block with simple household items.
Beginner-friendly blocking setups:
- A towel on a bed or table (most common)
- A foam play mat or yoga mat (covered with a towel)
- Cardboard covered in a towel (for small pieces)
- A clean carpeted area with a towel barrier (if needed)
Pinning options:
- sewing pins (rust-resistant if possible)
- safety pins
- hair clips for edges (less precise but can help)
- binder clips for thicker edges (use carefully)
If you’re blocking lace or need exact measurements, pins help a lot. If you’re just smoothing a scarf or granny square, careful shaping by hand is often enough.
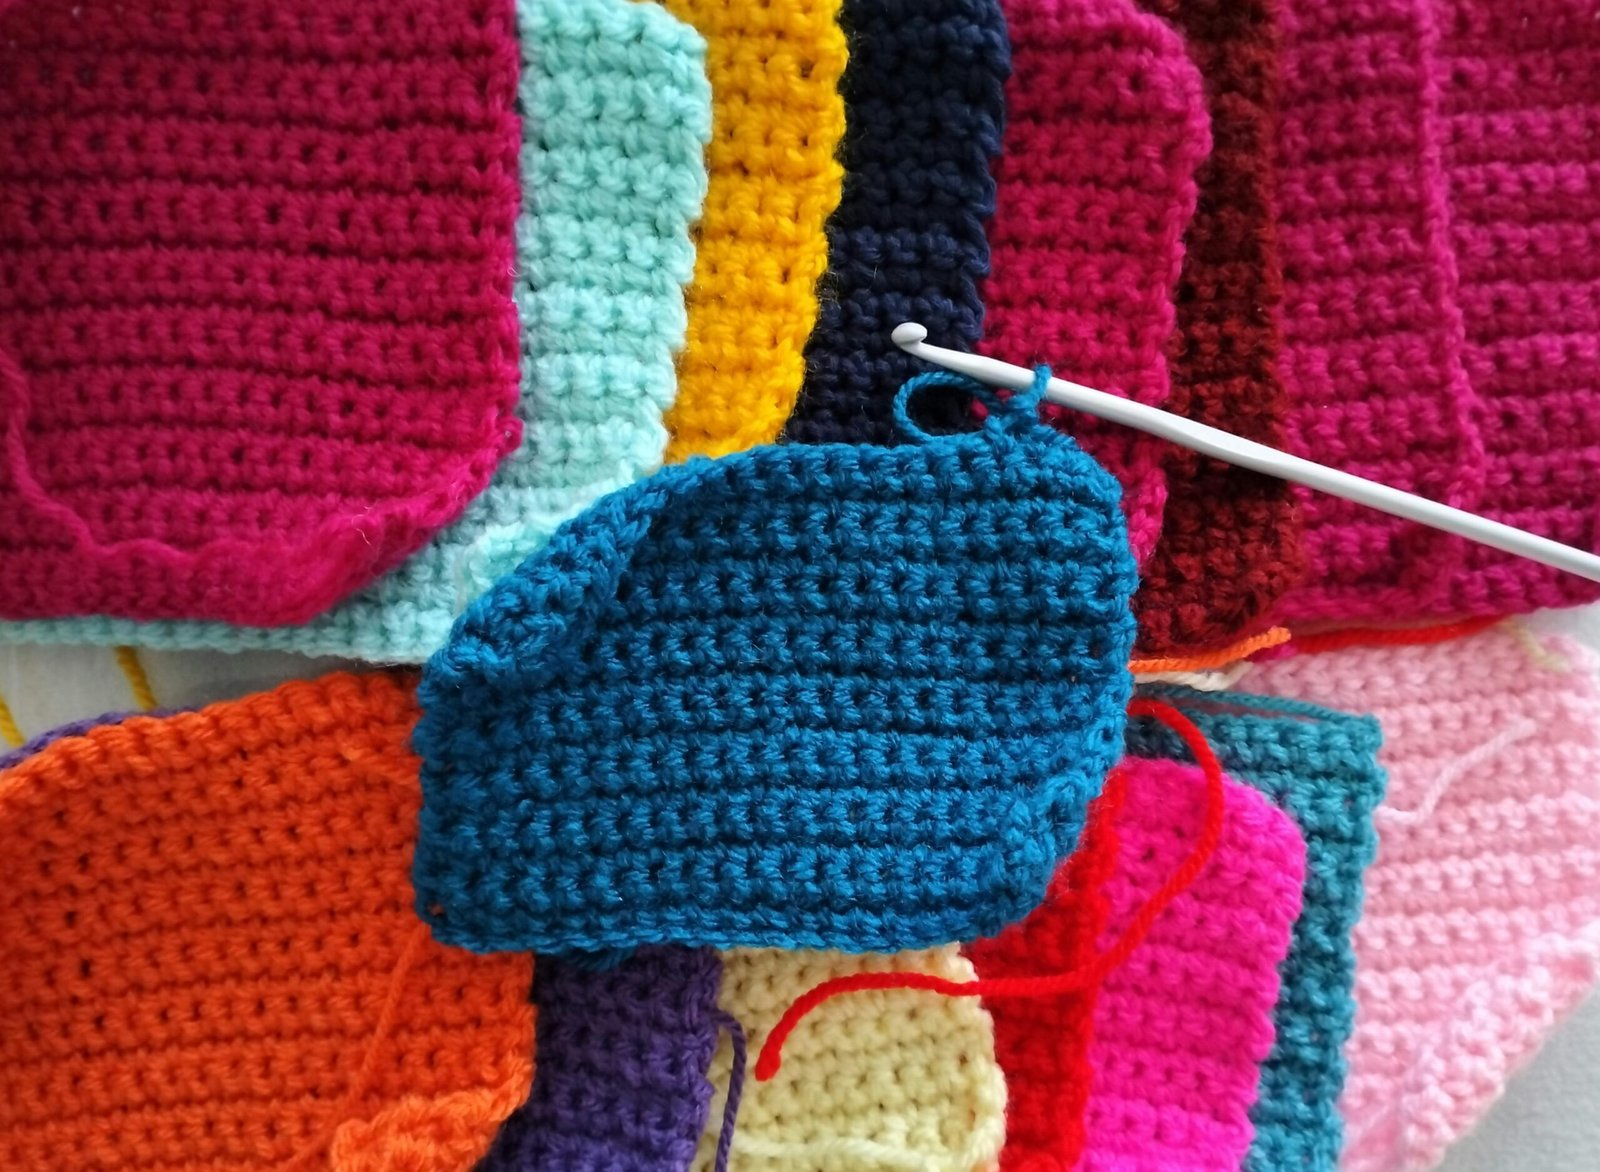
Blocking Granny Squares: The Beginner Game-Changer
Granny squares are famous for looking wonky before blocking and amazing after. Blocking makes corners sharp and edges straight, which makes joining easier and the final project look more polished.
How to block granny squares (simple method):
- Wet or spray the square until damp
- Lay it flat
- Pull gently at corners to square it
- Pin corners first (if you’re using pins)
- Pin along edges if needed for straightness
- Let dry fully before unpinning
Beginner tip: If you’re making many squares, block them to the same size. Even small differences add up when you join.
Blocking Knit Scarves and Stockinette Curl
If you knit a stockinette scarf and it curls, blocking can help temporarily, but it may not eliminate curl forever—especially in acrylic or cotton. Stockinette curl is structural.
Blocking can:
- reduce the curl
- make the scarf lie flatter initially
- improve stitch smoothness
But long-term curl prevention usually needs:
- a garter or seed stitch border
- ribbing at edges
- a different stitch pattern that resists curl
If your scarf is already finished, wet blocking plus careful shaping can still improve it a lot. For future scarves, choose a non-curl stitch pattern like garter or seed stitch as a beginner-friendly win.
Blocking Lace: Why It Looks “Wrong” Until It’s Blocked
Lace often looks cramped and messy before blocking. That’s normal. Blocking opens the pattern by spreading stitches into their intended shape.
Best lace blocking habits:
- wet block for natural fibers
- use pins to open points and edges
- shape gently, not aggressively
- let dry completely before unpinning
If you ever try lace as a beginner, block it. It’s part of the lace process.
How to Block Without Stretching Out Your Work
Stretching is the biggest beginner fear, especially with cotton and slippery fibers.
To avoid overstretching:
- shape the piece to the intended measurements, not beyond
- don’t pull hard at edges; use gentle adjustments
- support heavier items (like blankets) so they don’t sag while wet
- dry flat, never hanging
A simple test: after shaping, lift a corner slightly. If it sags heavily, it’s too wet and heavy—use a towel roll again to remove more water before continuing.
Blocking Before Seaming: The Best Practice for Wearables
If a project has panels that will be joined (sweater pieces, blanket squares, pillow panels), blocking before seaming helps because:
- pieces become the correct size
- edges become straighter
- seaming becomes easier and cleaner
- the final shape is more accurate
Even for beginners, this makes joining less frustrating and results more consistent.
Common Blocking Mistakes (And How to Avoid Them)
Mistake 1: Wringing the fabric
Fix: press water out gently and towel roll.
Mistake 2: Using hot water on wool
Fix: use cool or lukewarm water.
Mistake 3: Over-stretching cotton
Fix: shape gently; don’t force the size bigger.
Mistake 4: Pressing a hot iron onto acrylic
Fix: steam from above; never touch the yarn with the iron.
Mistake 5: Unpinning too early
Fix: let it dry completely. Damp fabric can shift when unpinned.
Mistake 6: Blocking on a surface that transfers dye or lint
Fix: use a clean towel or clean blocking surface.
Blocking is forgiving. If the first attempt isn’t perfect, you can often re-block and shape again.
A Simple Blocking Checklist for Beginners
Use this checklist any time you block:
- Identify fiber type (wool, acrylic, cotton, blend)
- Choose method: wet, spray, or steam
- Dampen or soak gently
- Remove water without twisting
- Lay flat and shape to intended size
- Pin corners if needed
- Let dry fully
- Remove pins and check shape
- Take photos if you’re documenting for your blog
If you follow these steps, you’ll block safely and consistently.
The Takeaway: Blocking Is the Beginner Shortcut to “Polished”
Blocking is not an advanced secret. It’s a basic finishing tool that makes beginner crochet and knitting look smoother, flatter, and more intentional. You can block with a towel and a little patience. You can start with spray blocking if you want a low-risk method. And once you see how a granny square transforms, you’ll understand why experienced crafters treat blocking as part of the project—not an optional extra.

Isabella Garcia is the creator of a blog dedicated to crafts and home care, focused on making everyday life more creative, organized, and enjoyable. The blog shares practical tips, easy DIY projects, home organization ideas, and simple solutions to take better care of your living space. Whether you’re a beginner in crafting or someone looking for inspiration to improve your home routine, Isabella’s blog offers clear, useful, and hands-on content to help you create a cozy, beautiful, and well-cared-for home.