
Scrapbooking is a wonderful way to preserve memories and create personalized works of art. Whether you’re looking to document family vacations, birthdays, or life’s little moments, scrapbooking allows you to express yourself creatively while cherishing your most meaningful experiences. If you’re new to scrapbooking, it might seem overwhelming at first, but don’t worry! This guide will walk you through everything you need to get started, from essential supplies to tips on creating your first scrapbook page.
What is Scrapbooking?
At its core, scrapbooking is the art of organizing photographs, mementos, and decorative items into a scrapbook album. It’s not just about sticking photos to paper; it’s about telling a story, capturing emotions, and crafting something that is both beautiful and meaningful. Scrapbooking allows you to document your life in a creative way that words alone can’t always express.
Although the concept of scrapbooking has existed for centuries, it became widely popular in the 1980s, and in recent years, digital scrapbooking has also become a trend. Traditional scrapbooking involves hands-on creativity, while digital scrapbooking lets you work with photos and layouts on a computer, using specialized software.
Why Start Scrapbooking?
You might be wondering why scrapbooking is so popular, and why you should start doing it. Well, here are a few reasons why people love scrapbooking:
- Creative Expression: Scrapbooking lets you tap into your creativity, allowing you to experiment with different materials, layouts, and themes.
- Preserving Memories: It’s a way to preserve your most precious memories in a format that will last for years to come.
- Personalized Gifts: Handmade scrapbooks make perfect gifts for loved ones, and they can be customized for any occasion.
- Therapeutic and Relaxing: Many people find scrapbooking to be a relaxing hobby, allowing them to unwind and enjoy the creative process.
Essential Supplies for Scrapbooking
Before you start creating, it’s important to have the right tools and materials. Scrapbooking can be as simple or as complex as you want, but for beginners, it’s best to start with the basics. Here are the essential supplies you’ll need:
1. Scrapbook Album
The scrapbook album is where you will keep your memories. There are various sizes and types of albums available. The most common size is 12×12 inches, which provides ample space for photos, embellishments, and journaling. Some albums have ring binders, while others are post-bound, so choose one that fits your needs. You can also find themed albums for specific occasions like weddings, travel, or family.
2. Scrapbook Paper
Scrapbook paper forms the foundation of your pages. You’ll want to choose paper that complements the theme of your scrapbook. There are countless designs, patterns, and textures available. You can start with basic solid colors and patterned papers, and then add more specialized papers as you grow your collection. Look for acid-free, lignin-free paper to ensure your photos and memories remain safe.
3. Adhesives
Adhesives are crucial for attaching photos, paper, and embellishments to your pages. There are several options to choose from:
- Glue Sticks: A simple and affordable option, glue sticks are great for attaching paper and photos.
- Double-Sided Tape: Ideal for a clean and easy application.
- Photo-Safe Adhesive Dots: These dots are perfect for affixing photos without damaging them.
- Liquid Glue: Use this for sticking heavier embellishments or for fine detailing.
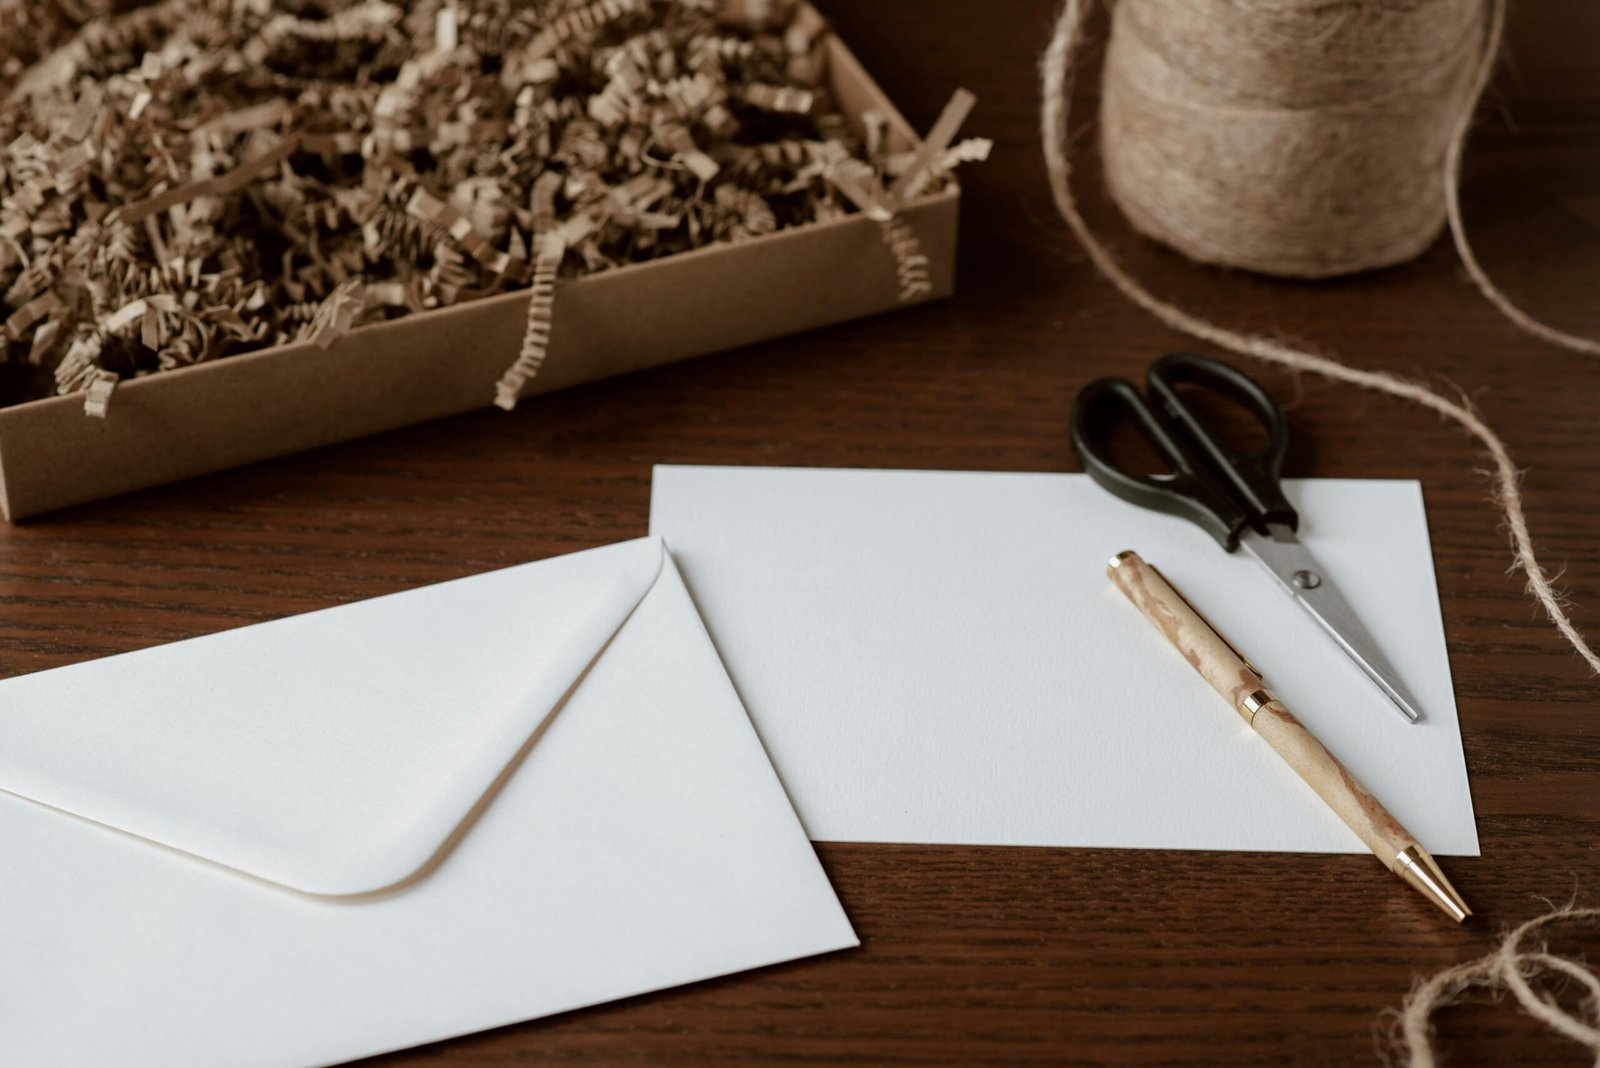
4. Scissors and Cutting Tools
A good pair of scissors is essential for cutting paper, photos, and embellishments. To add precision, consider getting specialty scissors with decorative edges. A paper trimmer can help you cut paper in straight lines, while punches allow you to create unique shapes. If you want to take your scrapbooking to the next level, a cutting machine like the Cricut or Silhouette will help you create intricate designs with ease.
5. Embellishments
Embellishments are the decorative elements that add personality and flair to your pages. There are countless types of embellishments, including:
- Stickers: These are a great way to add thematic decorations and words to your pages.
- Ribbons and Buttons: These can be used to add texture and color.
- Brads and Eyelets: These small metal fasteners can be used to attach elements to the page while adding an industrial feel.
- Stamps and Ink Pads: Stamps can add designs, borders, or sentiments to your pages.
- Die Cuts: Pre-cut shapes and designs made with die-cutting machines.
6. Markers and Pens
A variety of pens and markers are essential for adding journaling to your scrapbook pages. You can choose pens that suit your writing style, from fine-tip markers to calligraphy pens. Be sure to use acid-free pens to avoid damaging your photos over time. Colored markers and gel pens can also be used for decorative touches and borders.
7. Photos
The most important part of any scrapbook is the photos. Print out your favorite photos that tell the story you want to share. While you can print them at home, professional printing services can ensure high-quality results. Try to get photos printed in various sizes to add visual interest to your pages.
Step-by-Step Guide to Creating Your First Scrapbook Page
Now that you have your supplies ready, it’s time to start creating! Here’s a step-by-step guide to help you put together your first scrapbook page:
Step 1: Choose a Theme
The first step in creating any scrapbook page is to decide on a theme. This could be based on a specific event, such as a wedding, vacation, or birthday, or a general theme like “family memories” or “seasonal fun.” Your theme will help determine the colors, embellishments, and layout of your page.
Step 2: Select Your Photos
Once you’ve chosen a theme, select the photos you want to feature. Think about the story you want to tell—choose images that convey emotions and moments that are meaningful. You don’t have to use all the photos from an event; sometimes a few carefully chosen photos work better than many. If you’re creating a page for a trip, for example, select a few standout photos that capture the essence of the journey.
Step 3: Plan Your Layout
Before you start gluing things down, take a moment to plan your layout. Lay out your photos and embellishments on the page to see how they look. Move things around until you’re happy with the design. Don’t forget to leave room for journaling, which will help tell the story behind the photos.
Step 4: Assemble the Page
Start assembling your page by adhering the background paper first. Then, work your way up by adding photos, embellishments, and journaling. Keep everything aligned and balanced, but don’t be afraid to experiment with layering different elements. You can always reposition items if you don’t like the placement.
Step 5: Add Journaling
Journaling is an important part of scrapbooking because it adds context to your photos. Write about the memories associated with the photos, and feel free to include quotes, dates, and personal reflections. Handwritten journaling adds a personal touch, but you can also print out text if you prefer.
Step 6: Final Touches
Once your page is assembled, add any final touches. Consider using stamps, ink, or other embellishments to enhance the page. Look over your work and see if there’s anything that could be added to make the page feel complete.
Advanced Scrapbooking Techniques
Once you get comfortable with the basics, you can explore more advanced techniques to elevate your scrapbooking. Here are a few ideas:
1. Mixed Media Techniques
Mixed media scrapbooking involves combining different materials such as paints, fabric, and metal embellishments. You can use acrylic paints, watercolor, and stencils to create unique textures and effects. This style of scrapbooking is perfect for those who love to experiment with various mediums.
2. 3D Embellishments
Instead of using flat embellishments, try adding 3D elements like flowers, buttons, and other raised decorations. These add depth and dimension to your scrapbook pages, making them visually striking.
3. Handmade Paper Elements
Creating your own paper elements can make your scrapbook page even more personal. You can use stamps, punches, and die-cutting machines to make custom shapes, tags, and decorations.
4. Digital Scrapbooking
If you prefer to work digitally, you can explore digital scrapbooking. This involves creating your scrapbook pages using photo-editing software, and the designs can be printed out later. It’s a great option for those who prefer to work on a computer and want the flexibility of editing their pages quickly.
Tips for Scrapbooking Beginners
- Start Simple: Don’t overwhelm yourself with too many embellishments and complex layouts at first. Start with simple designs and gradually add more elements as you feel more comfortable.
- Stay Organized: Keep your supplies organized so you can easily find what you need. Use storage bins, organizers, and files to keep everything in its place.
- Use Templates: Scrapbook templates can help you create beautiful layouts without starting from scratch. You can find free templates online or purchase design kits that suit your style.
- Take Your Time: Scrapbooking is not a race. Take your time to enjoy the creative process and experiment with different techniques.
Conclusion: Let Your Creativity Shine
Scrapbooking is a rewarding hobby that allows you to preserve memories while expressing your creativity. Whether you’re creating an album for yourself or making personalized gifts for loved ones, scrapbooking is an enjoyable way to tell your story. With the right tools, a little practice, and plenty of imagination, you’ll soon be creating beautiful scrapbook pages that will last a lifetime.

Isabella Garcia is the creator of a blog dedicated to crafts and home care, focused on making everyday life more creative, organized, and enjoyable. The blog shares practical tips, easy DIY projects, home organization ideas, and simple solutions to take better care of your living space. Whether you’re a beginner in crafting or someone looking for inspiration to improve your home routine, Isabella’s blog offers clear, useful, and hands-on content to help you create a cozy, beautiful, and well-cared-for home.