
If you’ve ever brought home a beautiful plant and watched it slowly decline, you’re not alone. Houseplants can look “easy” on social media, but real homes have real challenges: inconsistent light, dry air, busy schedules, and sometimes a bit of guesswork. The good news is that plant care isn’t magic. It’s a set of simple skills you can learn quickly once you understand what your plant is trying to “tell” you.
This beginner-friendly guide will help you build confidence with indoor plants. You’ll learn how to pick the right plants for your space, water without panic, read common symptoms, and create a routine that keeps your plants alive and thriving—without turning your home into a science lab.
Start With the Right Mindset (and You’ll Win Faster)
Many beginners assume plant care is about following strict rules. In reality, it’s about observation and small adjustments.
Plants are living things that respond to light, moisture, temperature, and airflow. When something is off, they give clues—droopy leaves, yellowing, slow growth, and so on. The goal is not perfection. The goal is learning what “normal” looks like for your plant and making changes when the signs show up.
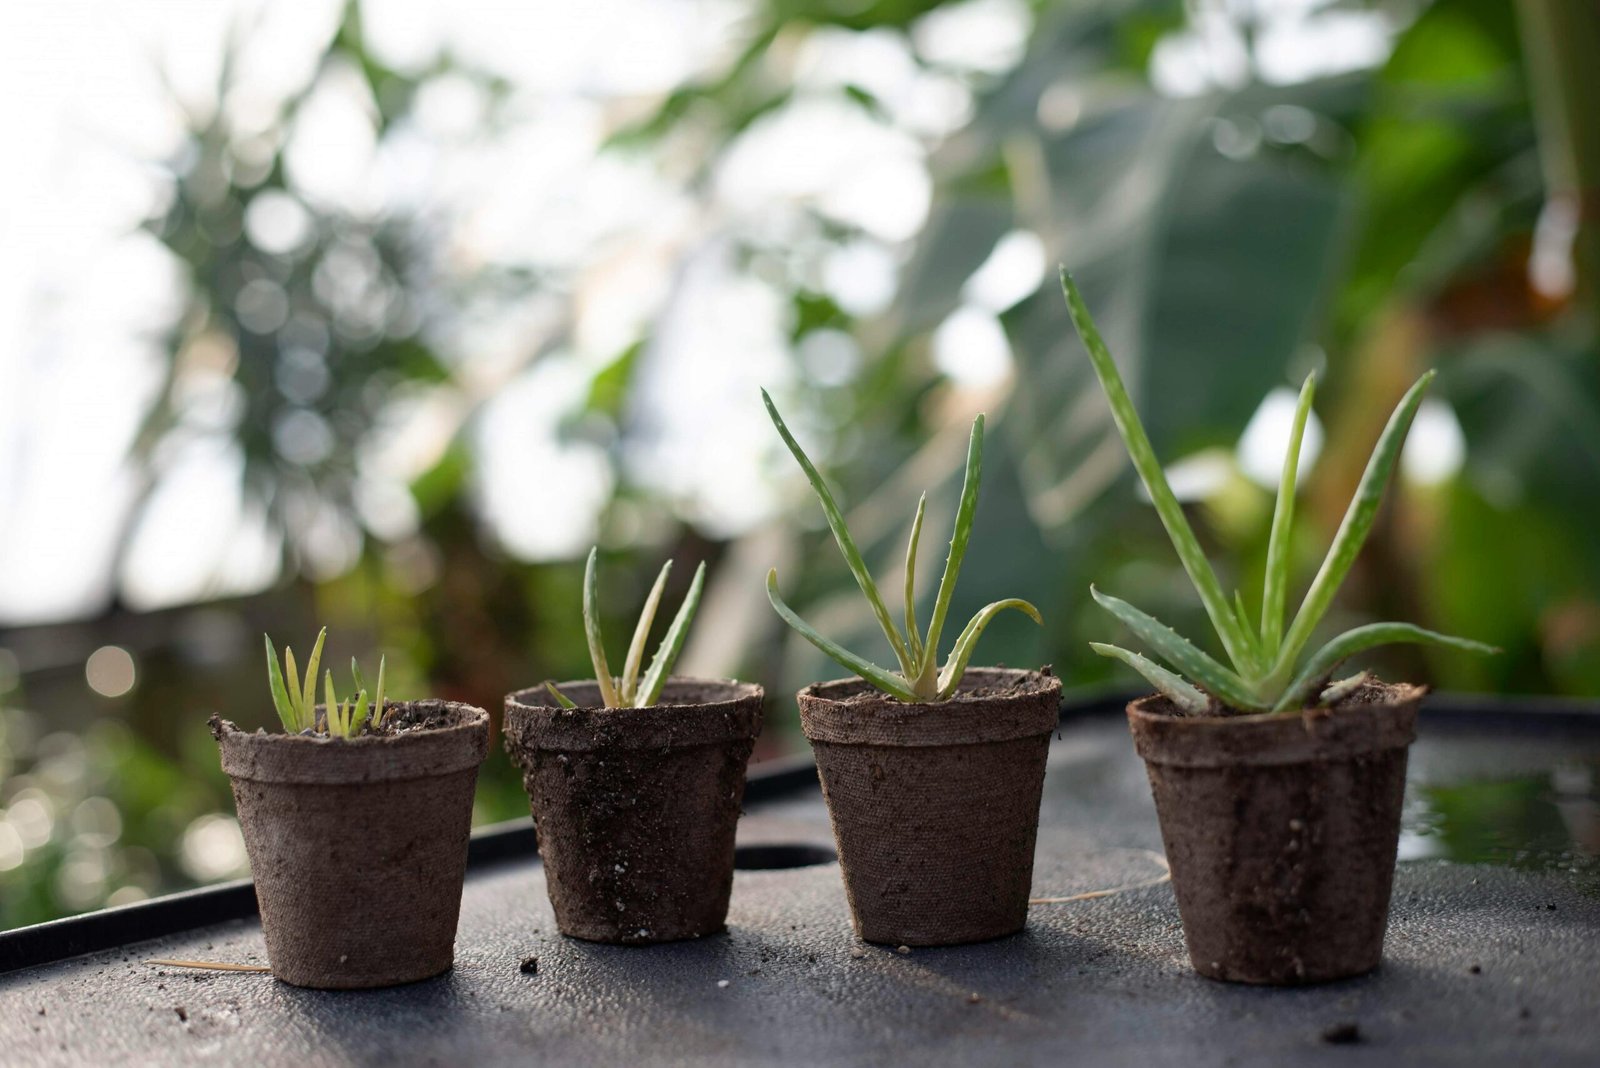
Also, don’t try to become a “plant person” overnight. Start small. Two or three easy plants will teach you more than ten delicate ones that overwhelm you.
Choose Beginner-Friendly Plants That Forgive Mistakes
Some plants are naturally tougher. They handle missed waterings, imperfect light, and beginner learning curves.
Here are excellent starter options:
Snake Plant (Sansevieria / Dracaena trifasciata)
Snake plants tolerate low light, irregular watering, and dry air. They grow slowly but steadily, and they’re hard to kill.
Pothos (Epipremnum aureum)
Pothos is a trailing vine that grows fast and bounces back easily. If you forget to water, it usually forgives you.
ZZ Plant (Zamioculcas zamiifolia)
ZZ plants store water in thick stems and rhizomes, which makes them drought-tolerant. Great for low-light corners.
Spider Plant (Chlorophytum comosum)
Spider plants adapt well, grow quickly, and produce baby “pups” you can propagate.
Peace Lily (Spathiphyllum)
Peace lilies are great “communicators.” They droop dramatically when thirsty and perk up after watering. They like medium to bright indirect light.
If you’re deciding between two plants, choose the one described as “tolerant,” “hardy,” or “beginner-friendly.” That wording matters.
Understand Light Without Overcomplicating It
Light is the engine that powers plant growth. If light is wrong, everything else becomes harder—watering, feeding, and overall health.
Think of indoor light like this:
Bright Direct Light
Sun rays hit the leaves directly for hours. Usually near a sunny window with minimal obstruction. Many succulents and cacti want this.
Bright Indirect Light
The area is well-lit, but sun rays don’t hit the plant directly. This is the sweet spot for many houseplants.
Medium Light
You can comfortably read a book in the room during daytime, but the brightest areas are closer to windows.
Low Light
The room feels dim, or windows are small/far away. Some plants survive here, but growth will be slow.
A practical tip: stand where you want the plant. If your shadow is sharp-edged, the light is strong. If your shadow is fuzzy or barely visible, light is low.
Match Plants to the Light You Actually Have
A common beginner mistake is buying plants based on looks instead of compatibility with your home.
If you have low light, don’t fight it. Choose plants that tolerate it (snake plant, ZZ plant, pothos). If you have bright windows, you can try more options, including plants that need higher light levels.
If you’re not sure, place your plant near the brightest area you can offer—then watch it for two weeks. If it reaches toward the window, gets leggy, or grows tiny new leaves, it probably needs more light.
Watering: The Skill That Matters Most
Most houseplant problems come from watering mistakes—especially overwatering.
Watering should be based on the plant’s needs and the environment, not a strict weekly schedule. Your home’s temperature, humidity, pot size, and light level all change how fast soil dries.
The Finger Test (Simple and Effective)
Stick your finger into the soil:
- If the top 1–2 inches feel dry, many plants are ready for water.
- If it still feels damp, wait.
For small pots, even 1 inch can be enough. For bigger pots, check deeper. If you hate touching soil, use a wooden skewer or chopstick. Push it into the soil and pull it out. If it comes out clean and dry, it’s likely time to water.
Water Thoroughly, Not a Little Sip
When you do water, water deeply. A few spoonfuls often moisten only the top layer and leave roots dry.
Water until you see excess water flow out of the drainage holes. Then empty the saucer after 10–20 minutes so the plant isn’t sitting in water.
Know Which Plants Like Drying Out
Some plants prefer the soil to dry more between waterings:
- Snake plant
- ZZ plant
- Succulents and cacti
Others prefer consistent moisture (not soggy, just evenly moist):
- Peace lily
- Ferns (depending on variety)
- Many tropical plants
If your plant is drought-tolerant, it’s safer to underwater slightly than to overwater.
Learn the Difference Between “Wet Soil” and “Well-Draining Soil”
A plant can have “wet soil” without being “healthy.” The key is oxygen.
Roots need air as well as water. If soil stays soggy, roots can suffocate and rot. That’s why drainage matters so much.
Well-draining soil allows excess water to pass through and leaves tiny air pockets for roots. If your potting mix looks like heavy mud, it may hold too much moisture for indoor conditions.
Pick the Right Pot: Drainage Is Non-Negotiable
If you’re serious about keeping plants alive, prioritize pots with drainage holes.
A pot without drainage turns watering into a gamble. You can keep plants in cachepots (decorative pots without holes), but keep the plant in a plastic nursery pot inside it. That way you can lift the plant out, water it in the sink, let it drain, and return it.
Pot Materials and What They Mean
- Plastic pots: hold moisture longer, lighter, great for thirsty plants.
- Terracotta pots: breathe and dry faster, great for plants that hate wet feet.
- Ceramic pots: often heavier and decorative; just make sure they drain.
Also, avoid going too big when repotting. A pot that’s much larger holds extra wet soil that roots can’t use yet, increasing rot risk.
Soil Basics That Beginners Should Know
Most houseplants do well in a quality indoor potting mix, but you can improve it depending on your plant.
A simple upgrade is adding aeration:
- Perlite helps drainage and airflow.
- Orchid bark adds chunkiness and prevents compaction.
- Coco coir can improve moisture balance.
If your plant is a succulent, use a cactus/succulent mix or mix regular potting soil with extra perlite and gritty material. If your plant is tropical, a chunkier mix can still help because indoor environments often dry unevenly.
Humidity and Indoor Air: The Hidden Factor
Many homes have dry air, especially in winter when heating is on. Some plants don’t care. Others show stress through crispy leaf edges or brown tips.
Easy Ways to Increase Humidity
- Group plants together (they create a mini humid zone).
- Use a pebble tray with water (place pot on pebbles above waterline).
- Run a humidifier in the room for consistent results.
- Keep plants away from heating vents and AC blasts.
Misting can help briefly, but it’s not a long-term solution on its own. Consistency matters more.
Temperature and Placement: Small Moves Make Big Differences
Most houseplants like stable temperatures. Sudden changes can stress them.
Avoid placing plants:
- Right next to a heater
- Directly in the path of an AC vent
- Against a cold, drafty window in winter
- Near frequently opened doors in cold climates
A plant can be in “good light” but still struggle if it’s constantly hit by hot or cold air.
Fertilizer: Helpful, But Not the First Priority
Beginners often think fertilizer is a cure-all. It isn’t. Light and watering come first.
Fertilizer is food, not medicine. If a plant is stressed from low light or poor watering, adding fertilizer can make things worse.
When to Fertilize
Most houseplants grow more in spring and summer. That’s usually the best time to feed them lightly.
A simple approach:
- Use a balanced liquid houseplant fertilizer at half strength once a month in the growing season.
Signs You Might Be Over-Fertilizing
- White crust on soil
- Brown leaf tips that appear quickly
- Stalled growth despite “feeding”
- Leaf edges that look burned
If you suspect fertilizer buildup, flush the pot with water (let water run through for a minute or two), then let it drain fully.
How to Tell If Your Plant Is Happy
Plants don’t need to look perfect to be healthy. A happy plant generally shows:
- Firm stems and leaves (depending on plant type)
- Slow but consistent new growth
- Leaves that hold their color and shape
- Roots that don’t smell sour or rotten
Some leaf drop is normal, especially when a plant adjusts to a new home. Focus on overall trend, not one imperfect leaf.
Common Problems and What They Usually Mean
Here’s a beginner-friendly way to interpret symptoms without spiraling.
Yellow Leaves
Possible causes:
- Overwatering (most common)
- Not enough light
- Natural aging (older leaves drop)
What to do:
Check soil moisture. If it’s wet and stays wet, water less and ensure drainage. Move the plant slightly brighter if needed.
Drooping Leaves
Possible causes:
- Thirst (dry soil)
- Root stress from overwatering (wet soil)
- Temperature shock
What to do:
Touch the soil. Dry soil suggests watering. Wet soil suggests waiting and improving drainage and airflow.
Brown Crispy Tips
Possible causes:
- Low humidity
- Salt buildup from fertilizer or hard water
- Underwatering inconsistencies
What to do:
Increase humidity, reduce fertilizer strength, and water more consistently.
Mold on Soil Surface
Usually:
- Too much moisture + low airflow
What to do:
Let soil dry more between waterings, improve airflow, and scrape off the top layer if needed.
Tiny Bugs or Sticky Leaves
Possible pests:
- Fungus gnats (often from wet soil)
- Mealybugs, aphids, spider mites
What to do:
Isolate the plant. Wipe leaves, rinse in the shower if appropriate, and treat with insecticidal soap or neem oil as directed. Also, adjust watering because many pests thrive when conditions are consistently damp.
A Simple Weekly Plant Care Routine
A routine makes plant care feel easy instead of stressful.
Try this:
Once a Week (15–20 minutes)
- Check soil moisture for each plant.
- Water only what needs water.
- Inspect leaves (top and underside) for pests.
- Rotate pots slightly for even growth.
Once a Month
- Wipe dusty leaves with a damp cloth.
- Check if roots are circling the pot bottom.
- Lightly fertilize during the growing season.
If you like structure, keep a note on your phone with plant names and the last watering date. Over time, you’ll learn each plant’s rhythm.
Repotting Without Panic
You don’t need to repot often. Many plants prefer being slightly snug.
Repot when:
- Roots are growing out of drainage holes
- Water runs straight through too quickly
- The plant dries out much faster than normal
- Growth stalls despite good light and care
When repotting:
- Choose a pot only 1–2 inches wider than the old one.
- Refresh soil, and loosen circling roots gently.
- Water after repotting, then give the plant a week or two to adjust.
It’s normal for a plant to look “off” for a short time after repotting. Avoid moving it around too much during that adjustment period.
Decorating With Plants in a Way That Helps Them Thrive
Plants can elevate your space, but you’ll get the best results when decoration and plant needs work together.
Beginner-Proof Styling Ideas
- Use tall plants in corners near windows.
- Place trailing plants on shelves where vines can spill naturally.
- Put small plants on desks, but keep them near light.
- Mix pot textures and sizes for a natural look.
If you love a spot in your home but the light is low, choose a low-light tolerant plant rather than forcing a high-light plant to survive there.
Budget-Friendly Plant Care That Still Looks Premium
You don’t need expensive gear to succeed.
Affordable upgrades that make a big difference:
- A watering can with a narrow spout for control
- A bag of perlite to improve soil drainage
- Nursery pots inside decorative cachepots (best of both worlds)
- A simple plant stand to lift plants closer to light
You can also propagate easy plants like pothos and spider plants to grow your collection for free. It’s one of the most satisfying parts of plant care.
If You Have Pets or Kids, Plan Your Plant Choices
If you live with pets or young kids, place plants out of reach and consider safer options. Some popular houseplants can be irritating or harmful if chewed.
A smart approach:
- Use hanging planters or high shelves for trailing plants.
- Choose sturdy floor plants for areas pets can’t access.
- Create a dedicated plant corner as a “no-touch zone.”
Even if your pets don’t usually chew plants, it’s good to plan for curiosity.
Your “Plant Parenting” Confidence Plan
If you’re starting today, here’s a simple plan for the next month:
Week 1: Observe and Stabilize
Place plants where light fits their needs. Water only when soil is dry enough. Don’t fertilize yet.
Week 2: Learn the Signals
Check how quickly each pot dries. Notice leaf posture and color.
Week 3: Improve One Thing
Maybe add perlite to one plant, or move a plant closer to the window. Small changes.
Week 4: Build the Routine
Pick a weekly day to check all plants. Keep notes. Celebrate new growth.
Confidence comes from repetition, not perfection.
The Long Game: Growing an Indoor Jungle One Healthy Plant at a Time
Houseplants aren’t just decor. They’re a slow, rewarding habit. Every time you learn a plant’s preference, you’re building a skill you’ll use forever.
If a plant doesn’t make it, don’t treat it as failure. Treat it as feedback. Maybe the light was wrong. Maybe the pot stayed too wet. Maybe the plant simply wasn’t a match for your environment. The win is learning, adjusting, and trying again.
Start with forgiving plants, master watering and light, and keep your routine simple. With those basics, your home will get greener month after month—and you’ll feel like a real plant person sooner than you think.

Isabella Garcia is the creator of a blog dedicated to crafts and home care, focused on making everyday life more creative, organized, and enjoyable. The blog shares practical tips, easy DIY projects, home organization ideas, and simple solutions to take better care of your living space. Whether you’re a beginner in crafting or someone looking for inspiration to improve your home routine, Isabella’s blog offers clear, useful, and hands-on content to help you create a cozy, beautiful, and well-cared-for home.