
Weaving in ends is the part almost everyone wants to skip—especially when you’re excited about finishing a project. But this small finishing step is what turns “something you made” into “something that lasts.” If ends aren’t secured properly, they can peek out, loosen over time, or (in the worst case) cause sections to unravel after washing or regular use.
The good news: weaving in ends is not complicated. You just need a reliable method, a yarn needle, and one key mindset shift: don’t just hide the tail—anchor it. In this guide, you’ll learn the best beginner-friendly ways to weave in ends for both crochet and knitting, how to do it neatly, and how to avoid the common mistakes that make tails pop out later.
What “Weaving in Ends” Actually Means
Whenever you start or finish yarn, you create a yarn tail (an “end”). Weaving in ends means using a yarn needle to thread that tail through your stitches so it’s:
- secure (won’t come loose)
- invisible or nearly invisible from the outside
- comfortable (especially for wearables)
- durable enough to survive use and washing
The goal is not just “make it disappear.” The goal is lock it in place so it stays put.
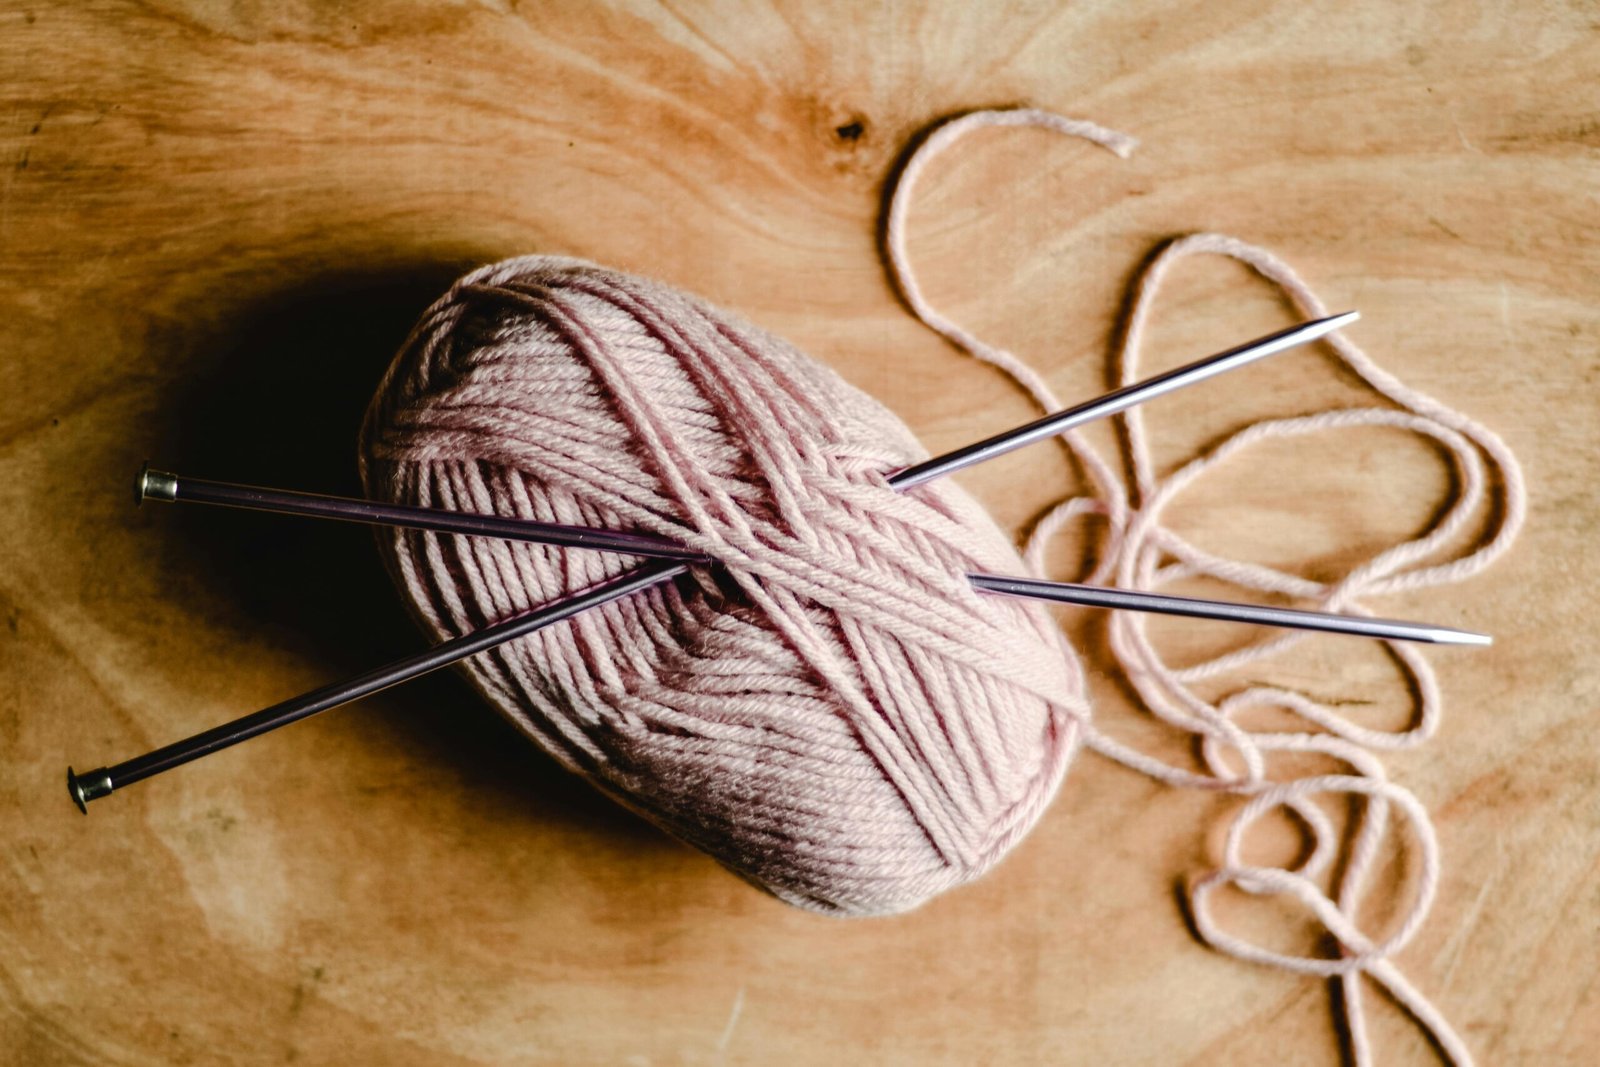
What You Need
You only need a couple of simple tools:
- Tapestry needle / yarn needle (blunt tip, large eye)
- Scissors
- Your finished project (or at least a section where you can weave)
Optional but helpful:
- Good lighting (makes stitch paths easier to see)
- A second needle size (sometimes a smaller needle helps with tight fabric)
The Golden Rule: Weave in Two Directions
The #1 reason ends pop out is weaving in a straight line only once. Yarn can slowly work itself out of a straight path, especially in smooth fibers.
A stronger method is:
- weave in one direction
- change direction and weave back (or sideways)
- trim the tail
Changing direction creates friction and “locks” the yarn into the fabric structure.
How Long Should the Tail Be?
A good tail length for weaving is:
- 4–6 inches (10–15 cm) for small projects
- 6–10 inches (15–25 cm) for larger projects or slippery yarn
If you cut too short, you’ll struggle to thread the needle and secure the tail properly. When in doubt, leave it longer—then trim later.
Weaving in Ends in Crochet: The Best Beginner Method
Crochet fabric has lots of texture and structure, which makes it great for weaving ends securely.
Step-by-step crochet weaving method (most projects)
- Thread the yarn tail onto your tapestry needle.
- Find a path along the wrong side (or the least visible side) of the work.
- Weave the needle through several stitches (about 6–10 stitches) following the direction of the stitch structure.
- Pull the yarn through gently—snug but not tight (don’t pucker the fabric).
- Change direction (for example, weave back through a different set of stitches).
- Optionally change direction one more time if the yarn is slippery.
- Trim the tail close to the fabric (but not so close that it pops out instantly).
Best places to weave in crochet
- Along the tops of stitches (“V” loops) on the wrong side
- Through the “posts” of stitches (the vertical parts) when you need extra security
- Along seam areas if your project has joins (seams hide ends well)
Crochet tip: match the yarn path to the stitch texture
If your fabric is made of double crochet rows, weave in along the row structure. If it’s single crochet, weave through the denser stitch body. The more the tail follows the fabric’s natural path, the less visible it becomes.
Weaving in Ends in Granny Squares (Special Case)
Granny squares often have many color changes, which means many ends.
What works best for granny squares
- Weave ends along the same color section when possible.
- Use the “two directions” rule—especially in corners, which get more movement.
- Weave into the stitches around chain spaces (great hiding spots).
A practical trick
If you know you’ll join granny squares later, you can sometimes weave ends into the edge area where the joining seam will sit. This gives extra security and hides ends even more.
Weaving in Ends in Crochet Color Changes
Color changes can show ends more easily if woven carelessly.
Best practices:
- Weave each color tail into stitches of the same color area when possible.
- Avoid weaving a dark tail through a light section (it can show through).
- Don’t tighten the tail so much that it distorts the color change line.
Weaving in Ends in Knitting: The Best Beginner Method
Knitted fabric is more elastic than crochet, and ends can work loose if not woven securely—especially in smooth yarn or stockinette fabric.
Step-by-step knitting weaving method (stockinette friendly)
- Thread the tail onto a tapestry needle.
- Turn your work to the wrong side (purl/bumpy side for stockinette).
- Weave the tail through the purl bumps, following the row direction.
- Go through about 6–10 bumps.
- Change direction and weave back through a slightly different path.
- Trim the tail.
This is often called weaving into the “purl bumps,” and it’s one of the most reliable and invisible methods for stockinette.
For garter stitch knitting
Garter stitch has ridges that make weaving easy.
- Weave the tail through the ridges on the wrong side (or less visible side).
- Follow the ridge line for several stitches.
- Change direction once or twice.
Garter stitch hides ends beautifully because the texture breaks up visibility.
The “Duplicate Stitch” Method (Knitting’s Cleanest Option)
Duplicate stitch is a neat way to weave ends by following the path of existing stitches so it blends perfectly.
When duplicate stitch is ideal
- Stockinette fabric
- Projects where you want an invisible finish
- When your yarn is the same color as the fabric
How it works (in simple terms)
- You thread the tail through the same path as a knit stitch, essentially “duplicating” the stitch on top of it.
- This blends in extremely well.
Beginner note: duplicate stitch takes a little patience, but it’s worth it on visible areas like scarves or sweater fronts.
How to Weave in Ends Without Making the Fabric Tight
A common beginner mistake is pulling the tail too tight while weaving. That can:
- pucker the fabric
- warp the shape
- create visible tension lines
How to avoid puckering
- Pull the tail through until it sits flat—then stop.
- Lay the fabric flat and smooth it with your hands.
- If you see puckering, loosen the tail slightly by tugging gently in the opposite direction.
A good seam/end should be secure but not “cinched.”
How Many Stitches Should You Weave Through?
There isn’t one magic number, but a reliable beginner range is:
- 6–10 stitches in one direction
- Then 6–10 stitches in a second direction
For slippery yarns or items that will be washed often, consider a third short direction change.
What About Super Slippery or Smooth Yarn?
Some yarns (or blends) are more likely to slip out over time. For those, use extra security:
- Weave longer paths (closer to 10–12 stitches each direction)
- Change direction at least twice
- Avoid weaving only along a straight line
Also, weaving ends into denser areas (like seams, ribbing, or textured sections) increases friction and security.
What About Bulky Yarn?
Bulky yarn tails can create lumps if woven too close to the surface.
Tips:
- Weave deeper inside stitch bodies when possible.
- Choose a path that spreads the yarn out rather than stacking it in one spot.
- Trim carefully and check the fabric from both sides.
Should You Use Knots?
This is a common question—and the answer depends.
For beginners: generally avoid relying on knots alone
Knots can:
- create hard bumps (uncomfortable in wearables)
- loosen over time, especially with slippery yarn
- show through fabric
When knots can be okay
A small knot can be used as extra security in certain situations, but it’s best paired with proper weaving. The weaving is what truly locks the tail.
If you do use a knot, keep it small, tighten it carefully, and hide it inside the fabric—then still weave the ends.
When to Weave in Ends: As You Go vs At the End
Weaving as you go
Pros:
- Less overwhelming finishing
- Keeps work tidy
- Helps you avoid losing tails
Cons:
- Can interrupt your flow
Weaving at the end
Pros:
- Faster crocheting/knitting session
- You stay “in the zone”
Cons:
- Pile of ends can feel intimidating
Beginner-friendly compromise:
- Weave ends after each small section (like after finishing a square, or after 1–2 skeins).
- Don’t let it build into an overwhelming pile.
Common Weaving Mistakes (and How to Fix Them)
Mistake 1: Cutting tails too short
Fix:
- Leave longer tails next time (4–6 inches minimum).
- If it’s already short, weave as much as possible and avoid pulling tight.
Mistake 2: Weaving in only one direction
Fix:
- Always change direction at least once.
Mistake 3: Weaving on the right side
Fix:
- Use the wrong side or less visible side whenever possible.
Mistake 4: Pulling tails too tight
Fix:
- Keep tension gentle. Smooth fabric after weaving.
Mistake 5: Weaving through light fabric in a visible way
Fix:
- Follow stitch structure and avoid crossing open spaces where the tail can show.
A Quick “Weaving in Ends” Checklist
Before you trim, ask:
- Did I weave through at least 6–10 stitches?
- Did I change direction at least once?
- Does the fabric lie flat (no puckering)?
- Can I see the tail on the right side?
- Does it feel secure when I gently tug the fabric?
If yes, you can trim with confidence.
The Takeaway: Secure, Smooth, and Invisible Enough
Weaving in ends is the difference between a project that looks finished for a photo and a project that stays finished in real life. The key is simple: weave in two directions, follow stitch structure, and don’t pull too tight.
Once you’ve done it a few times, it becomes quick and automatic—and your projects instantly look more polished and professional.

Isabella Garcia is the creator of a blog dedicated to crafts and home care, focused on making everyday life more creative, organized, and enjoyable. The blog shares practical tips, easy DIY projects, home organization ideas, and simple solutions to take better care of your living space. Whether you’re a beginner in crafting or someone looking for inspiration to improve your home routine, Isabella’s blog offers clear, useful, and hands-on content to help you create a cozy, beautiful, and well-cared-for home.